Haystack, Basin & Saddleback
Adirondack Hike: July 14 - 16th, 2018
Niels and I began this hike thinking it was the "easiest yet of all our hikes." Ironically, we ended this hike and decided it was in fact our hardest, most technical and most demanding yet. Why am I always amazed at how difficult these Adirondack mountains are to climb?
|
Our original plan was to only hike Basin & Saddleback (ie, the yellow loop on the map to the right). On other blogs, it seemed as though people always hiked these mountains as a trio with Haystack... but by my calculations that was too long of a day for us. We have a slow hike time (primarily due to all our photo taking... and snacks... and talking to other hikers along the way), and I wanted to be sure to only tackle what we could. Also, Saddleback is known to have "crazy cliffs" that we have to climb. Researching these cliffs did nothing for us - some laughed them off as an easy scramble and others said it was a death-defying climb that made their legs weak and stomachs weaker. Great. I guess we would soon find out for ourselves!
We also planned to camp around Johns Brook Lodge in order to shave off 7 miles total (orange square on the map). If we hike in 3.5 miles on Day 1 and hiked out 3.5 miles on Day 3, then our trek on Day 2 is significantly reduced. I really don't know how other hikers do these hikes all in one day! In the end, we did add on Haystack. Instead of taking the dreaded Shorey Short Cut (crossed out in red), we took the route in blue to bag all three peaks. Why? Keep reading to find out... |
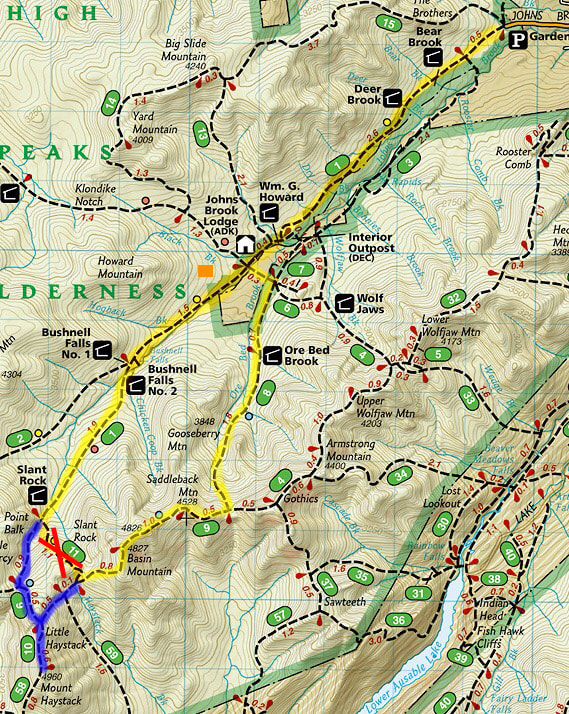
Our planned hike (yellow) and our actual hike (yellow with the blue addition)
|
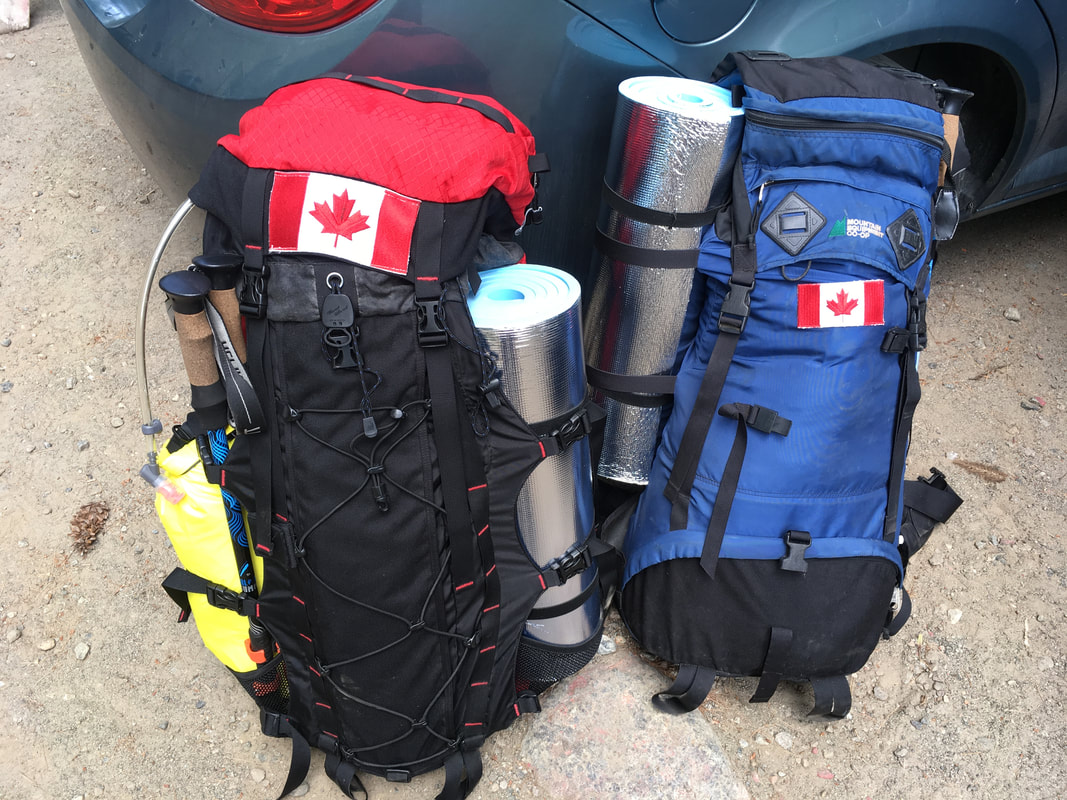
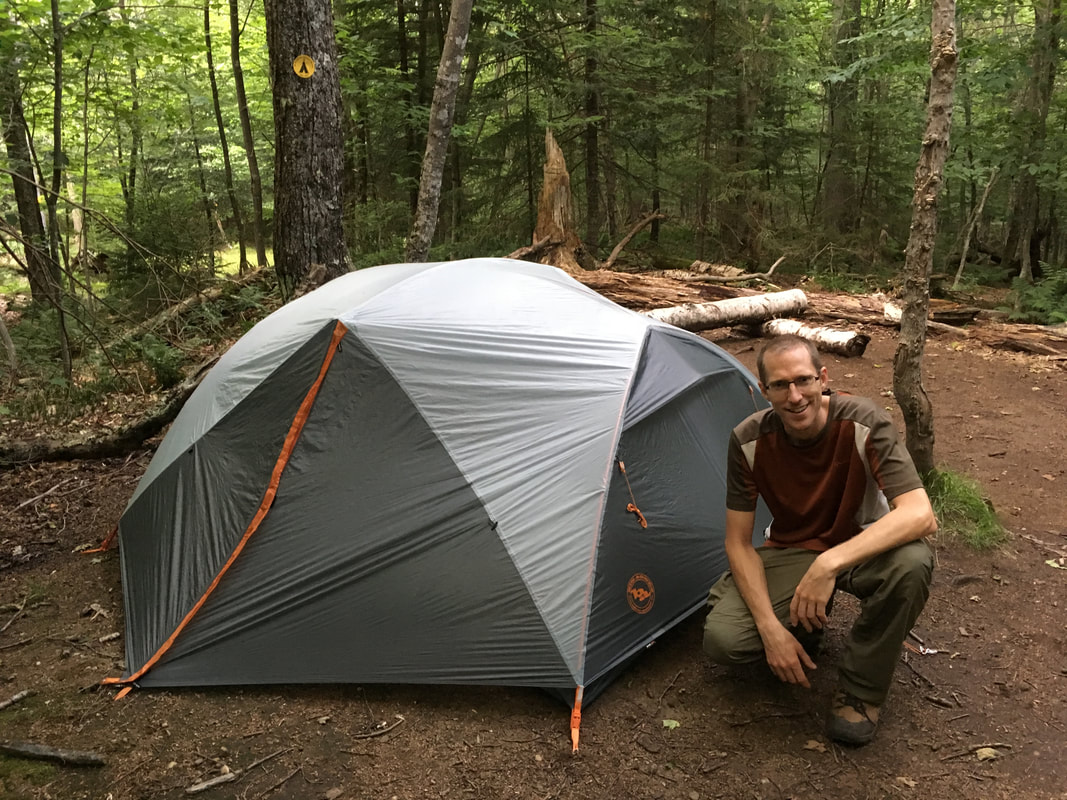
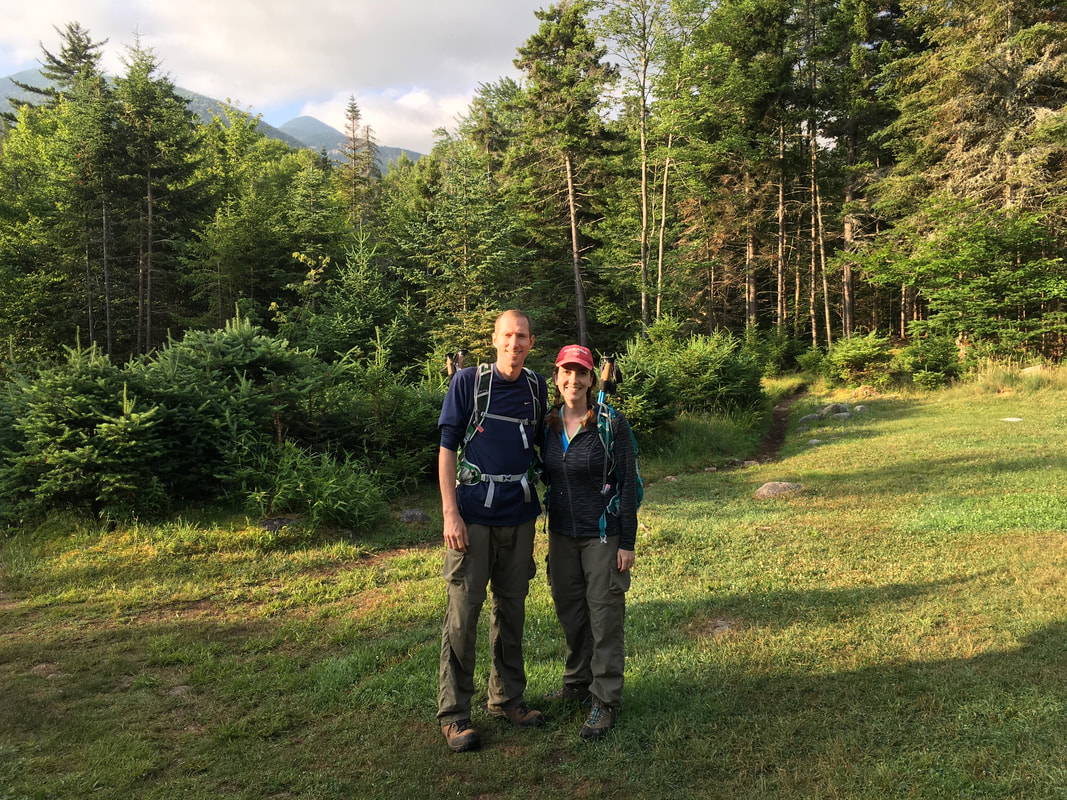
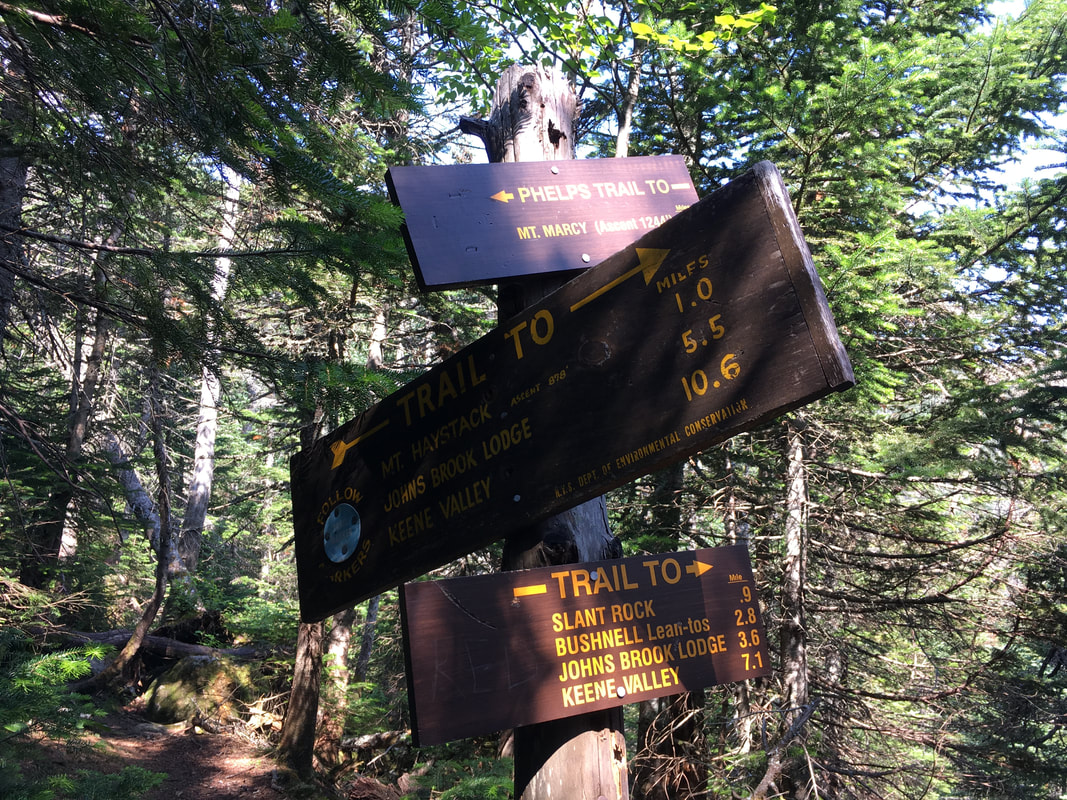
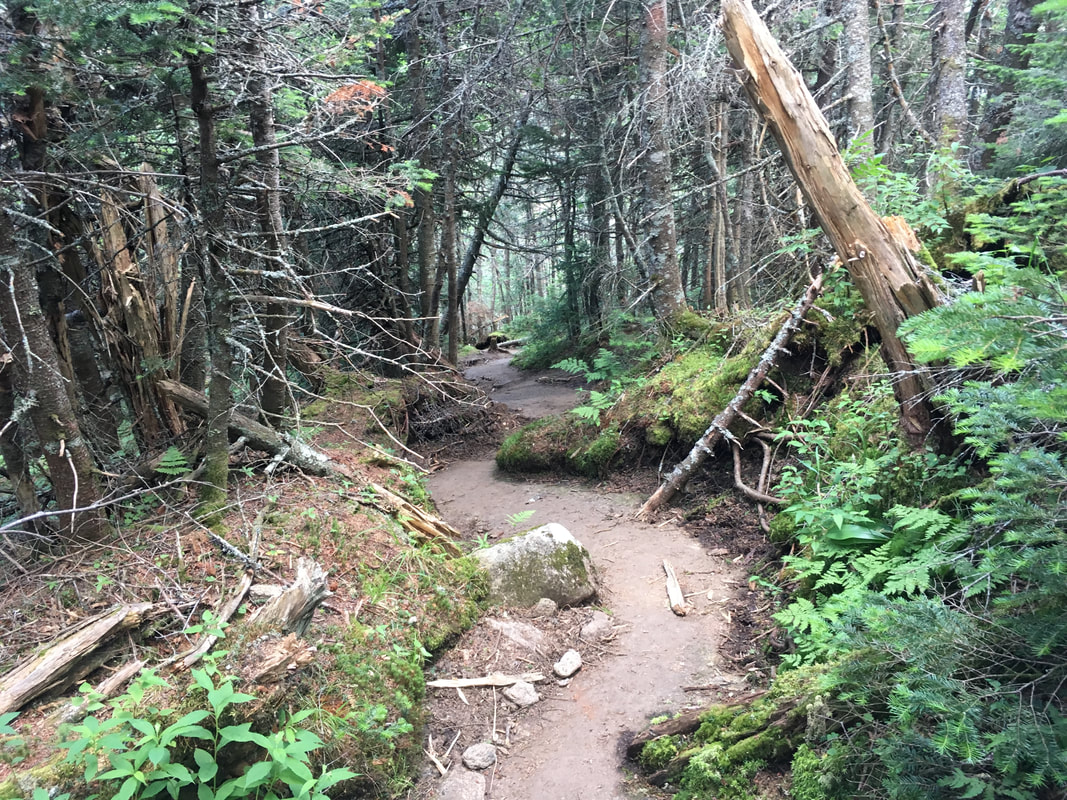
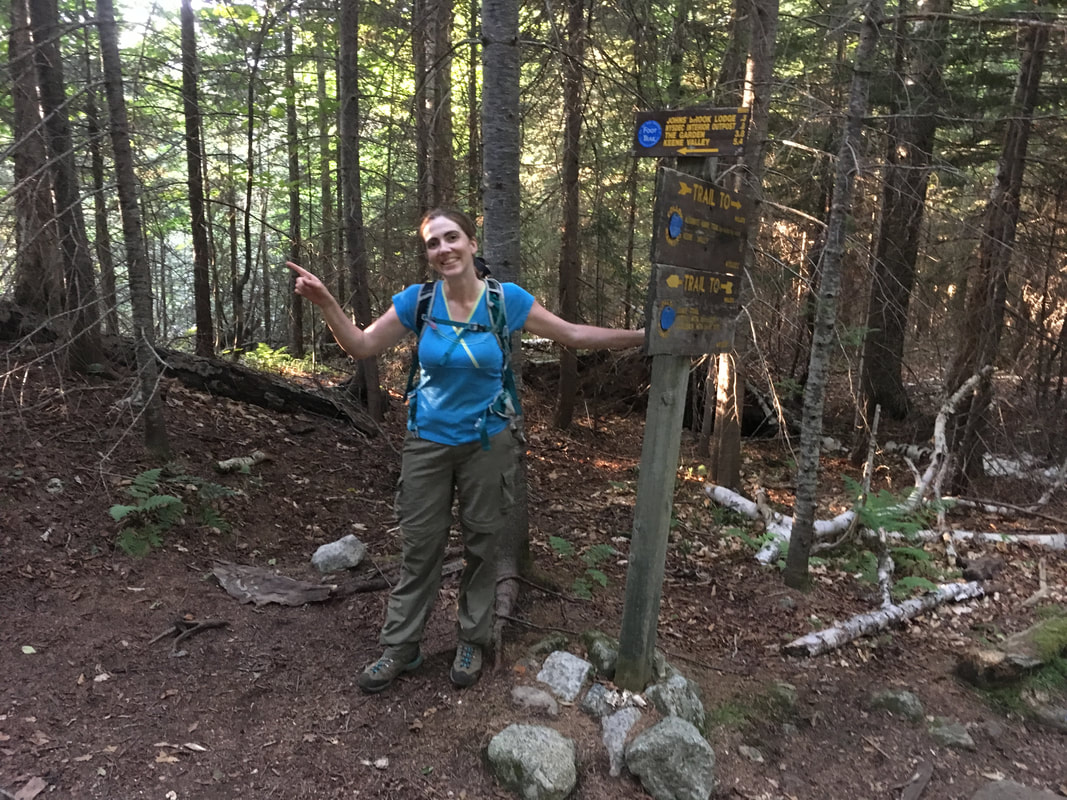
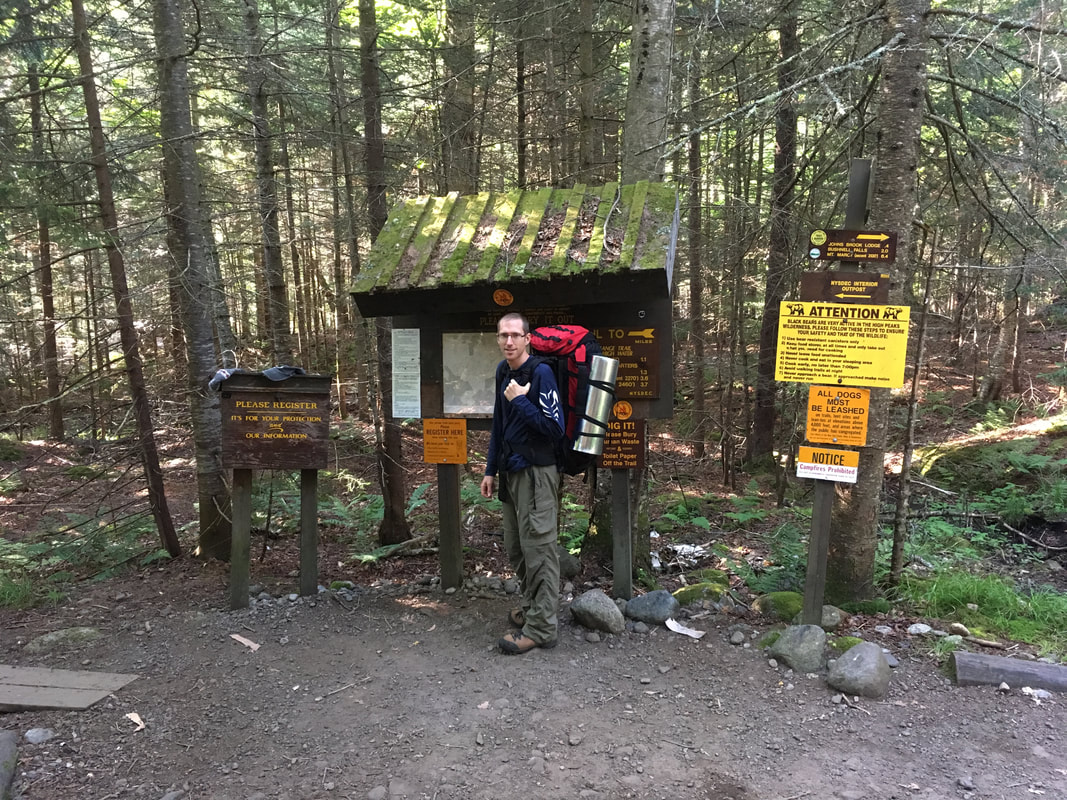
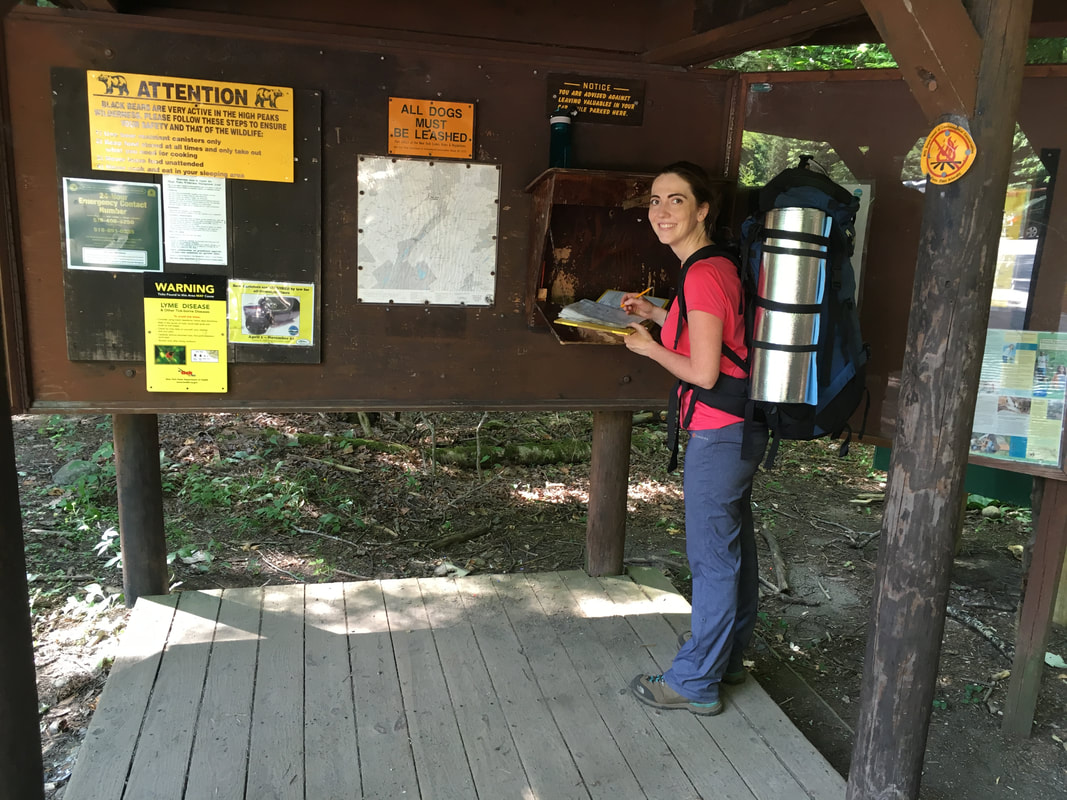
After a three and a half hour drive from Ottawa, we arrived at The Garden Trailhead. I crossed all my fingers and toes and said a prayer for a parking spot... and for the FIRST TIME EVER we got one! Nice! This was such a blessing. With a bit of repacking, we got our overnight packs ready. Then we signed the trail register and were off! The 3.5 miles into Johns Brook Lodge are easy, but just long. It's often referred to as the "Highway of the Adirondacks." We've also hiked this trail before, so Niels and I just tried to do it as fast as we could (which was 2 hours with big packs).
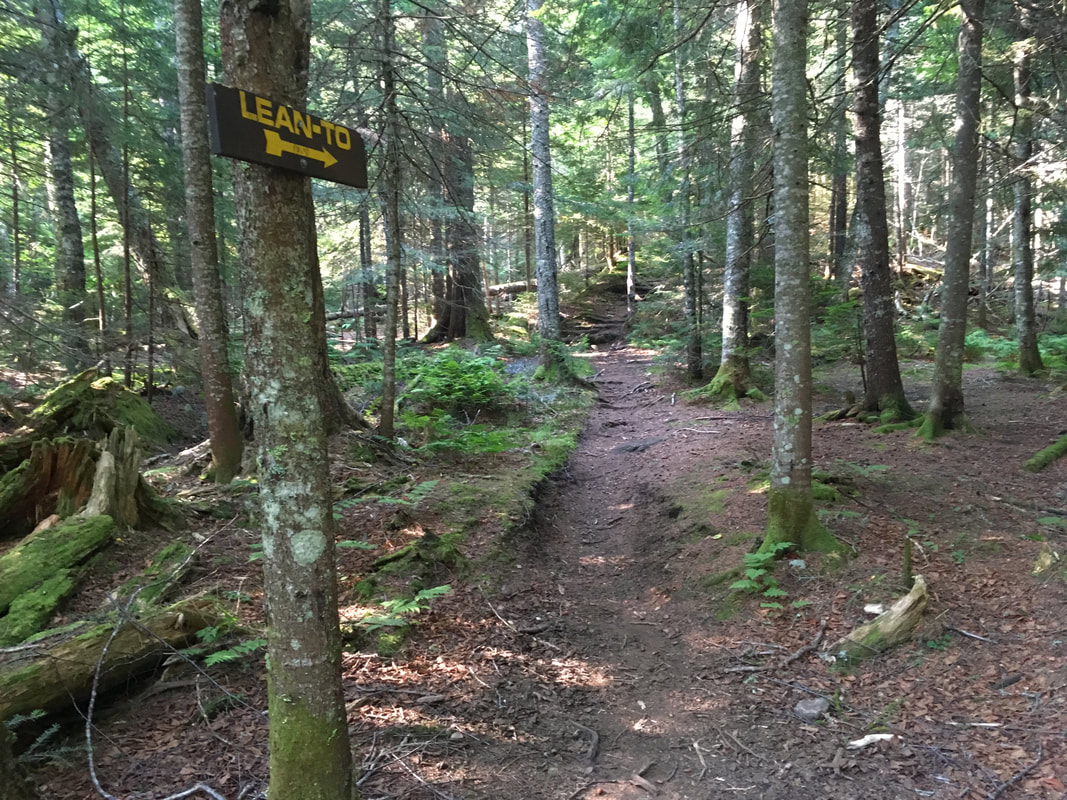
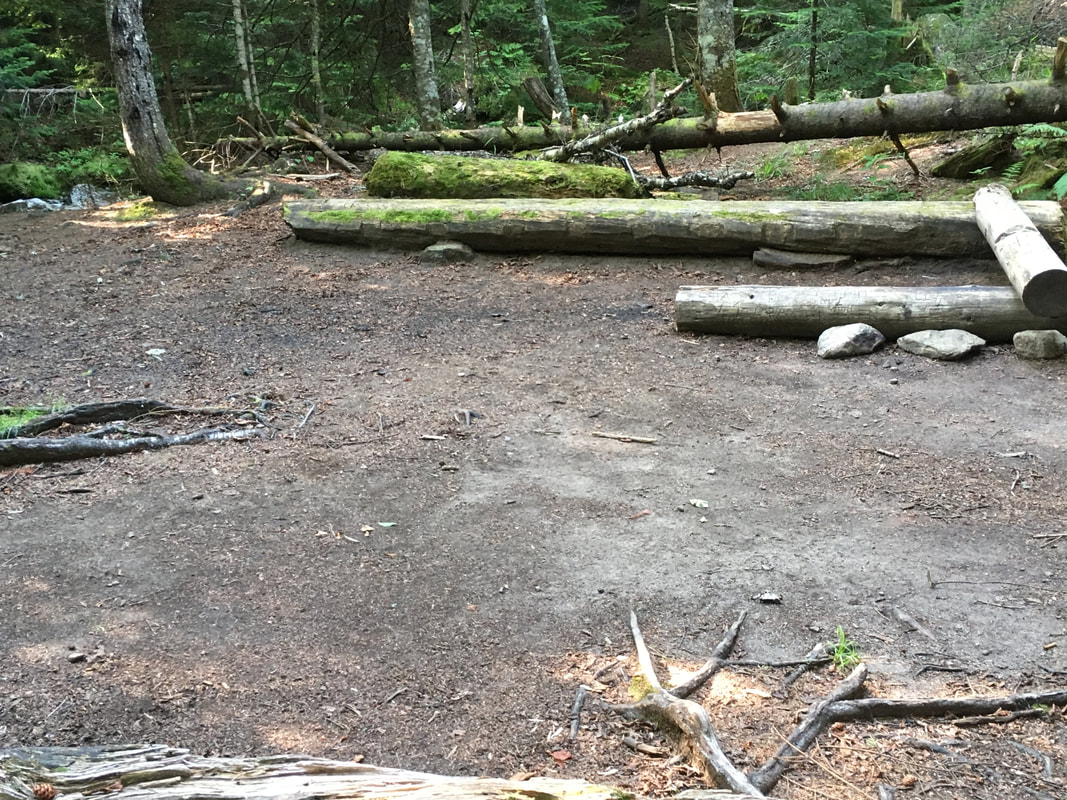
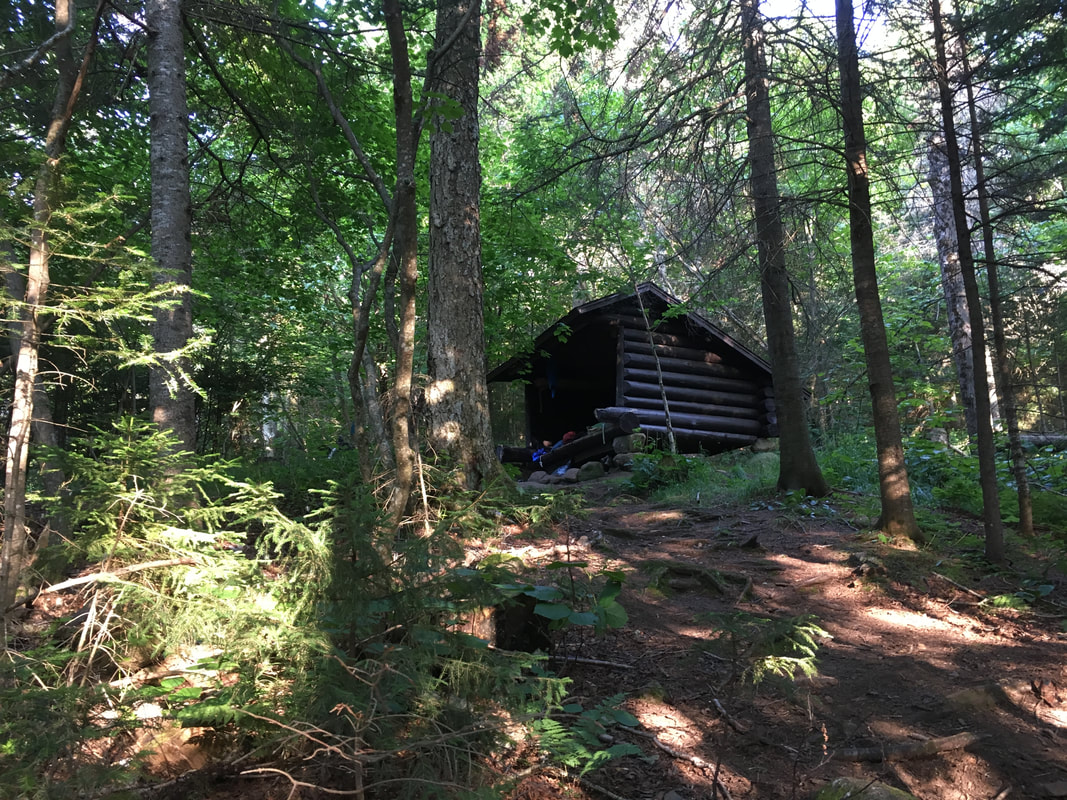
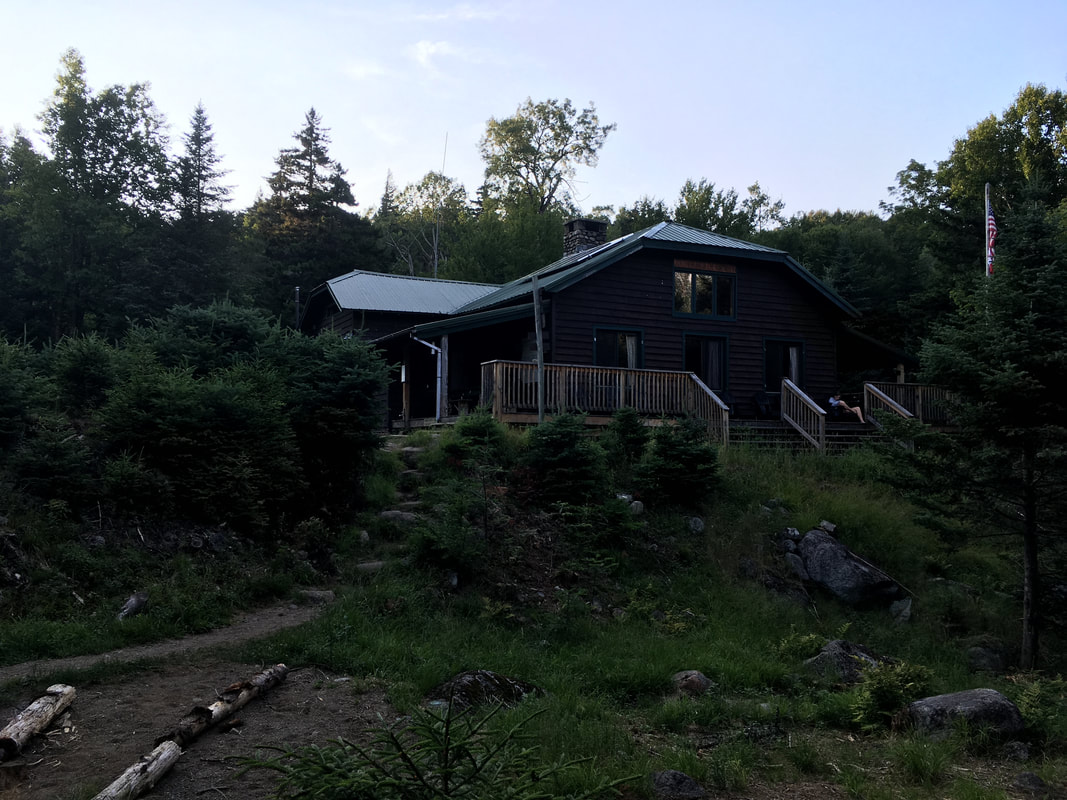
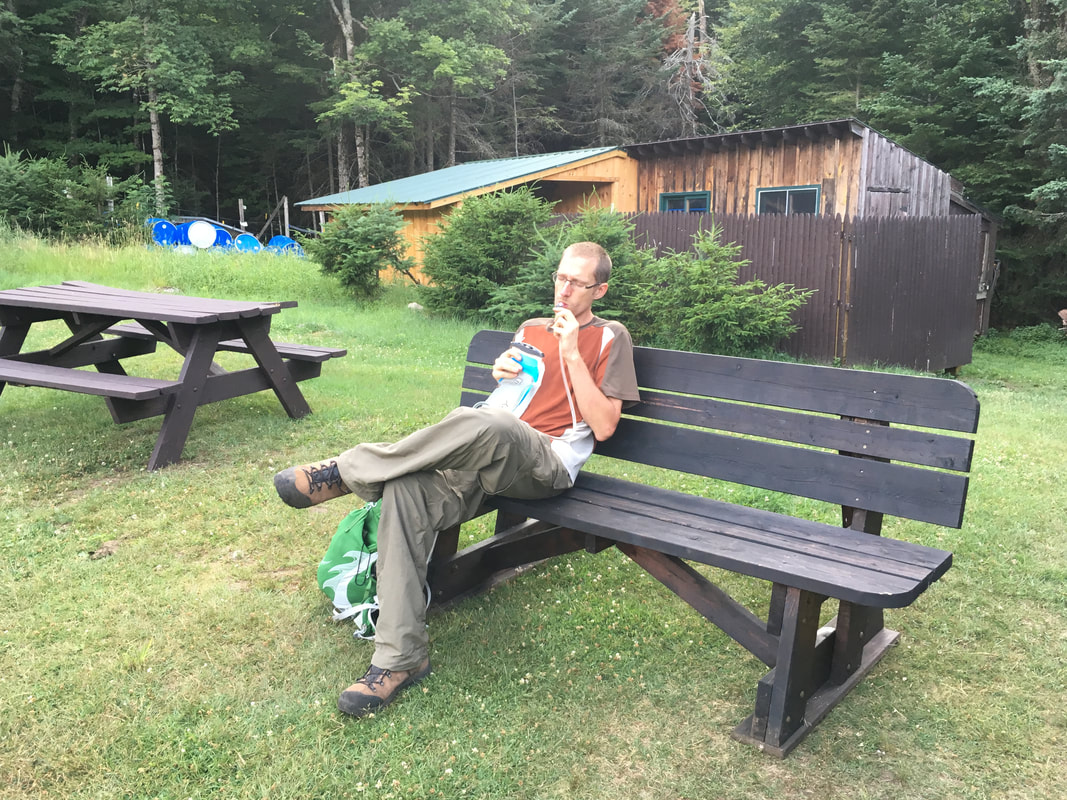
We found several nice campsites shortly past Johns Brook Lodge. There was only one other camper there on this beautiful July weekend! We set up our tent, ate some food at the picnic tables outside JBL and the explored the bridge over the rushing Johns Brook. I love sleeping next to the sound of water!
Hiking Haystack, Basin and SaddlebackAfter a horrible sleep, we woke up and visited JBL to fill up with fresh water. We knew it would be a hot day, and wanted a full 3L of water each. As it turns out, we ran out of water one mile before we were finished. Lesson learned: ALWAYS hike with our water filter, even if it's only a day hike!
|
|
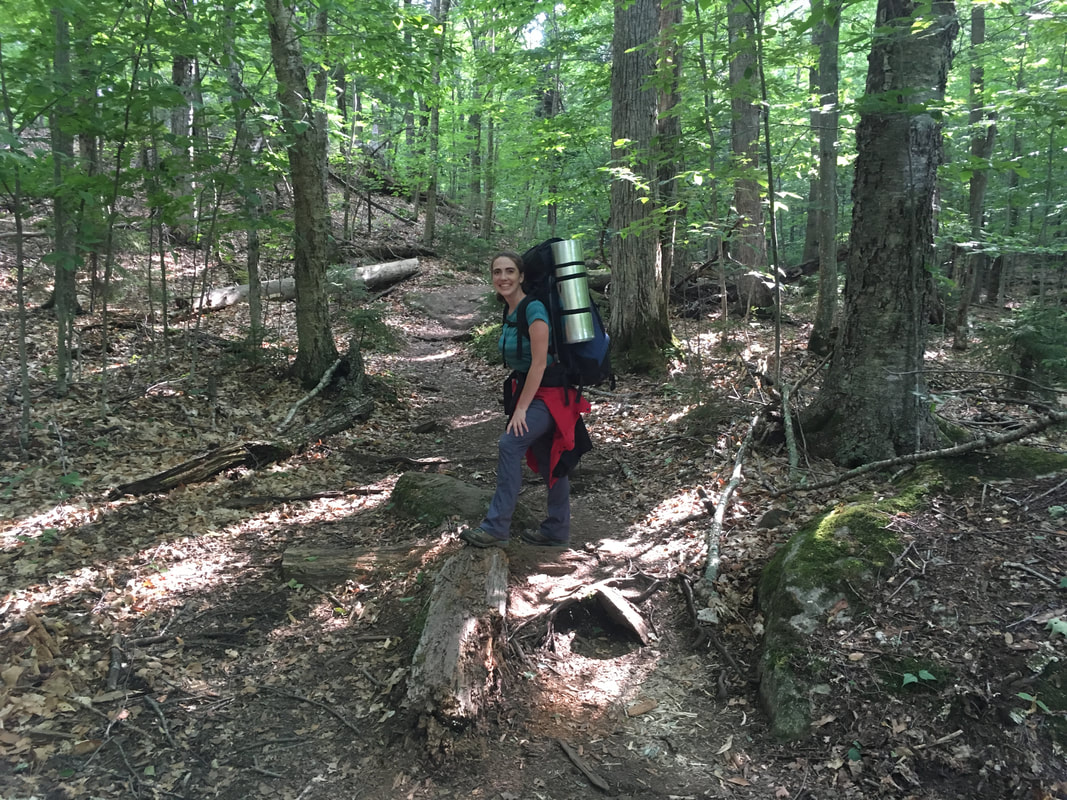
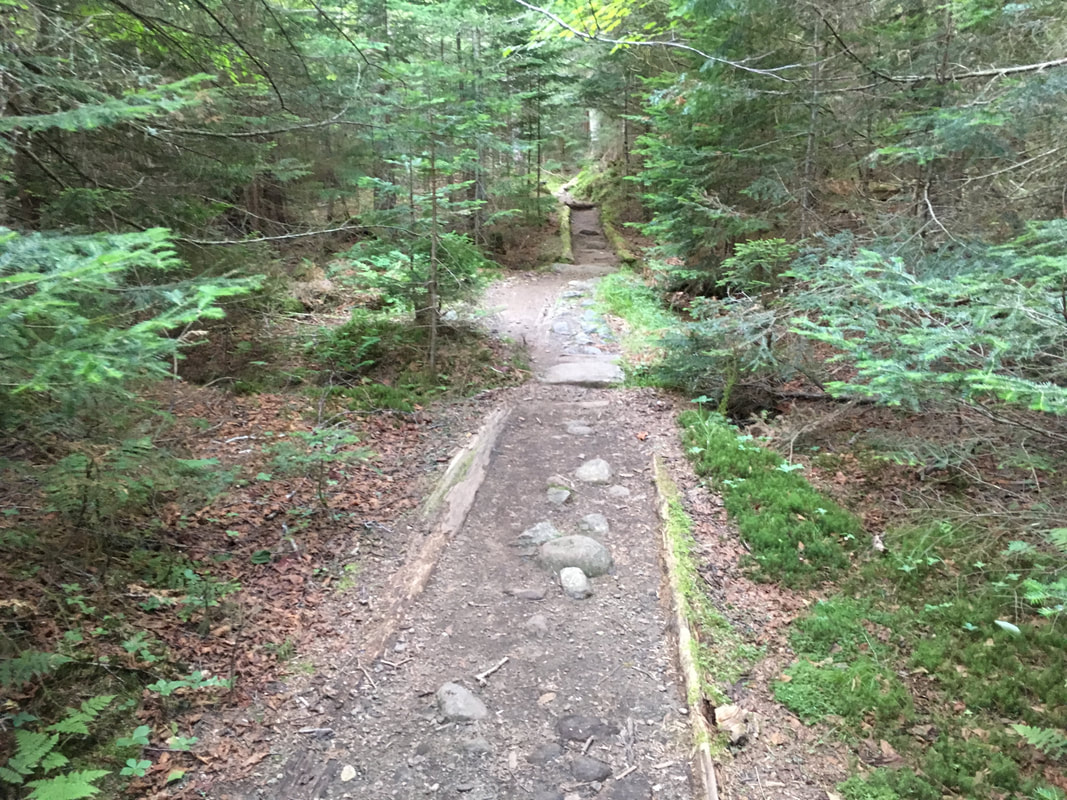
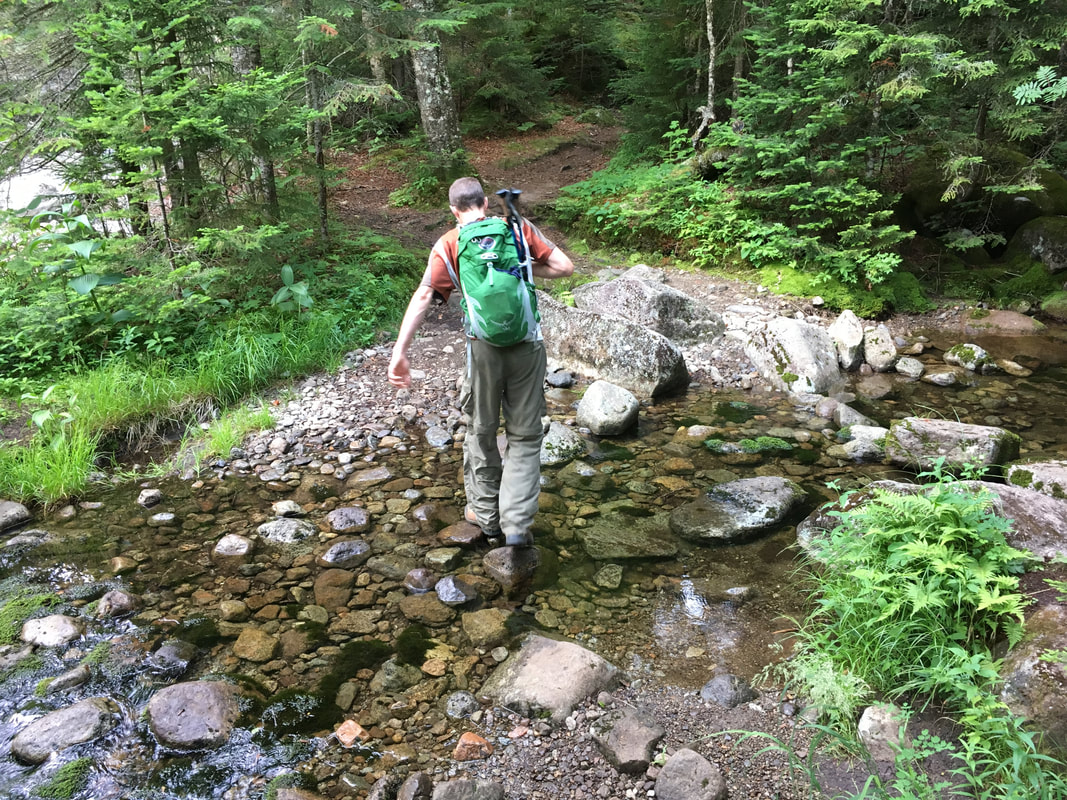
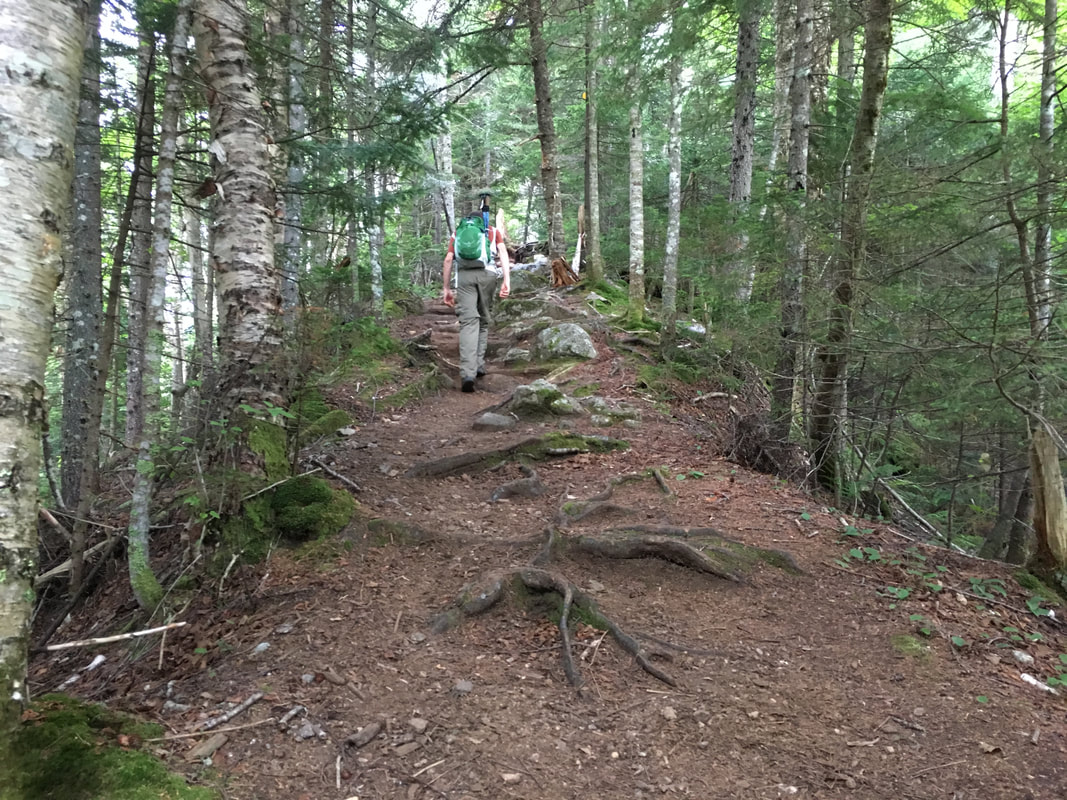
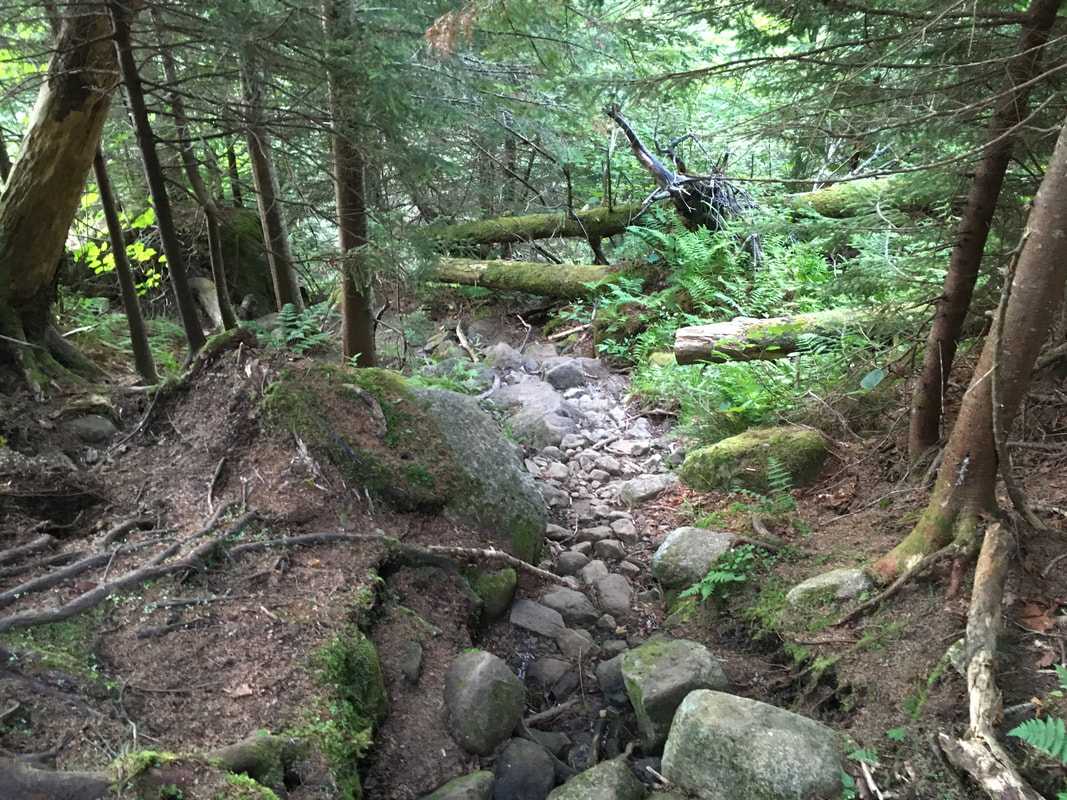
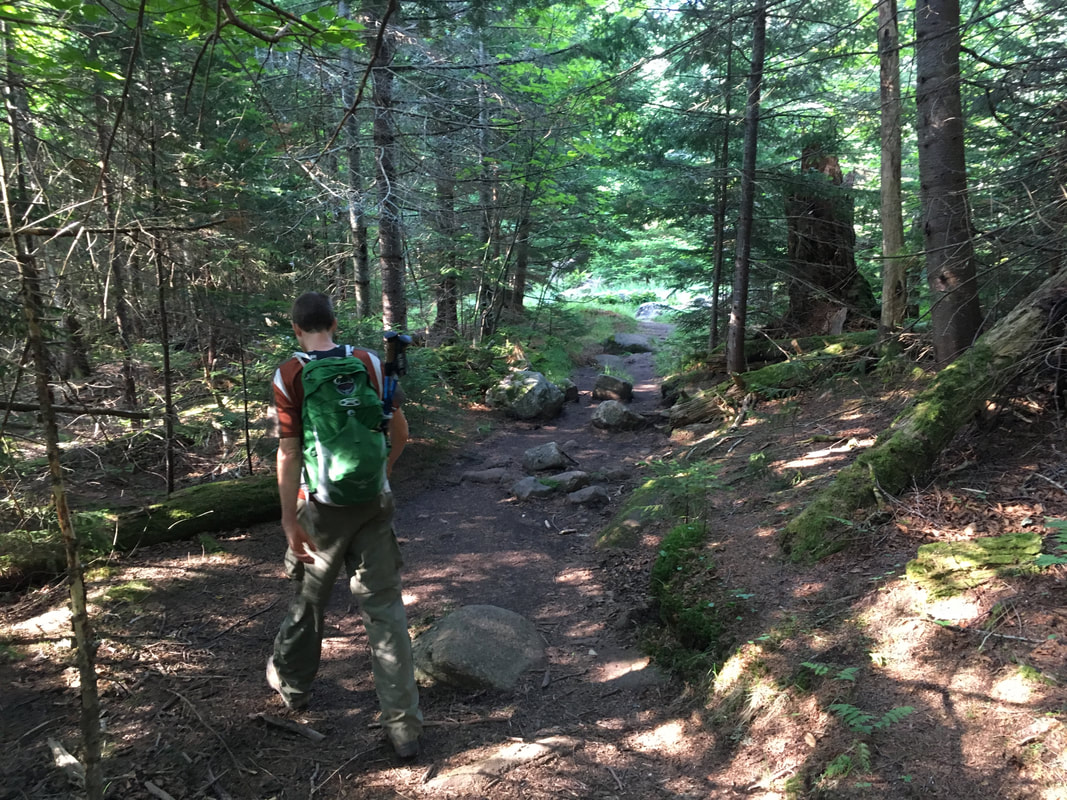
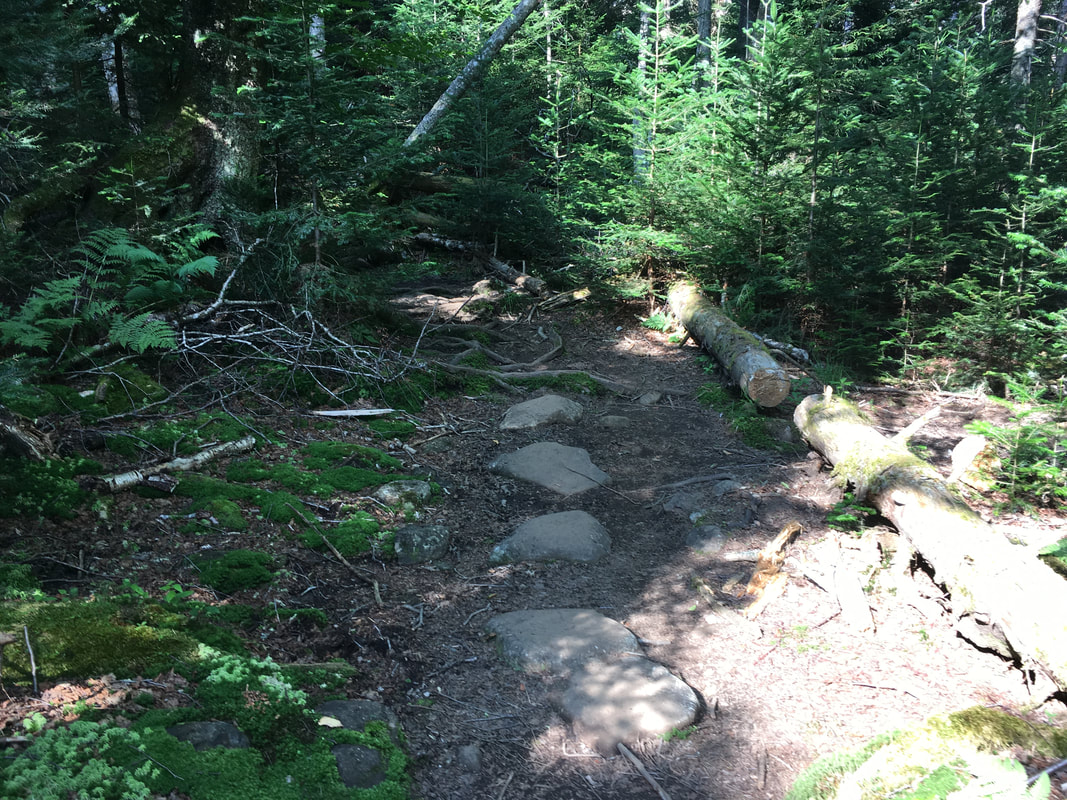
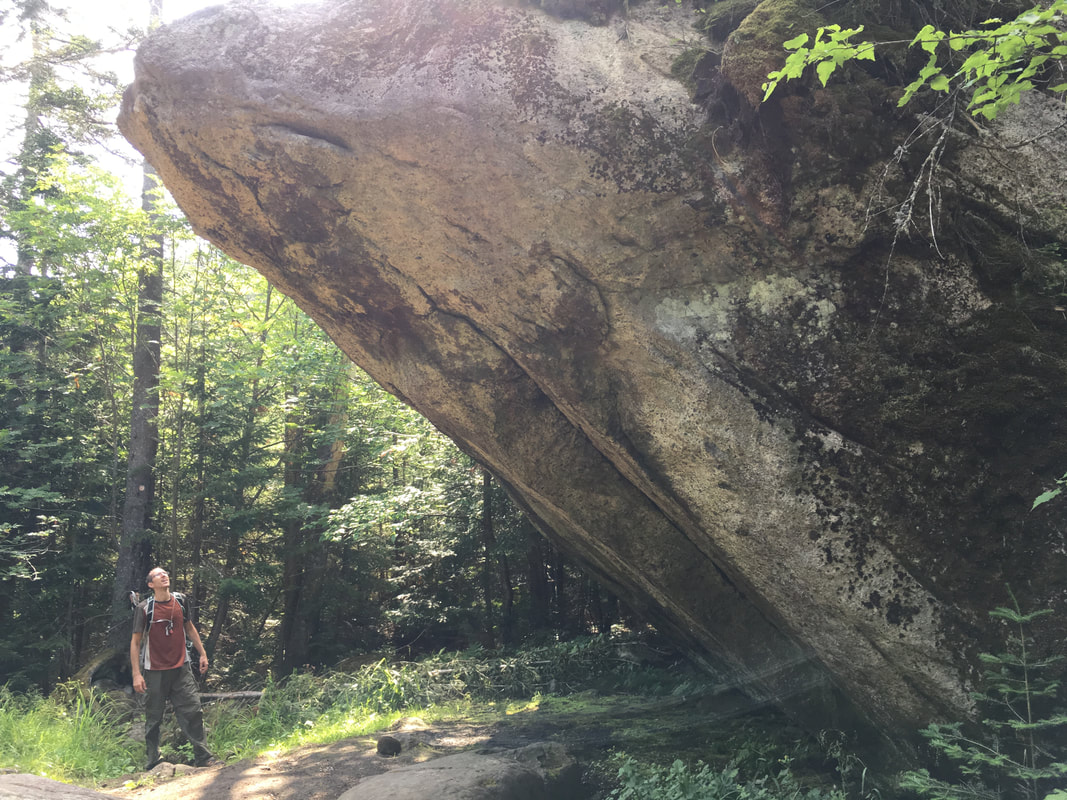
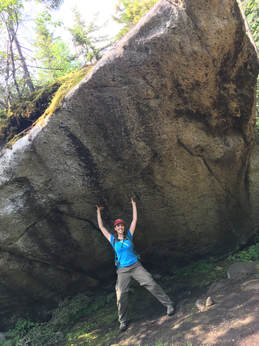
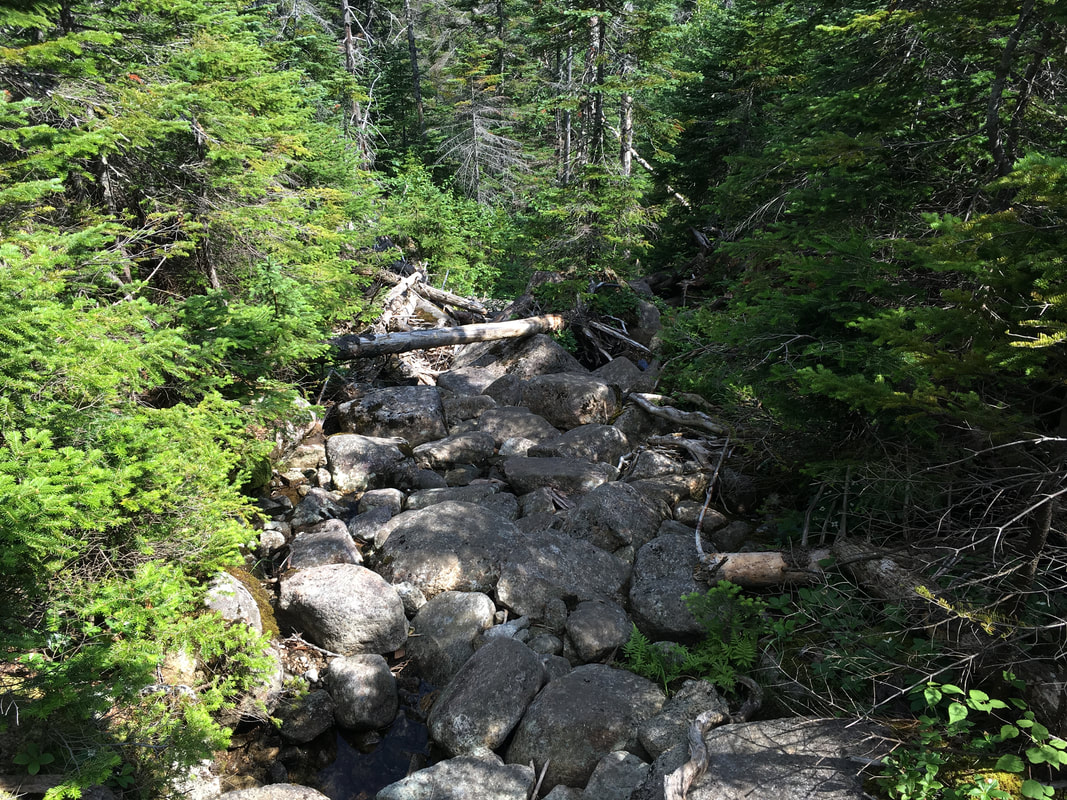
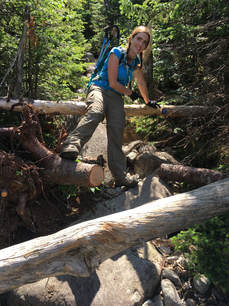
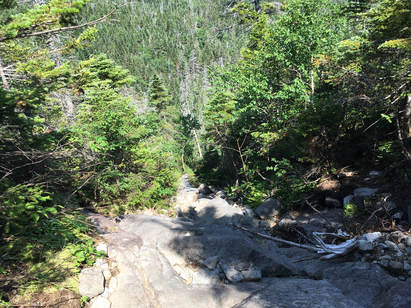
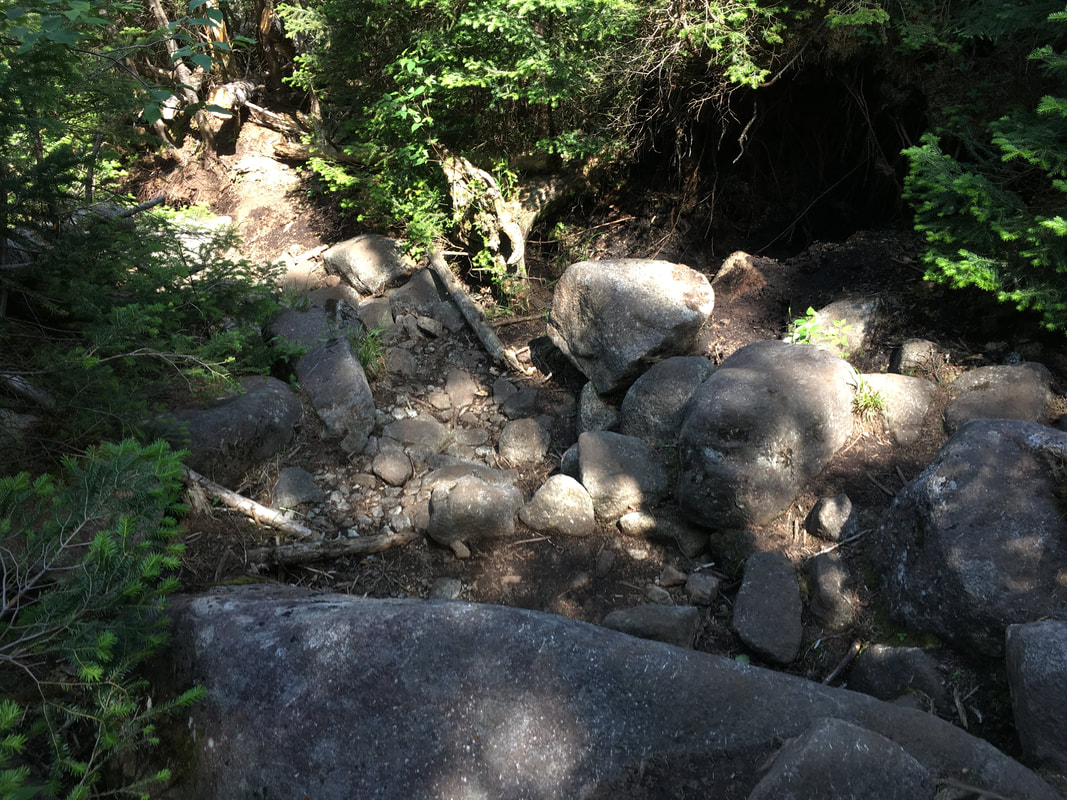
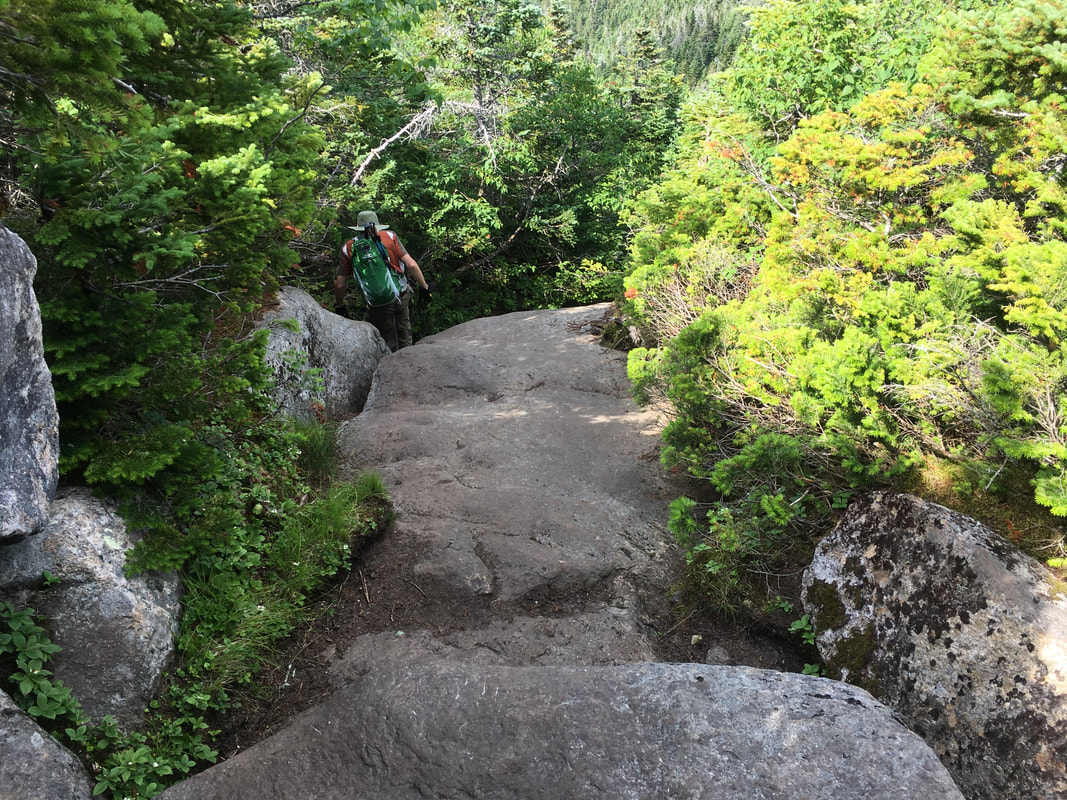
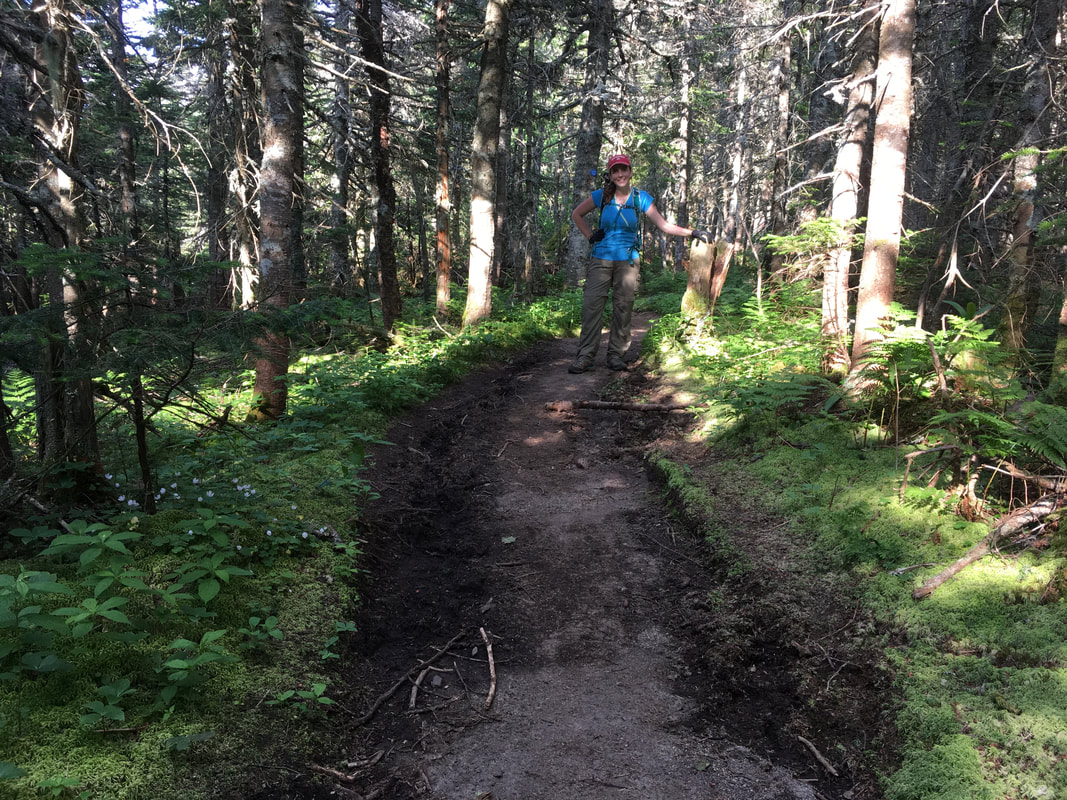
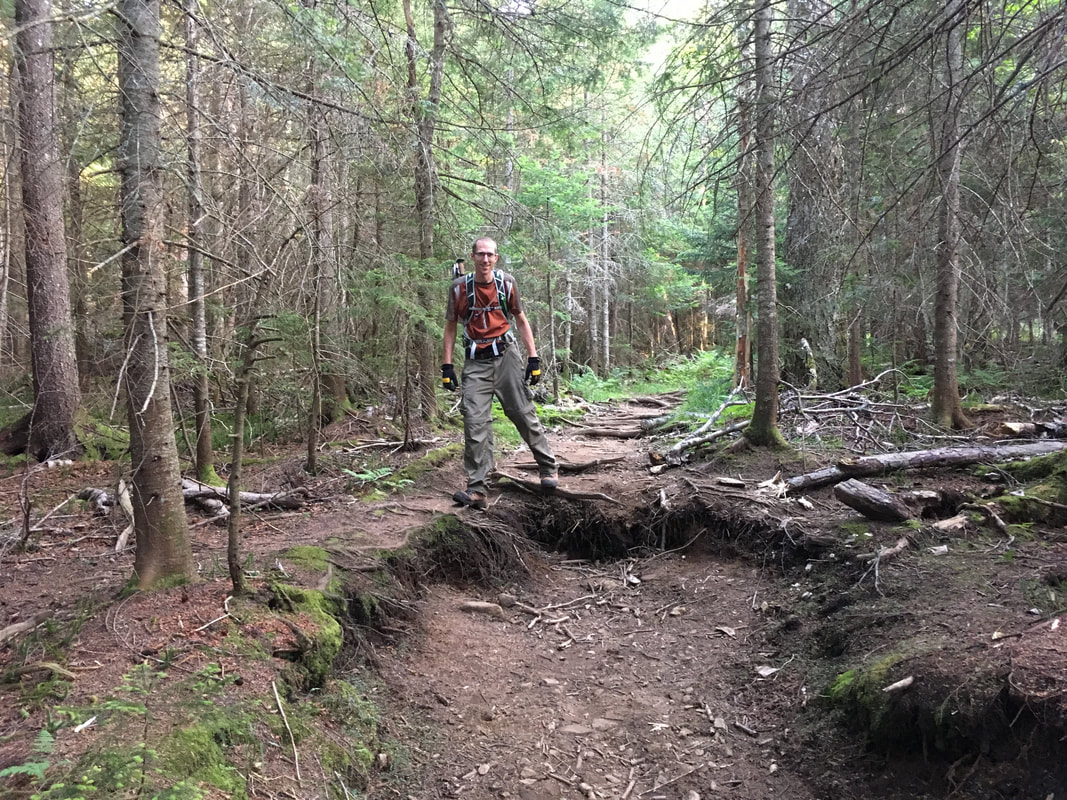
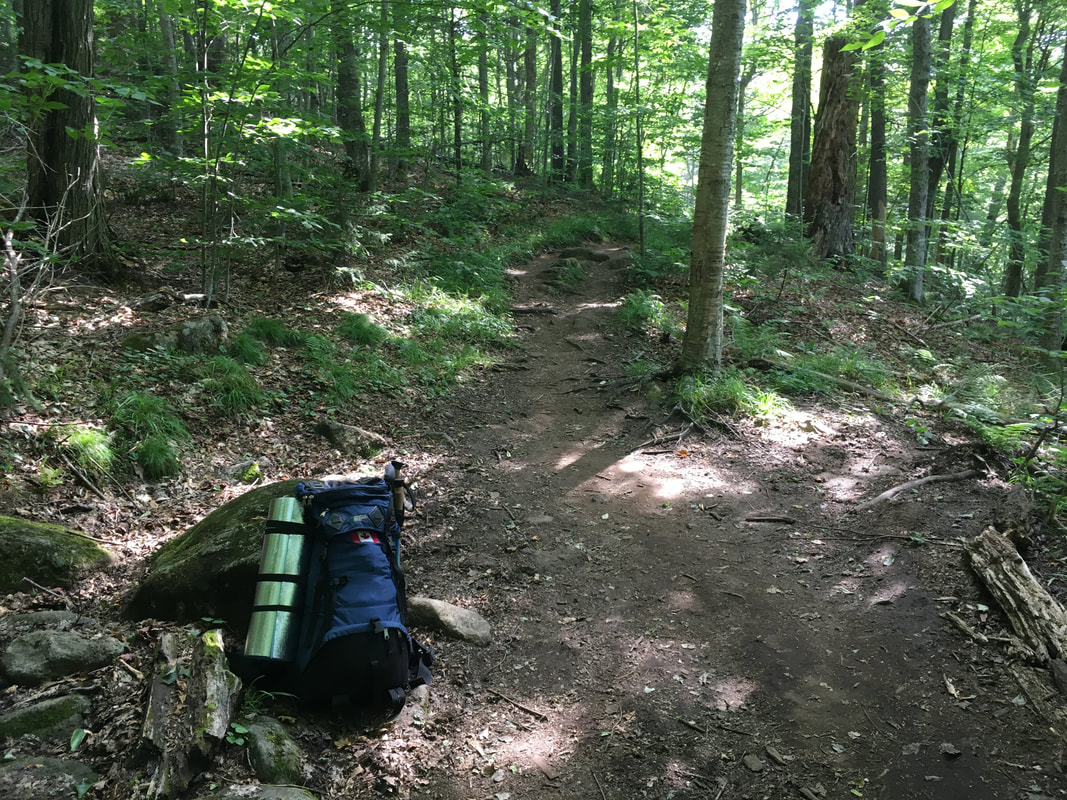
It's 1.5 miles up to Bushnell Falls, and this was a very easy hike! We loved walking beside the bubbling brook and any water crossings were easy peesy as the water level was low. We saw several massive frogs (bigger than the size of my fist!) and beautiful Adirondack vegetation. We also made great time, because the trails looked like this:


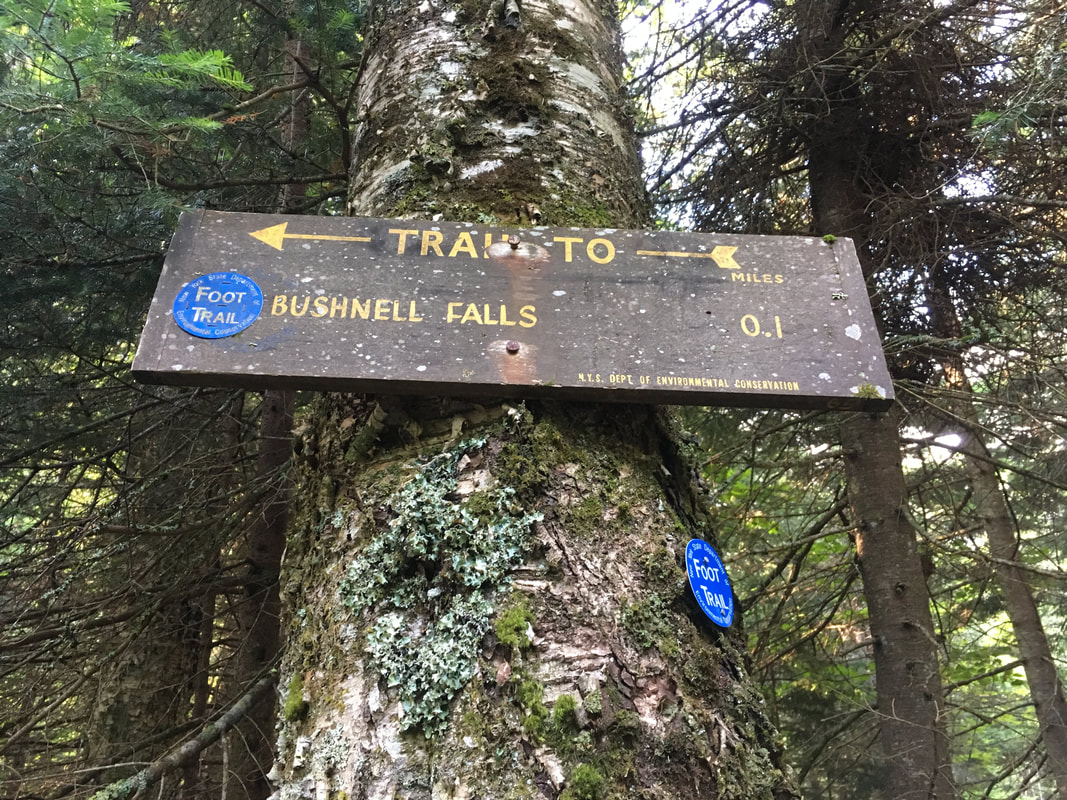
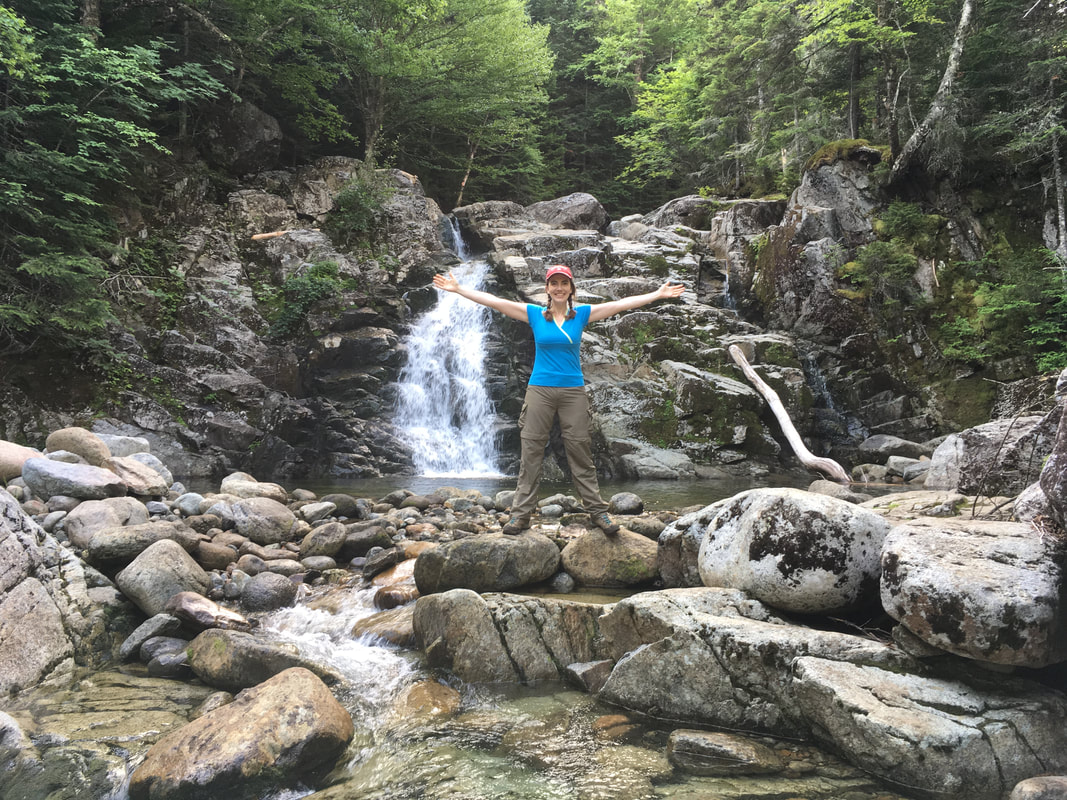
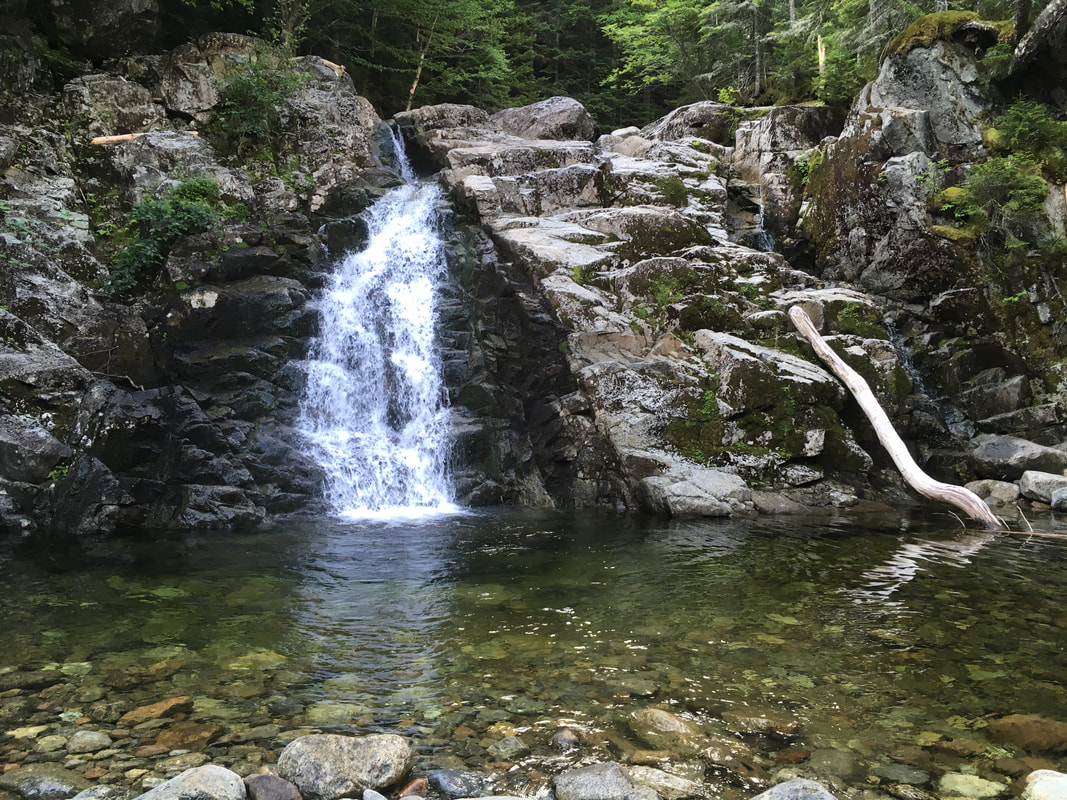
You will see a sign announcing a 0.1 mile detour to Bushnell Falls. Know this: a) it's a steep 0.1 miles down and up again and b) it's TOTALLY WORTH IT. Life is short - take the scenic route. We must have been hiking really fast, because we did the 1.5 miles to Bushnell Falls in only 45 min and were enjoying the falls by 8am!
|
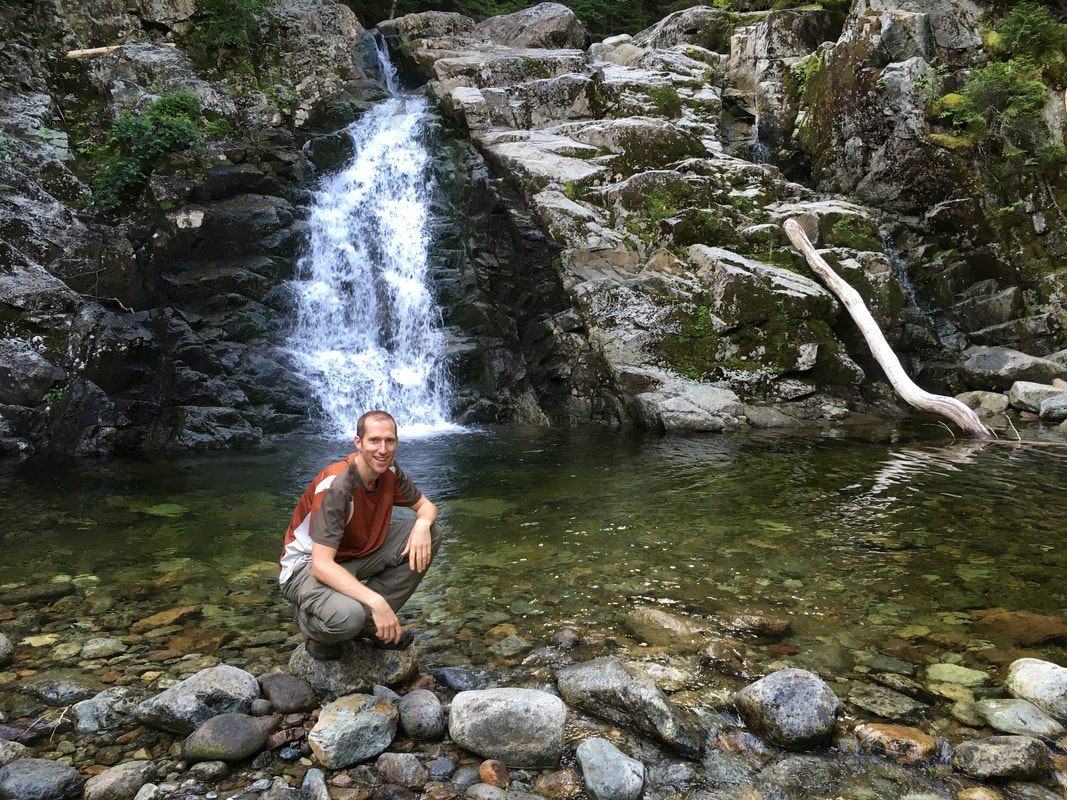
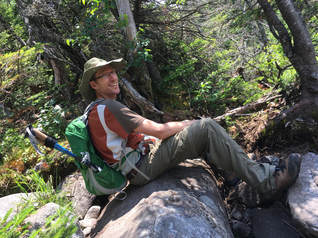
Isn't this just the best picture of Niels? He says he could spend all day at waterfalls, and I believe it. There is something very relaxing about the sound of the rushing water hitting the rocks...
|
|
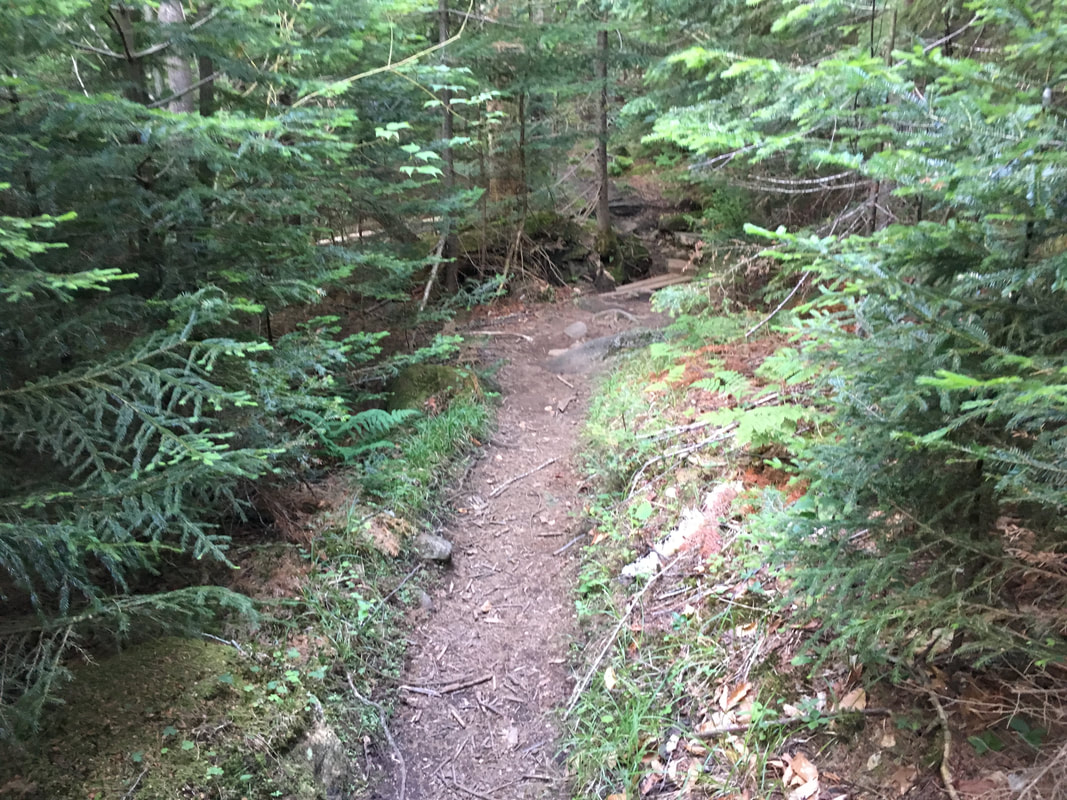
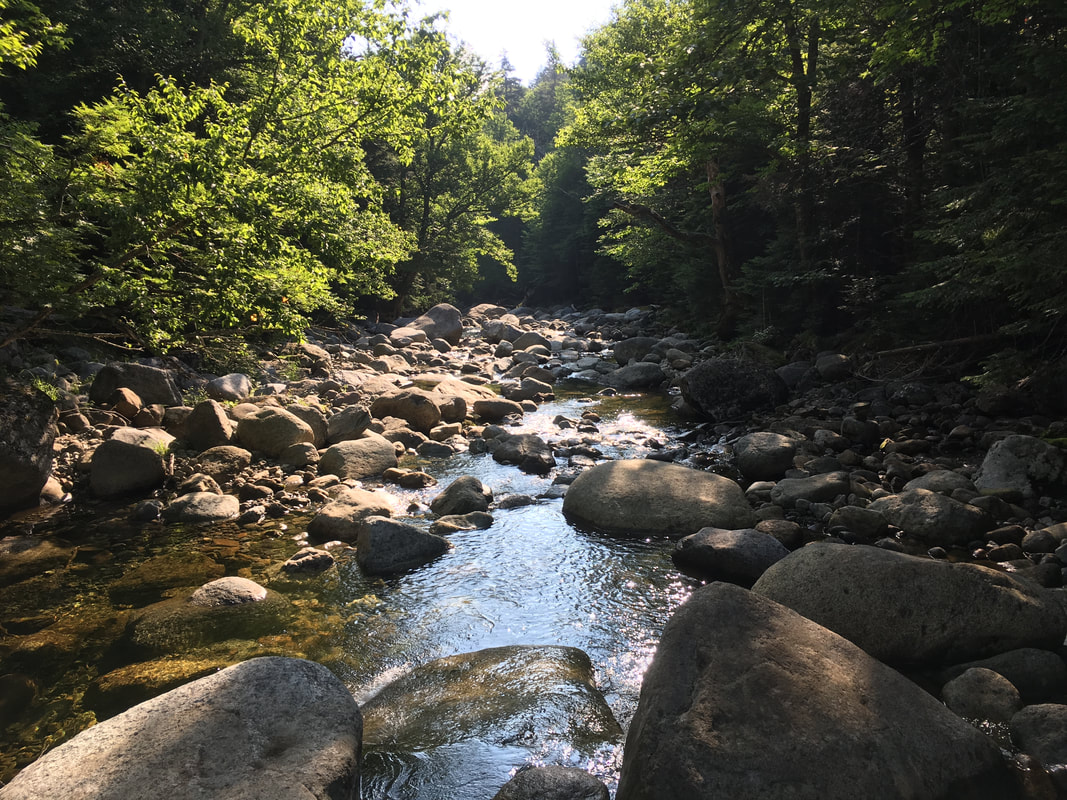
After Bushnell Falls, it's another beautiful and easy 1.9 miles to Slant Rock. Niels and I decided that this was literally the nicest, flattest and easiest path that we have ever hiked in the Adirondacks. From JBL to Slant Rock is also well marked with lean-tos and campsites.
Slant Rock is just what it's name suggests... and it's MASSIVE! We took a break here to eat, and then took another look at the map. We had decided to only trek Basin and Saddleback today, but we were feeling great and making excellent time (3.4 miles from JBL in only 2 hours and 15 minutes, with a significant stop at Bushnell Falls). It was only 9:30am. Haystack was *right there.* Should we add another 1.5 miles on today (difference between doing the loop that includes Haystack and the Shorey Short Cut trail we would have had to do anyway), or another 4.8 miles RT later when we do Marcy? We knew if we didn't do it today, we would surely regret it. So, as always, we decided to make this a longer and harder day and add in Haystack.
|
|
Haystack
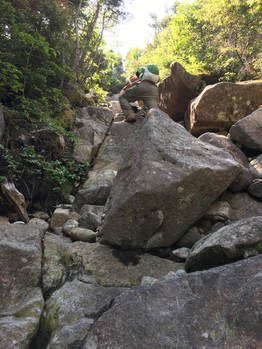
Several blogs described Haystack as a 'beast' to climb, but quite honestly it was my favourite of the day. Climbing it involves heading up a steep and rocky 0.9 miles past Slant Rock, then turning left (going right leads you to Marcy) and continuing for another 0.5 miles... and then hiking the final 0.6 mile stretch over "Little Haystack" and finally tackling the real thing. Now those paths were more like the rocky ADK trails we know! Phew! Haystack is the third highest in the Adirondacks, so I guess we had to hit some elevation at some point!
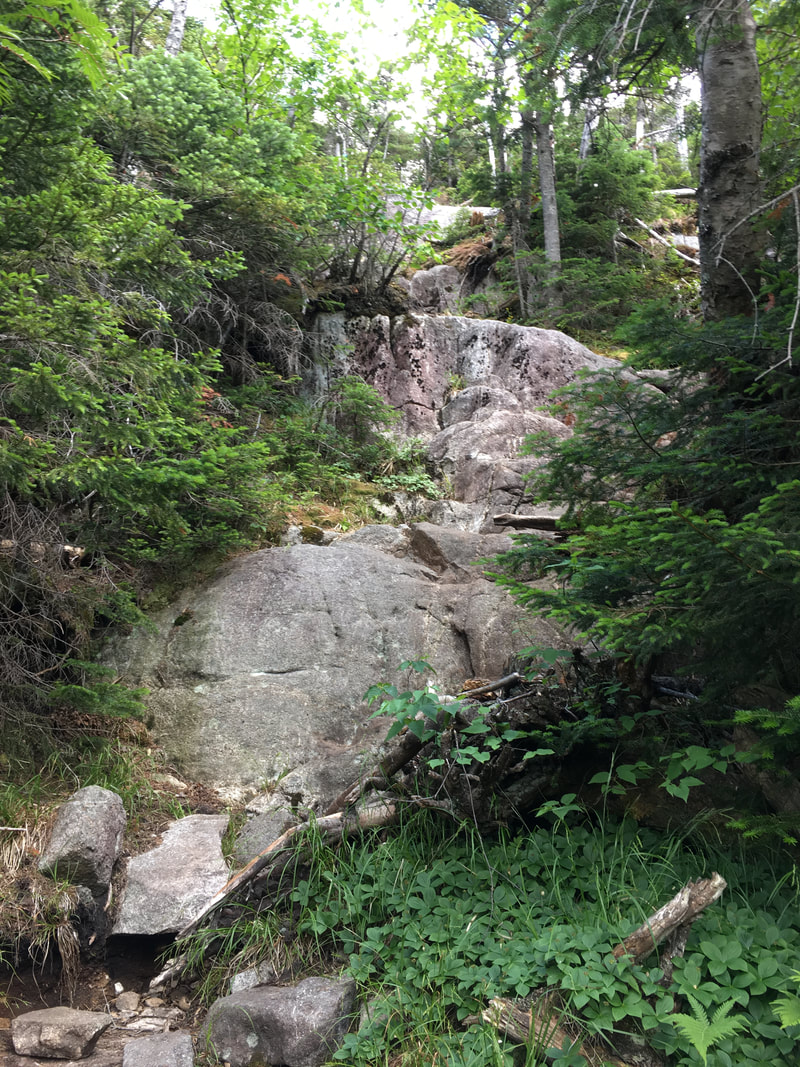
The 0.9 miles from Slant Rock to the jct is very rocky and steep
|

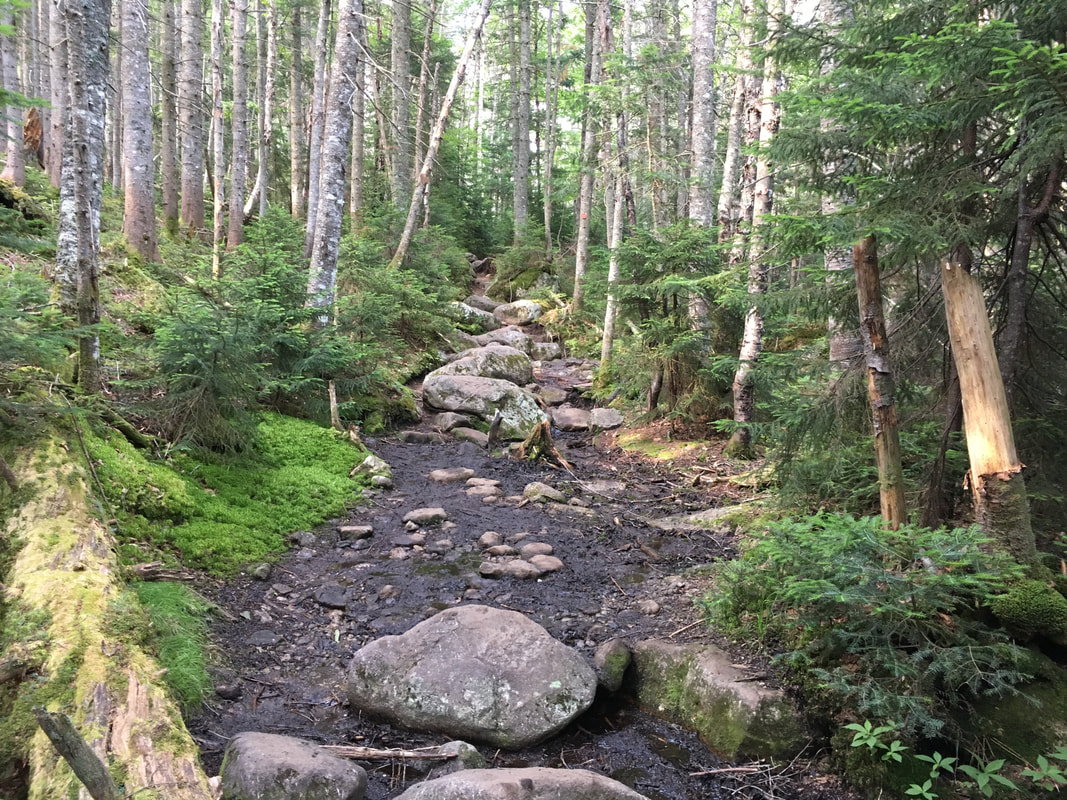
A more typical ADK rocky path...
|
That 0.9 miles took us an hour...
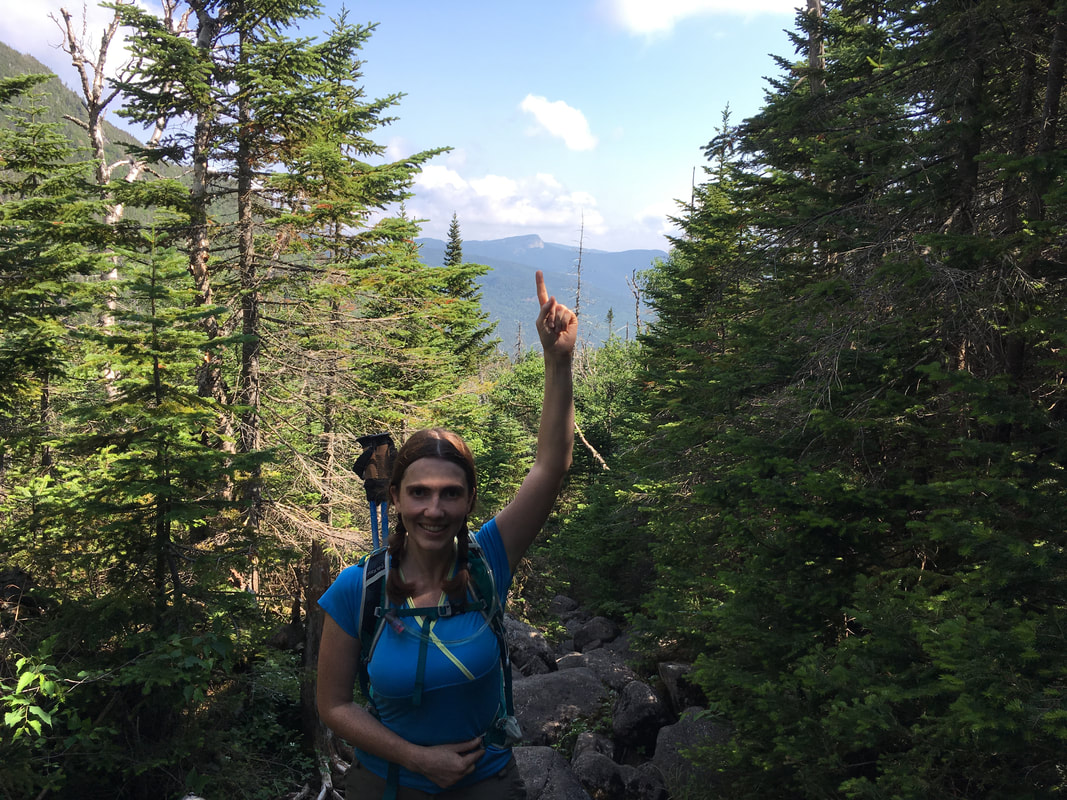
Our first views of the day! I'm pointing to Big Slide - which we've done.
|
Jct - will you go right for Marcy or left for Haystack/Basin/Saddleback?
|
The 0.5 miles leading to Haystack is steep. I was thankful for my hiking gloves and we took our time. Seriously, I think we took an hour to do half a mile!
|
|
|
This trail is well marked. Before we knew it, we were at the junction for Haystack and could see our destination - Little Haystack and Big Haystack!
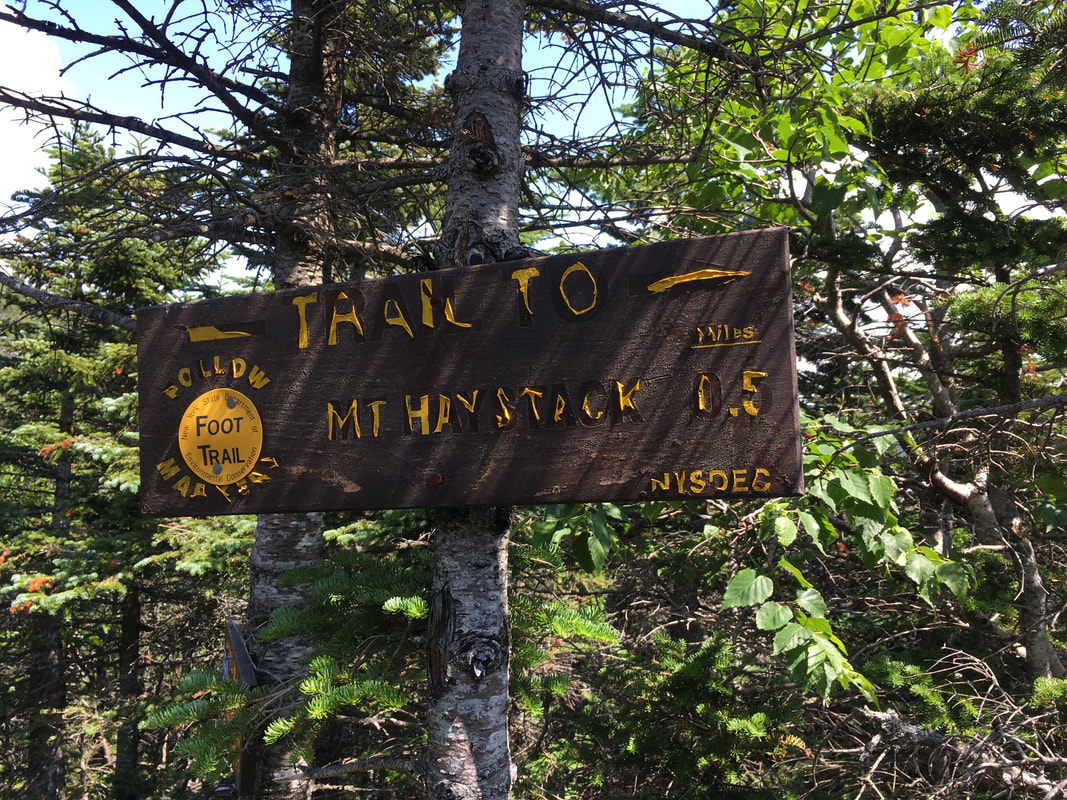
Haystack needs a new sign!
|
Views on the way up - behind us is Skylight (left) & Marcy (right)
|
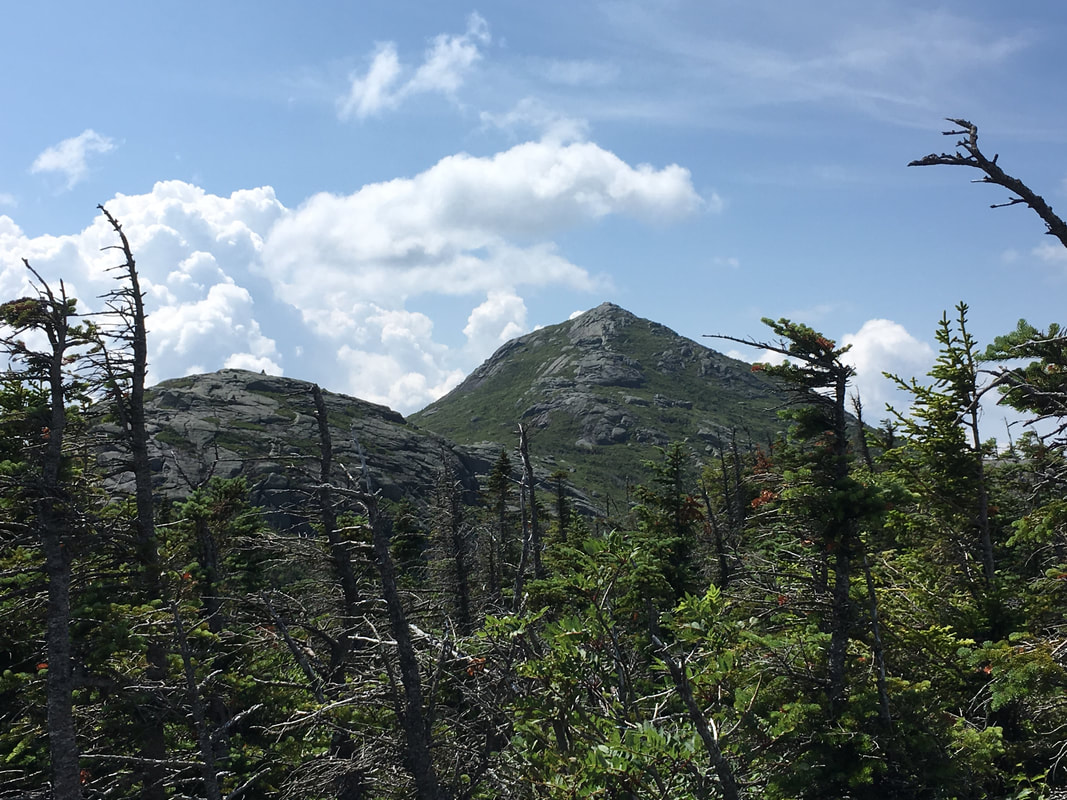
Looking on to Little Haystack and Big Haystack
|
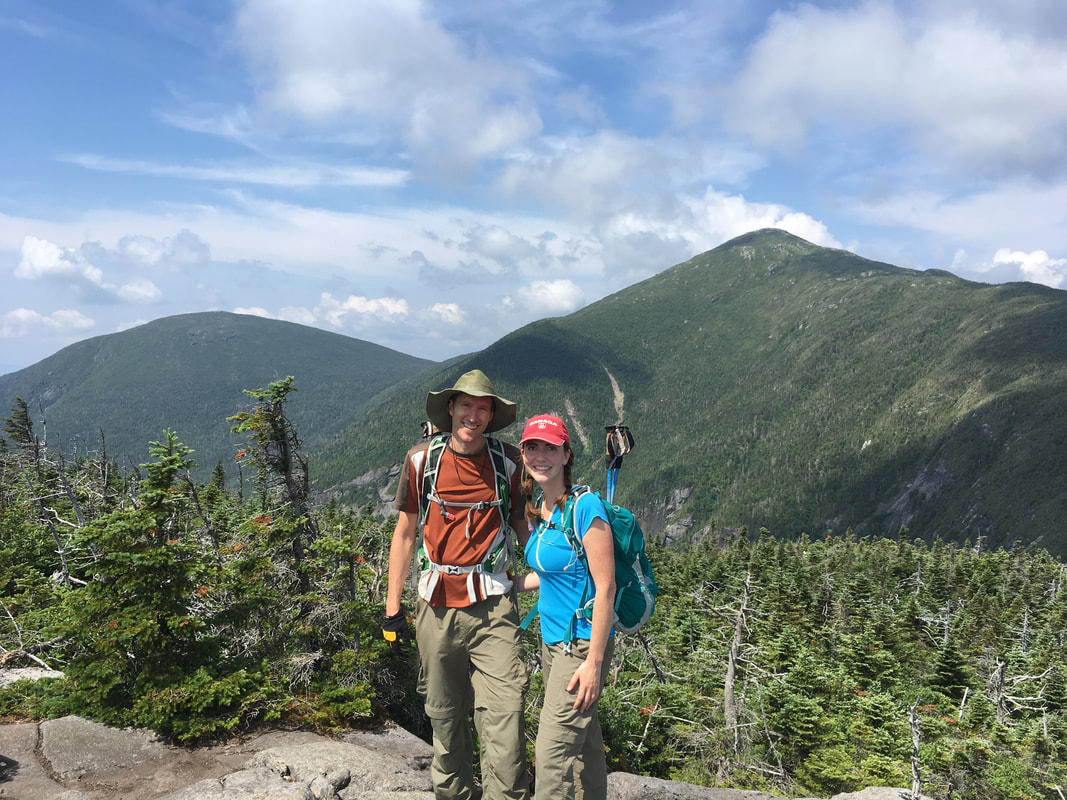
Both Little Haystack and Big Haystack look more daunting then they are to actually climb. The photos below are taken from Little Haystack, looking up at Big Haystack.
My playground!
|
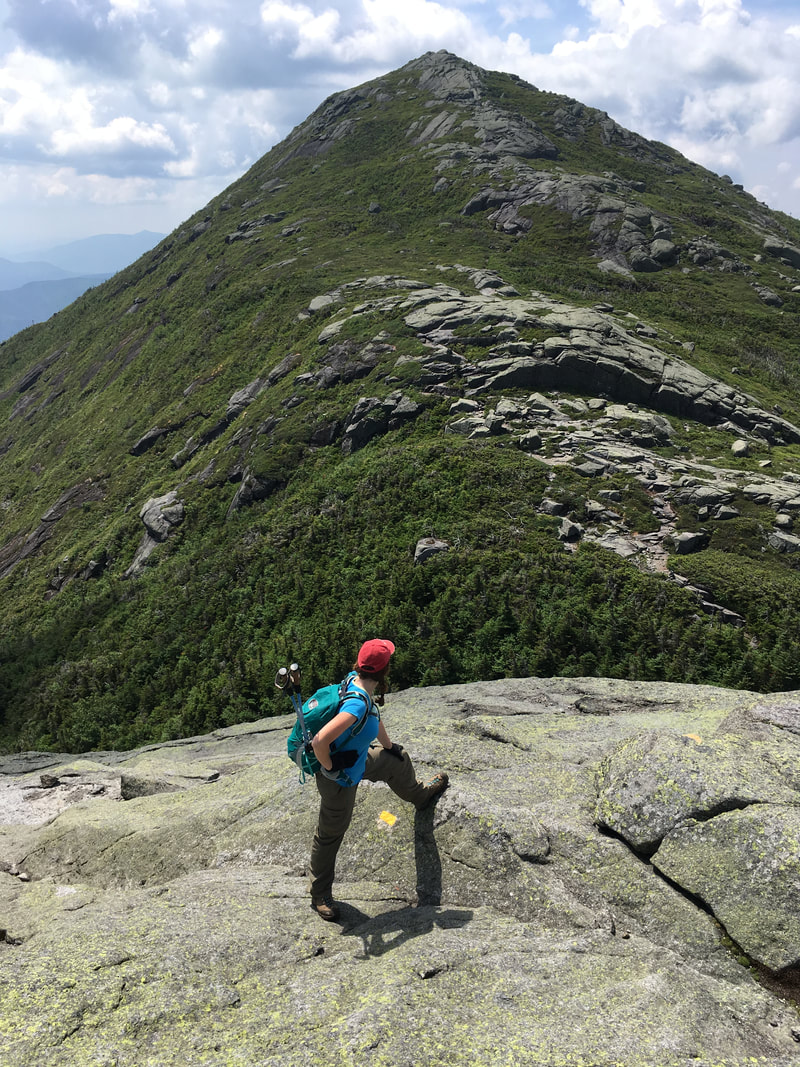
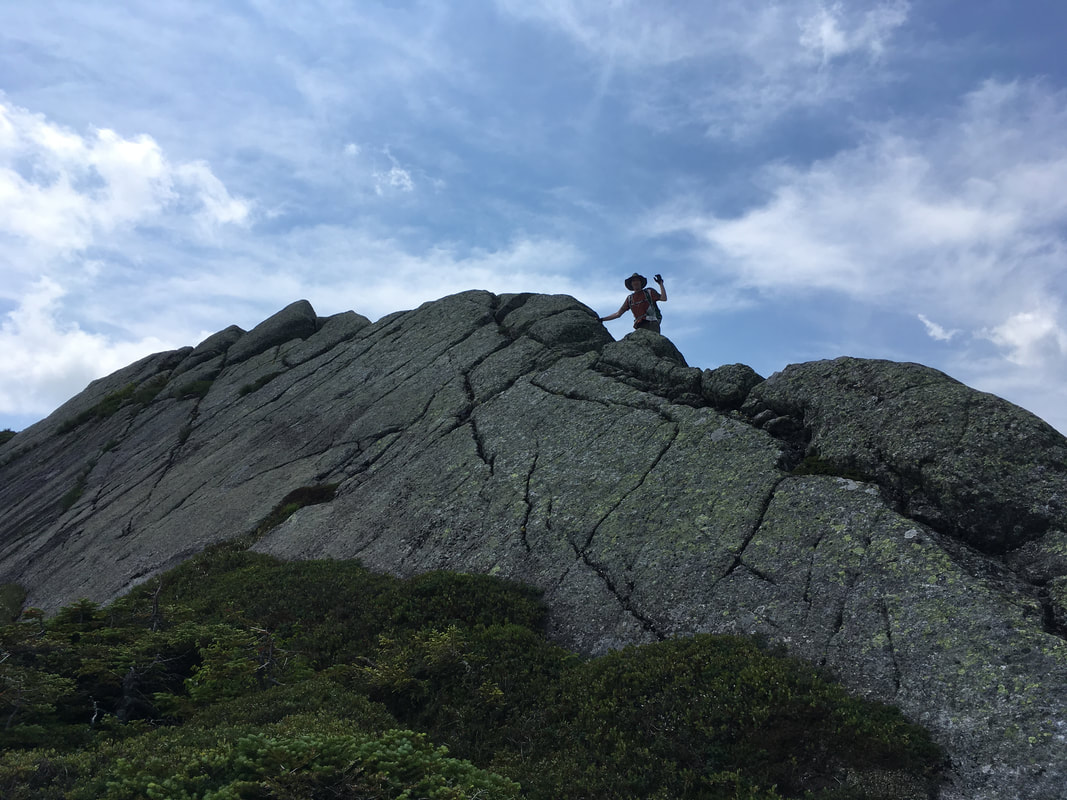
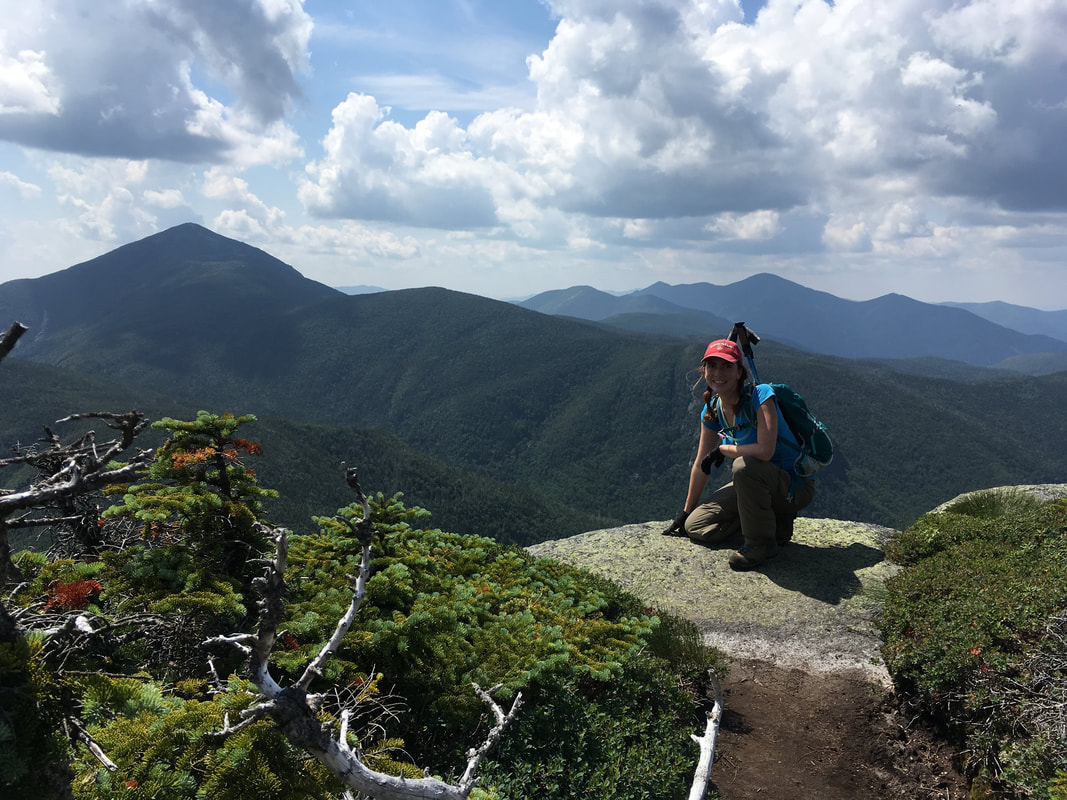
Shannon on Little Haystack looking up to Big Haystack
|
We didn't love standing on Little Haystack and realizing that we had to climb DOWN before we climb back up. Ugh. In the end, it wasn't as difficult as it looked though. Here is a short clip of me climbing up a steep section.
|
|
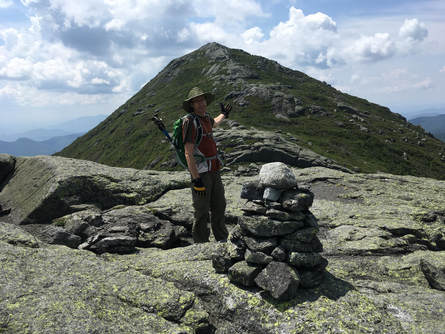
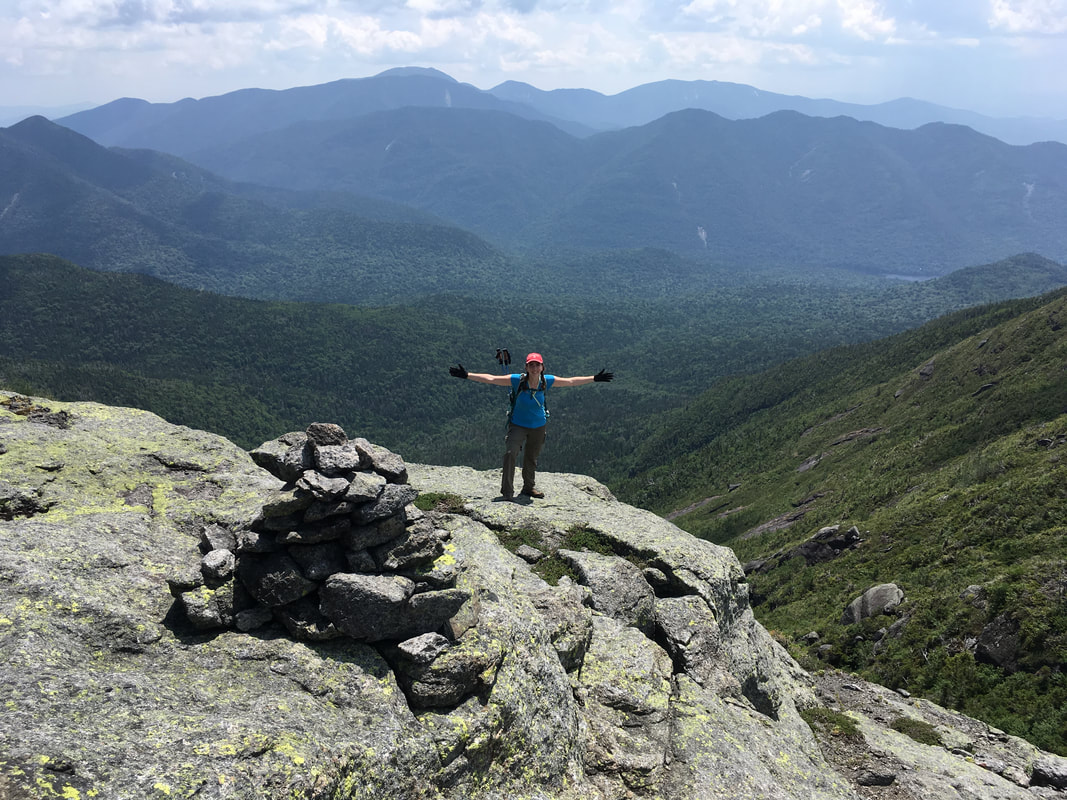
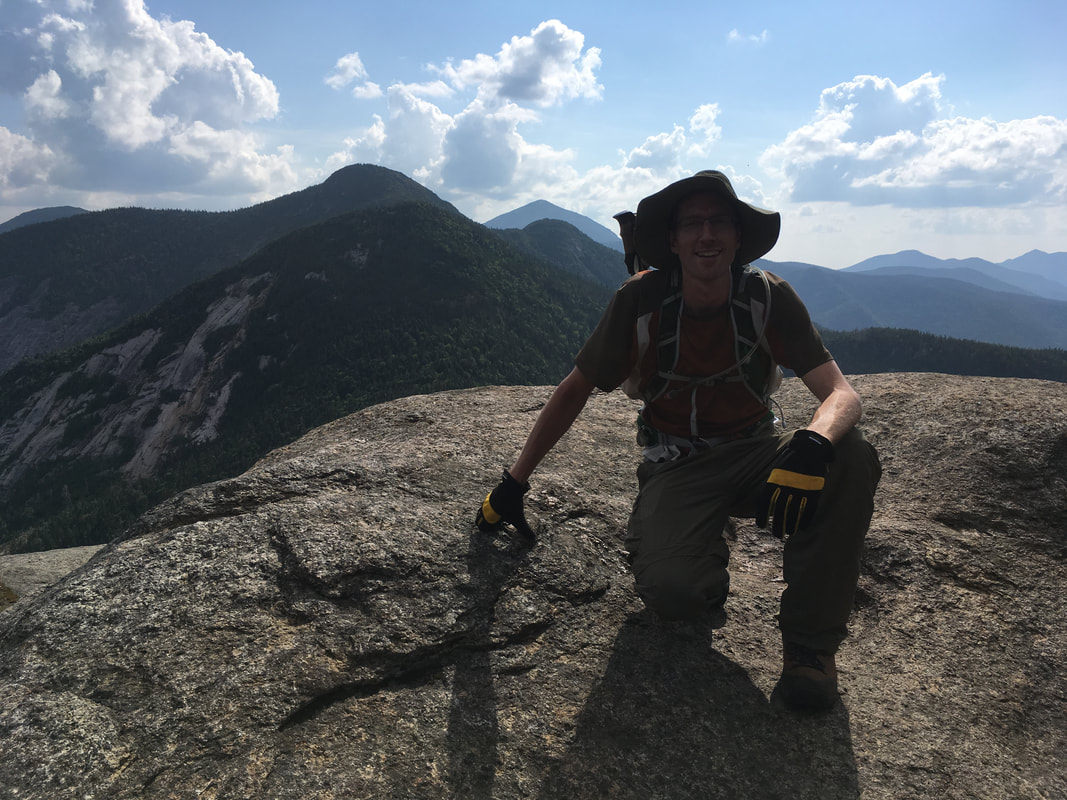
It took us less than 15 minutes to climb Little Haystack, and half an hour to summit Big Haystack. We also took a long break in there - so as you can see, it looks harder than it actually is. We were on the third highest peak by 12:10pm.
|
Mount Haystack, 4960 feet, #3 in height
|
|
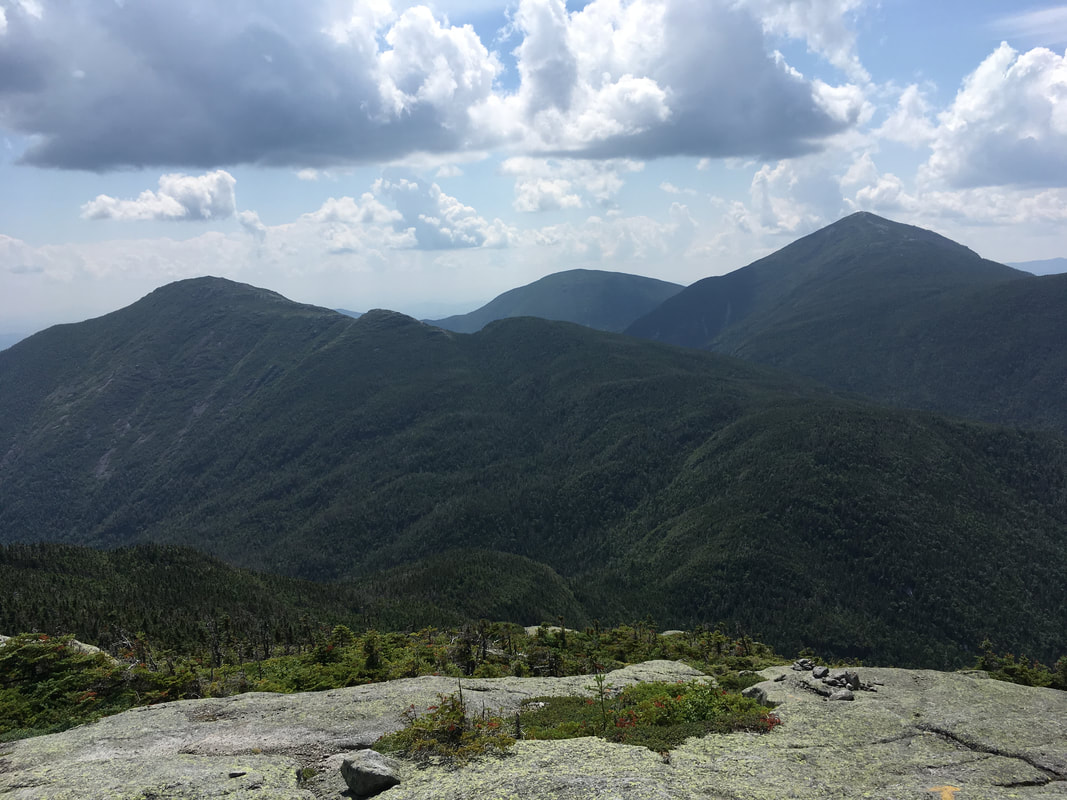
The views from Haystack are absolutely incredible. Here is a video of our 360 views. Apparently, you can see ALL the 46 high peaks from Haystack's small summit, and no manmade features. The next day over lunch, we met a hiker that said he was saving Haystack for his last of the ADK peaks because then he could look around at all the 46 high peaks he had successfully climbed. Darn! That would have been a great idea.
Just some of the views from Haystack. After today, we will have stood on all those peaks!

What a beautiful view!
|
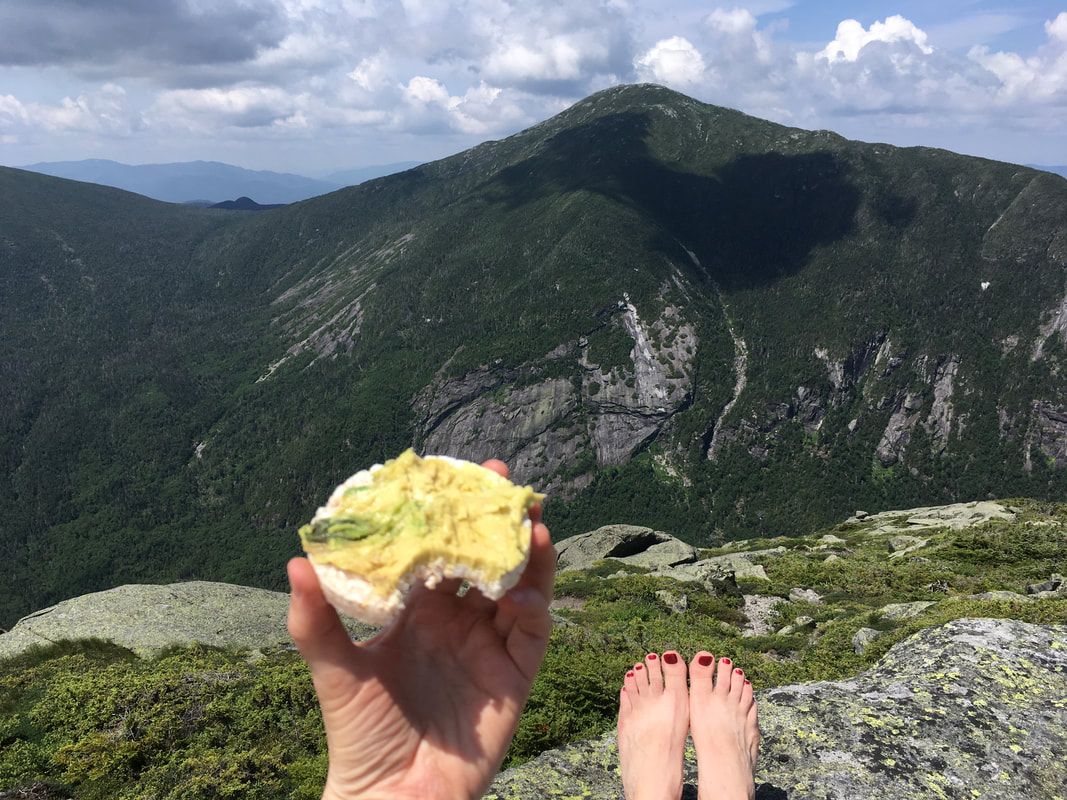
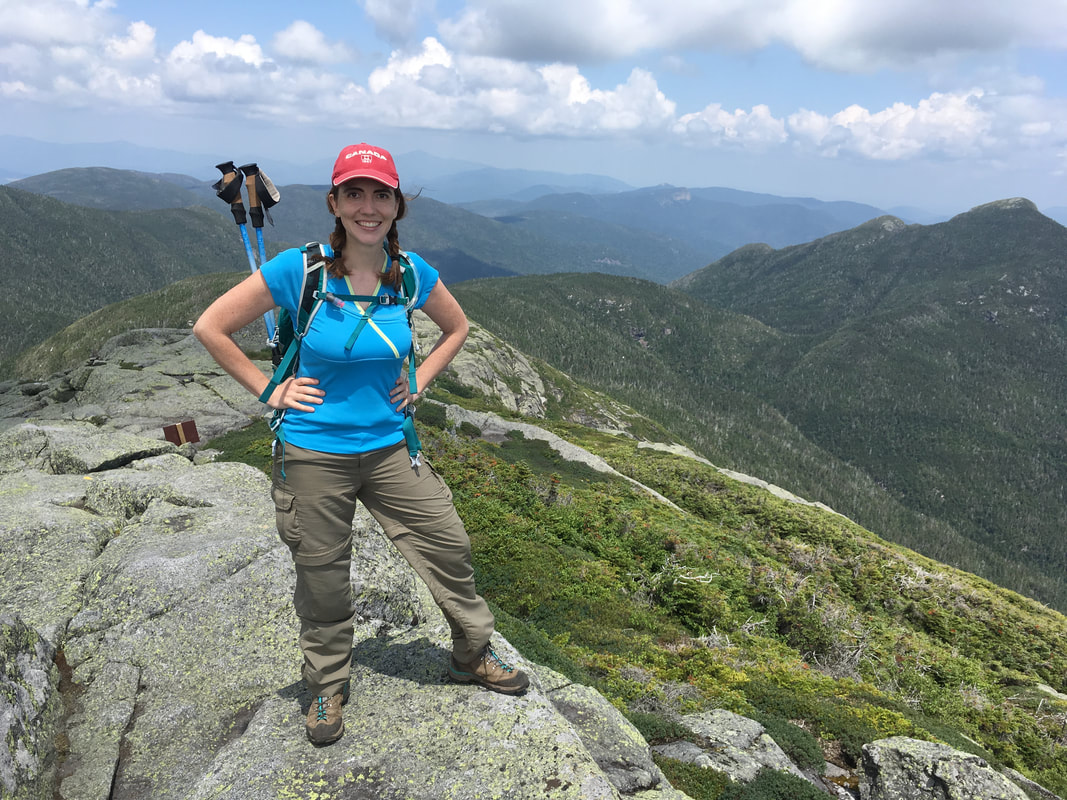
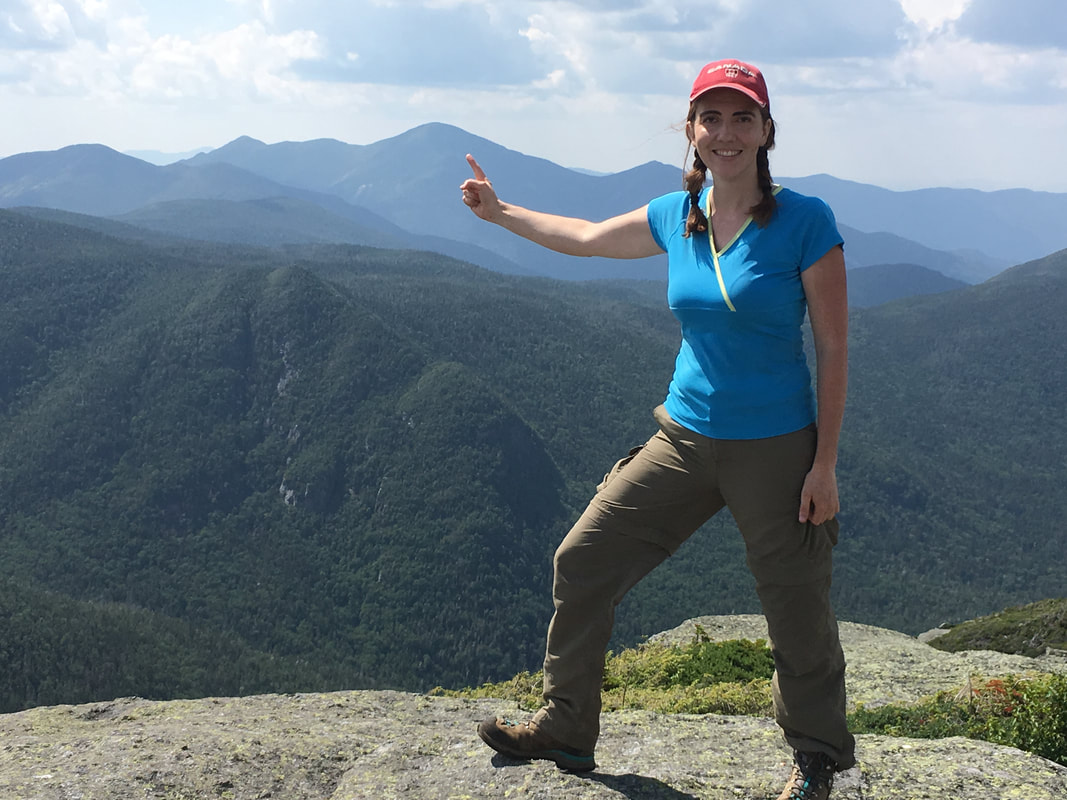
Avocado rice cake, Mount Marcy and bare feet.
I'm a happy gal!
|
I guess someone took the marker...
|
Heading down Haystack was fast, but we had to slow down on some of the trickier parts. Watch this section for an example!
Basin Mountain
Since it was such a clear day, we could easily look over to Basin from Haystack. The whole route is very clearly marked with the typical ADK signs and milages. We began our trek down, down, down before we climbed climb up, up, up.
Onwards to Basin!
|
Watch your step! It's rocky!
|
There were some typical steep sections up Basin. I guess we are just getting used to them now. I laugh now remembering our first hike up Cascade & Porter... I thought they were hard at the time. Ha! We had fun on the ladders up Basin too.
|
|
|
It was halfway up Basin when I suddenly got very hot and exhausted, and basically stopped having fun. We were semi-conserving water, the incline was consistently steep and the sun was just sweltering. I have to say Basin 'got me.' I don't think it's a particularly hard mountain to climb, but it was just so hot and we were apprehensive about the Saddleback cliffs coming up (surely they couldn't be much steeper than some of the other sections we had climbed today?). Niels was very patient and we took lots of breaks... |
|
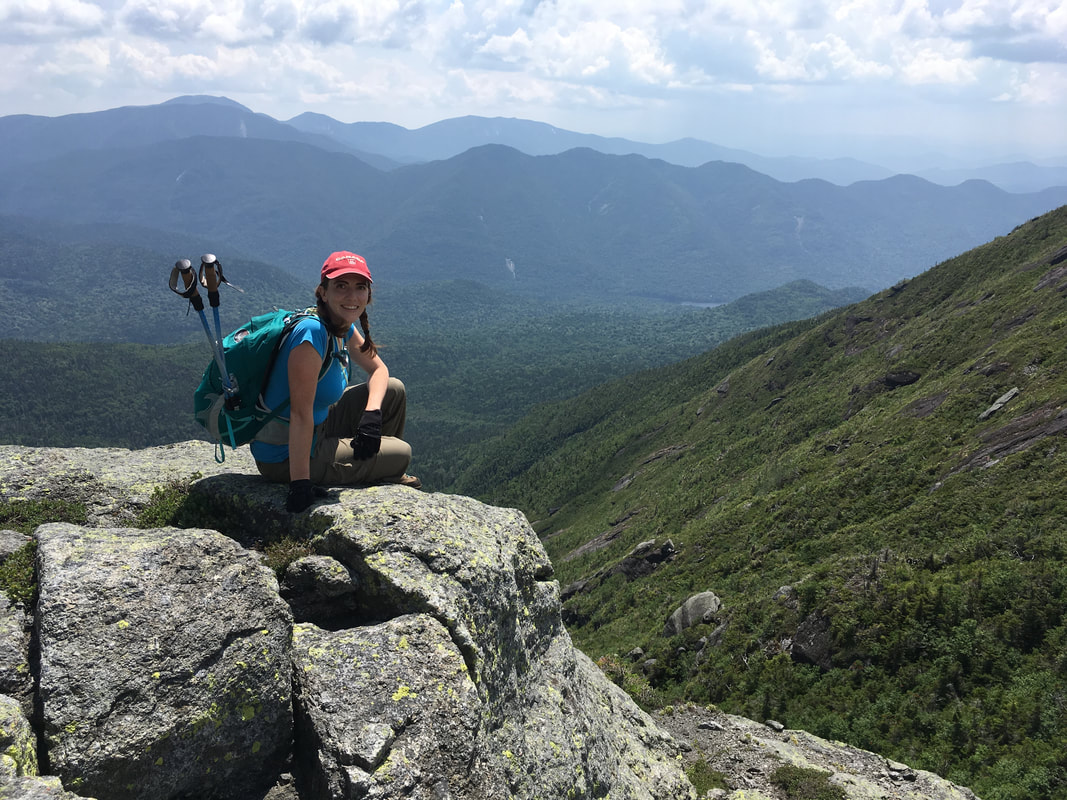
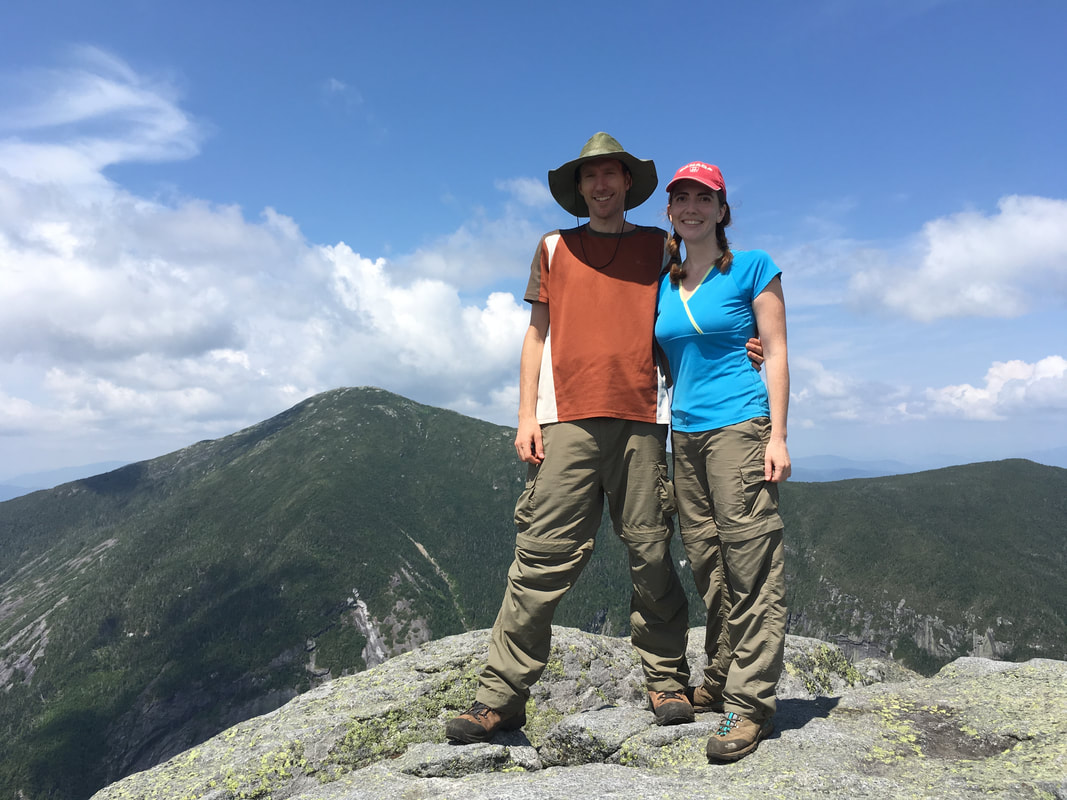
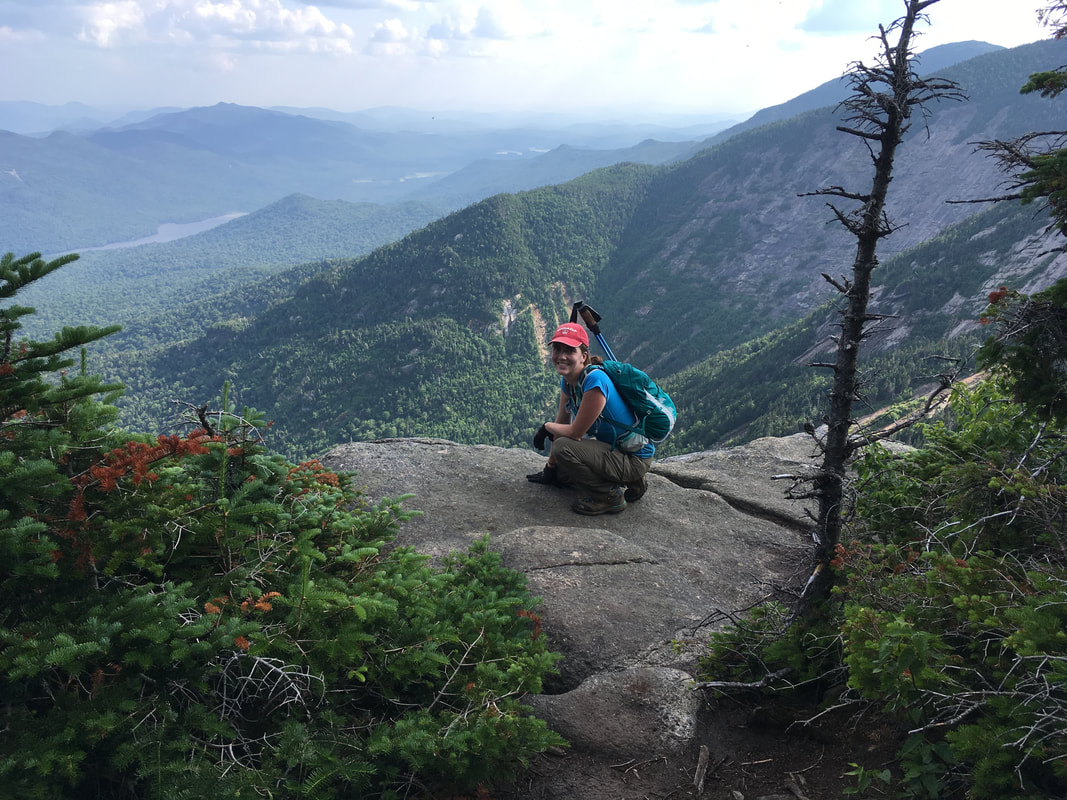
We arrived on the summit of Basin at 2:45pm, keeping our usual time (2 miles in 2 hours). Yippee! Our friends (that we had seen on and off the whole hike) were conveniently there to snap our photo.
Basin, 4827 ft, #9 in height
|
A very small summit marker!
|
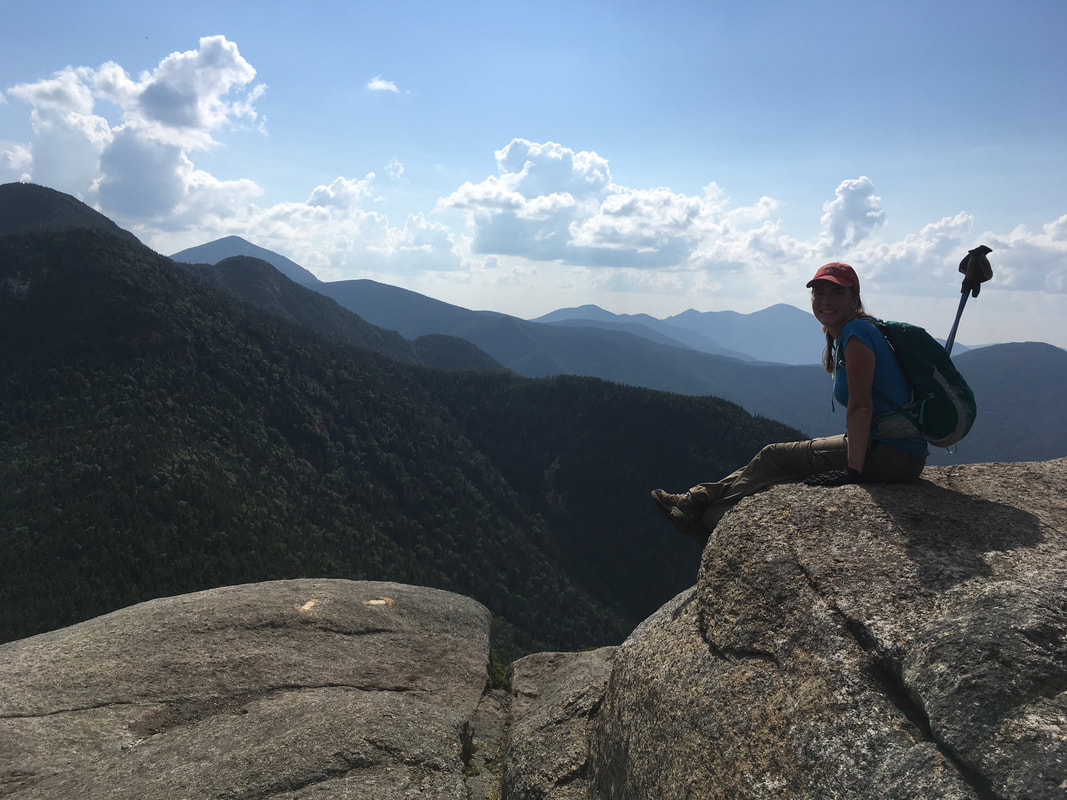
Shannon on the summit of Basin with Mount Marcy in the background
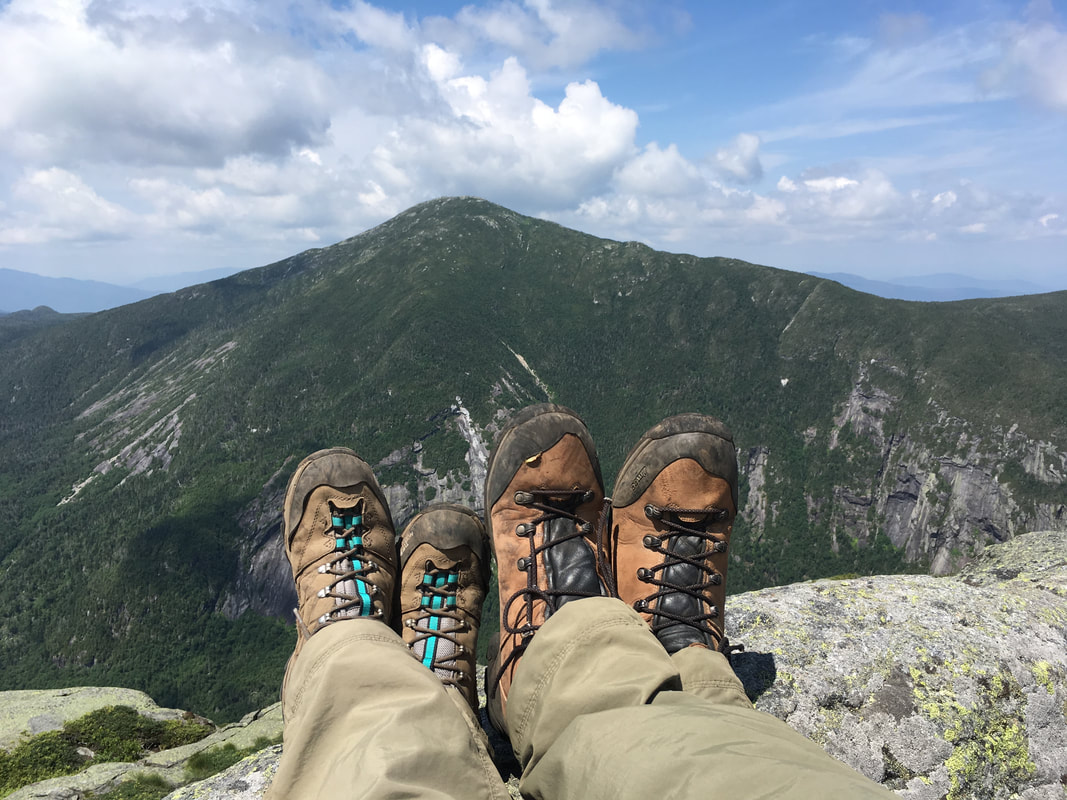
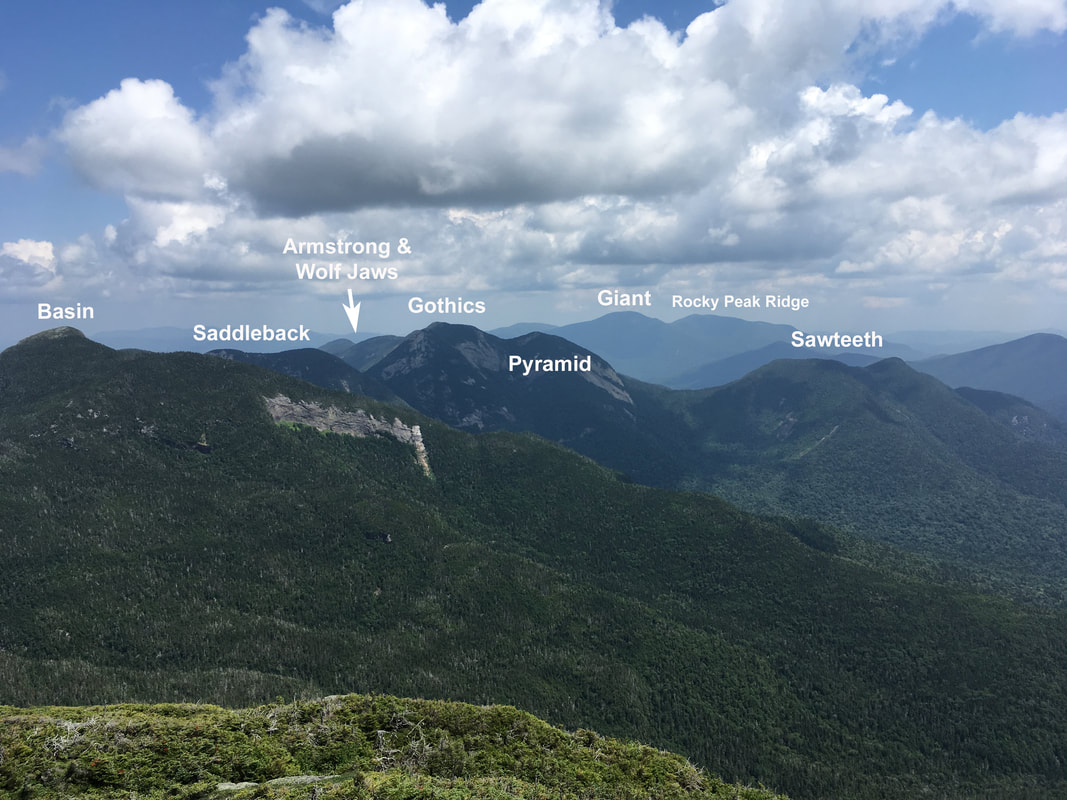
We enjoyed the views from Basin, particularly of what we had already climbed...
Marcy is in the background (top right), and in front of it you can see Haystack and Little Haystack - we *just* climbed those!
|
The MacIntyre Range: I am pointing to Algonquin, with Iroquois to the left and Wright to the right (above my shoulder). We hiked those last month!
|
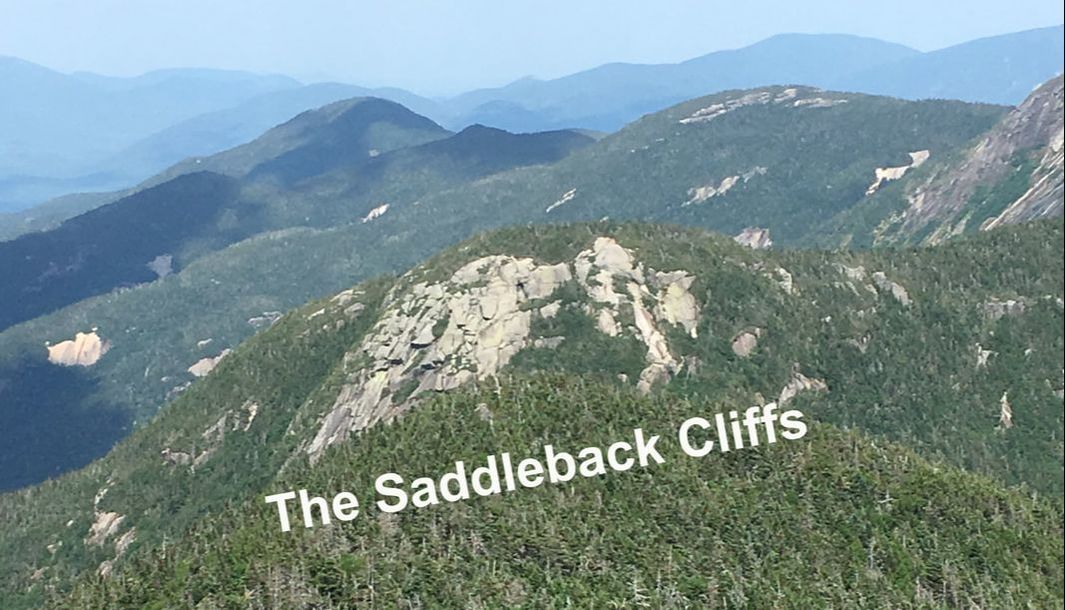
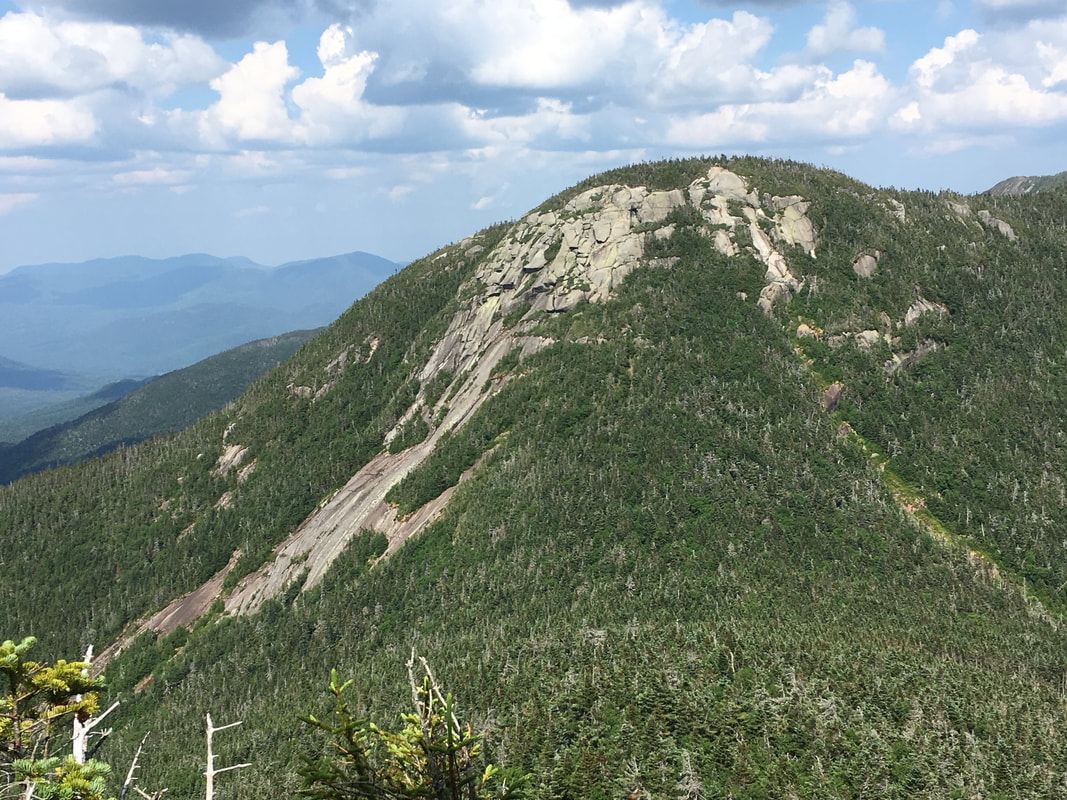
You need to walk around the side of the Basin summit to get a glimpse of the Saddleback Cliffs. Yikes! We have to climb those?
The descent from Basin was STEEP! There were several parts where we had to 'bum-slide' or hold onto tree branches beside rocks to keep us from sliding down!
It didn't help that as we descended Basin, we got better and better views of the Saddleback Cliffs. Our nervousness increased... they looked steep. I also wondered if we had to climb that lower steep part of if we came out somewhere in the middle... keep reading to find out!
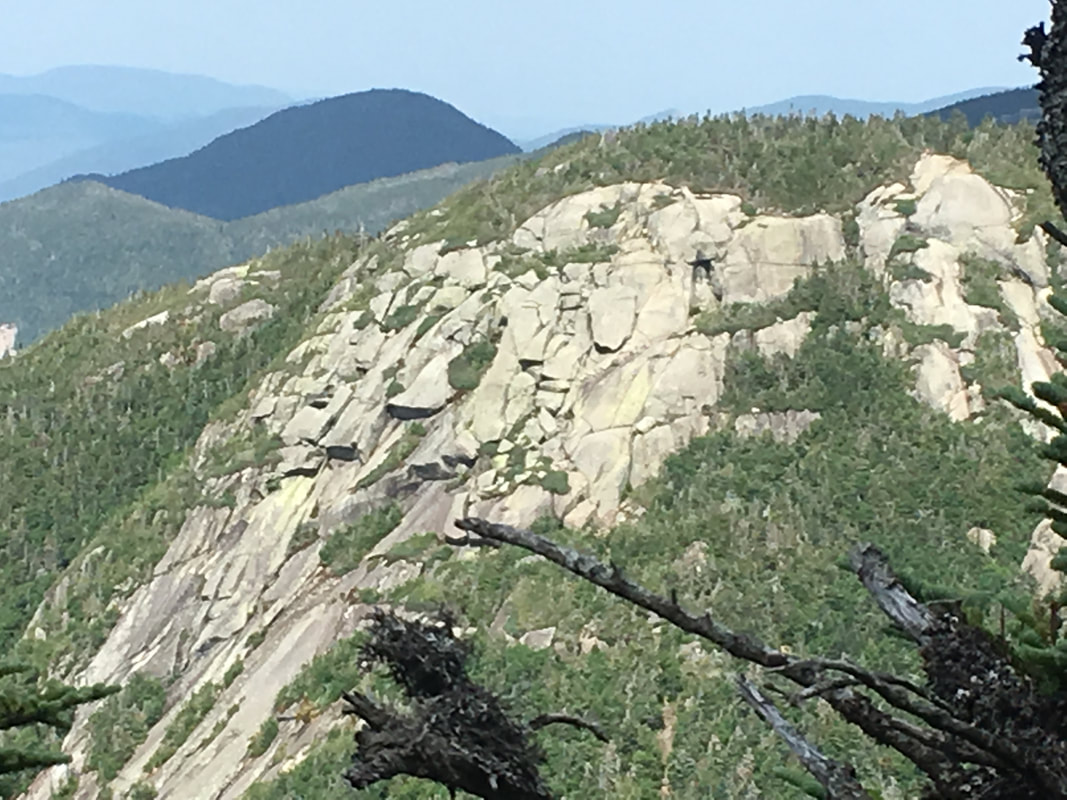
From Basin, we could see people on the cliffs, although it's hard to see them in this photo!
|
I wonder if we have to climb ALL that rock?!?
|
The col between Basin and Saddleback was actually lovely... and in some parts it felt like you were walking through a remote jungle on a flat trail.... unfortunately, I think most hikers (us included) are so disillusioned by the upcoming cliffs that we don't fully appreciate this special part of the Adirondacks. I had stopped taking photos at that point.
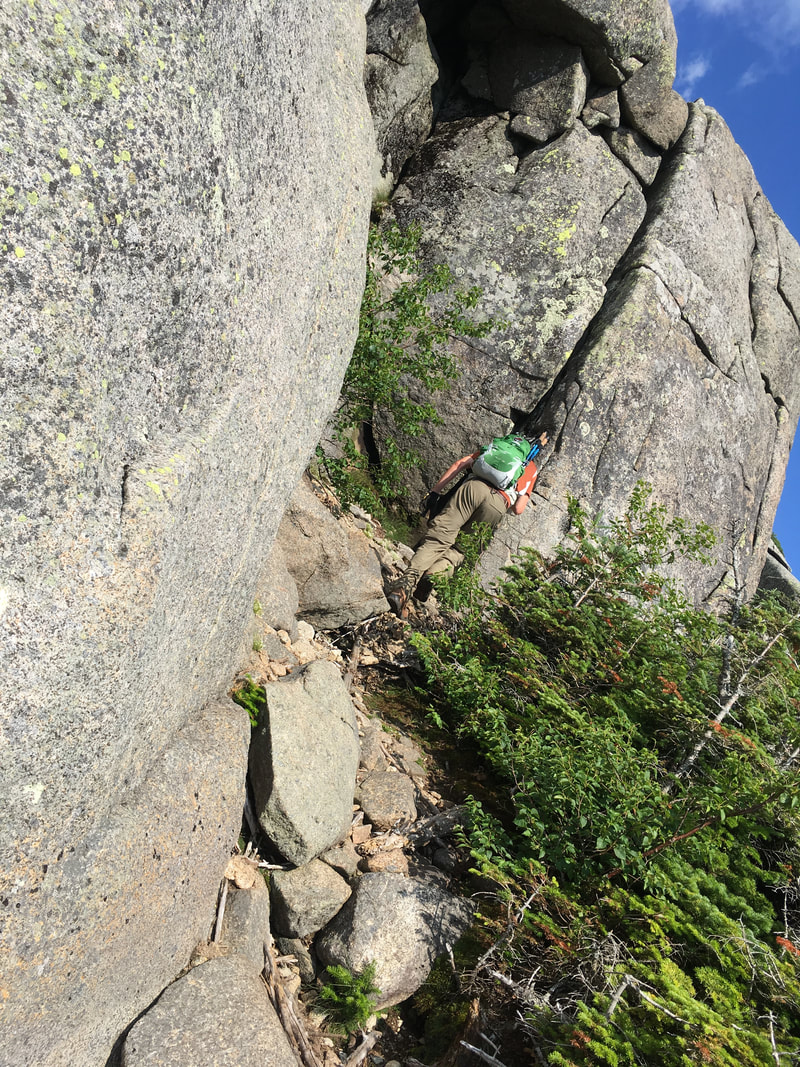
Saddleback (and those dreaded cliffs)
|
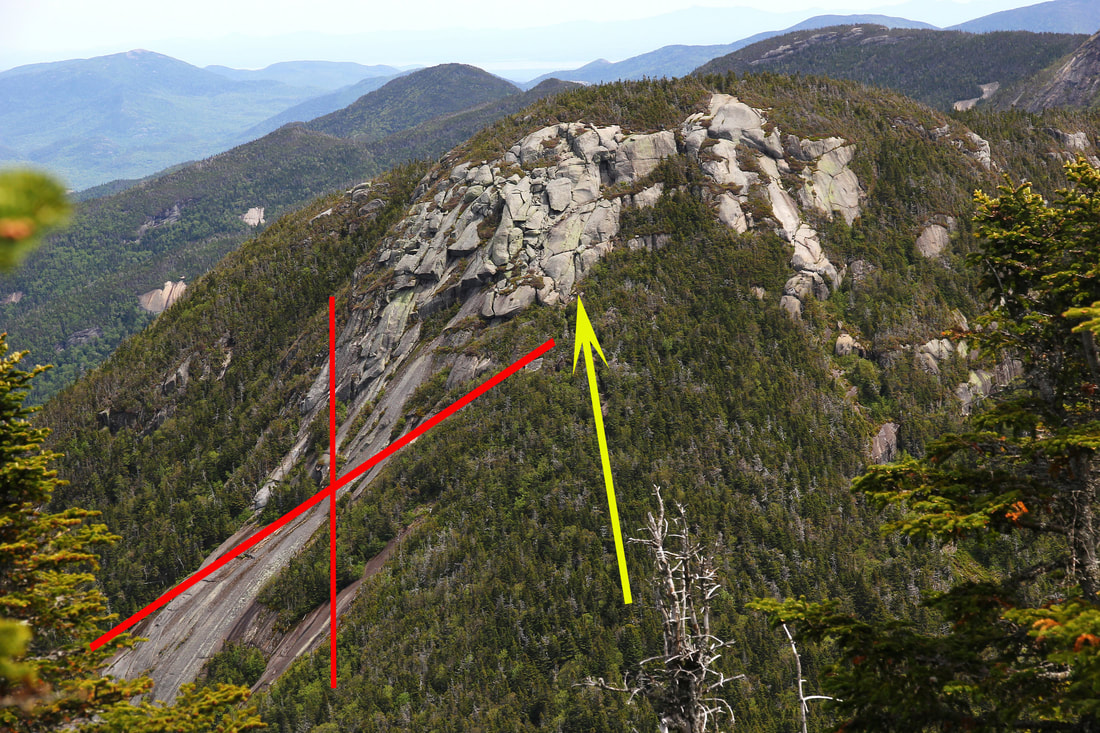
So maybe I'm ruining some of the mystery here, but I for one would have liked to know more information before attempting Saddleback. You do NOT have to ascend that lower steep section. You emerge from the col between Basin and Saddleback where the yellow arrow points in the photo to the right. Phew! That was a relief. |
|
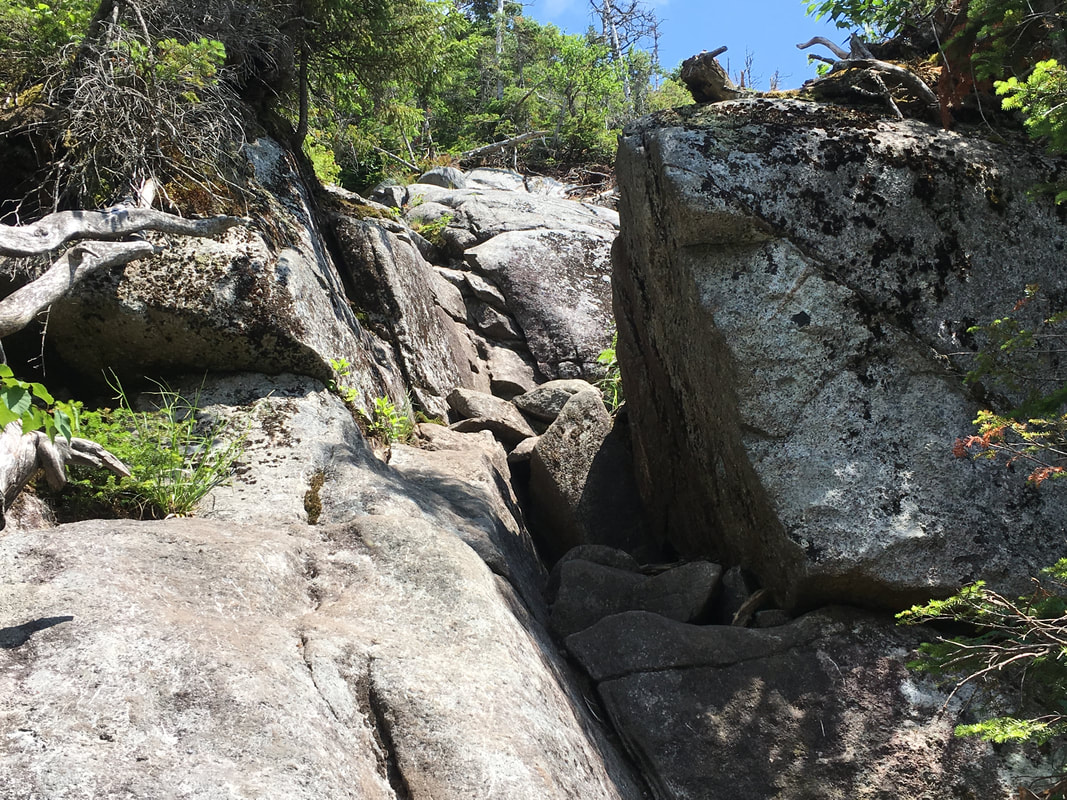
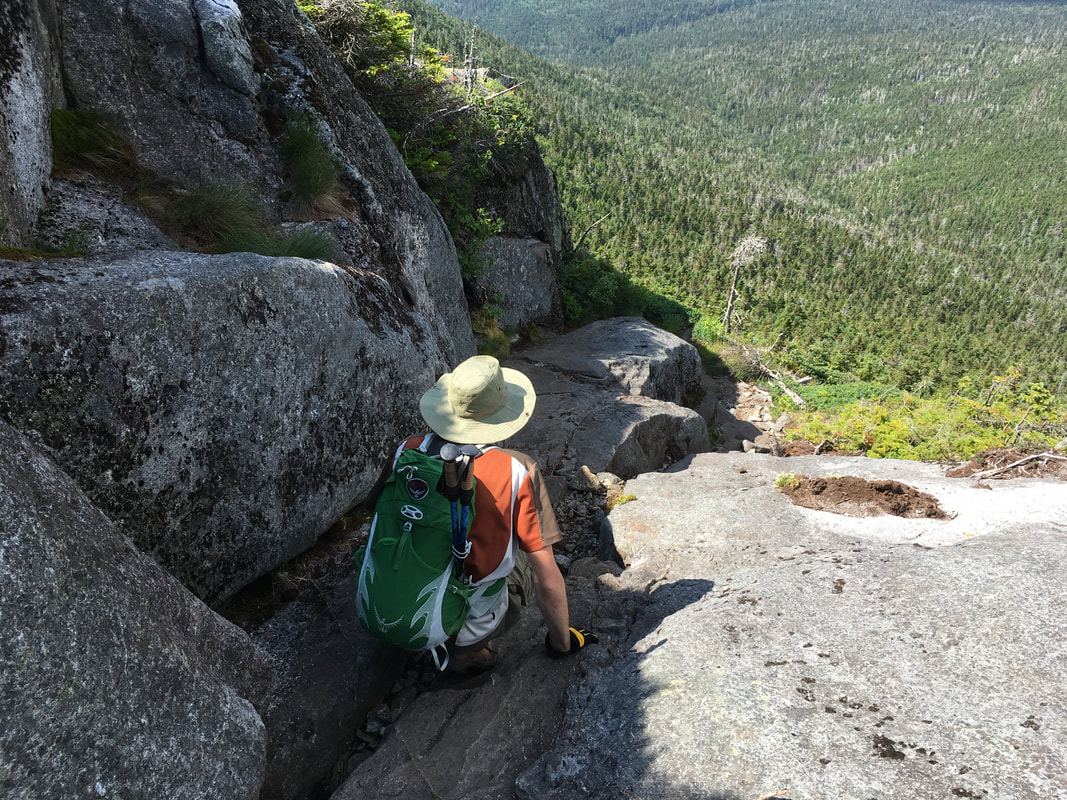
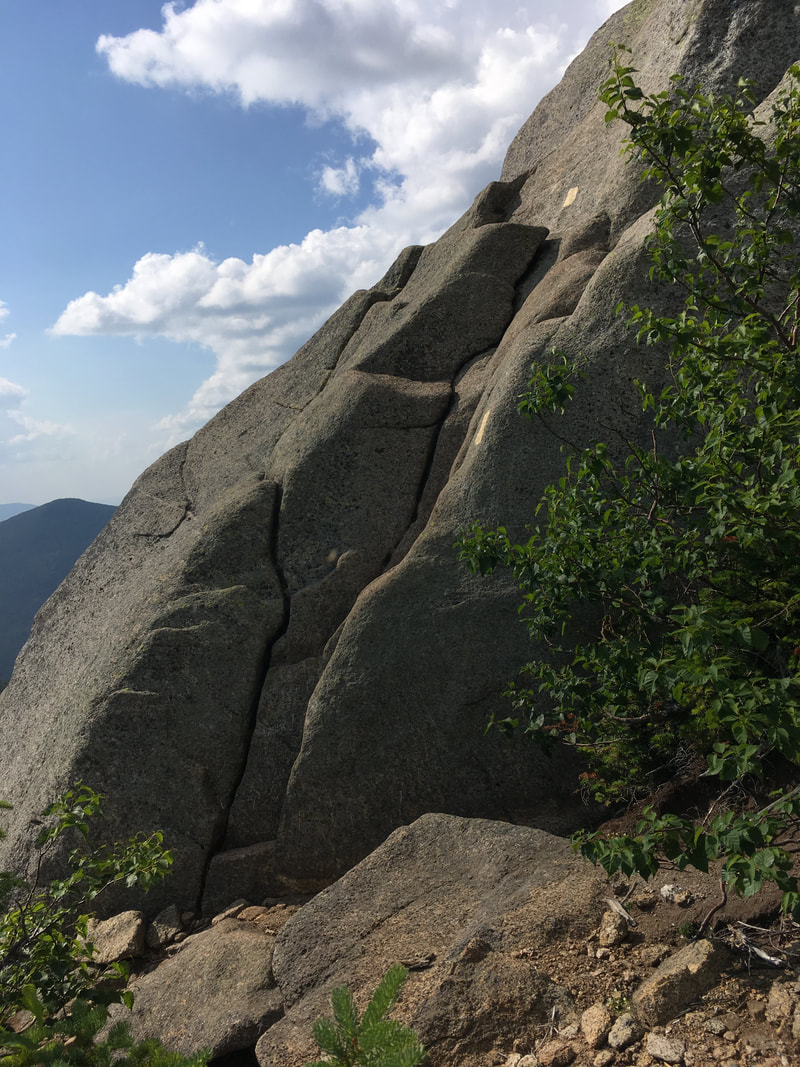
There are yellow trail markers leading you to where you need to climb... sometimes they don't 'feel like' the most logical place to climb, but they are. Below is the route up marked in red. Niels and I found that there were three main tricky sections that are labelled below... but once you are done those three it's not bad at all. The whole thing took us 30 minutes and we definitely took our time and had a long break in the middle!
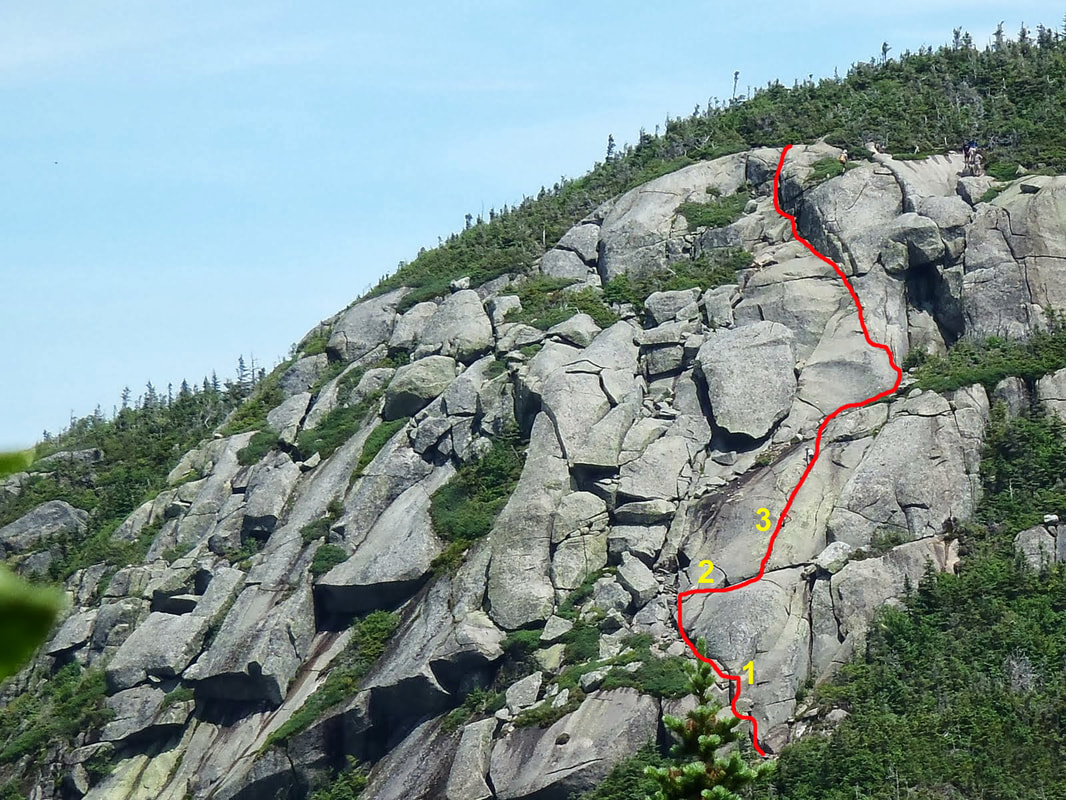
The route up, with the three main tricky sections marked. After these sections, it's fairly easy.
|
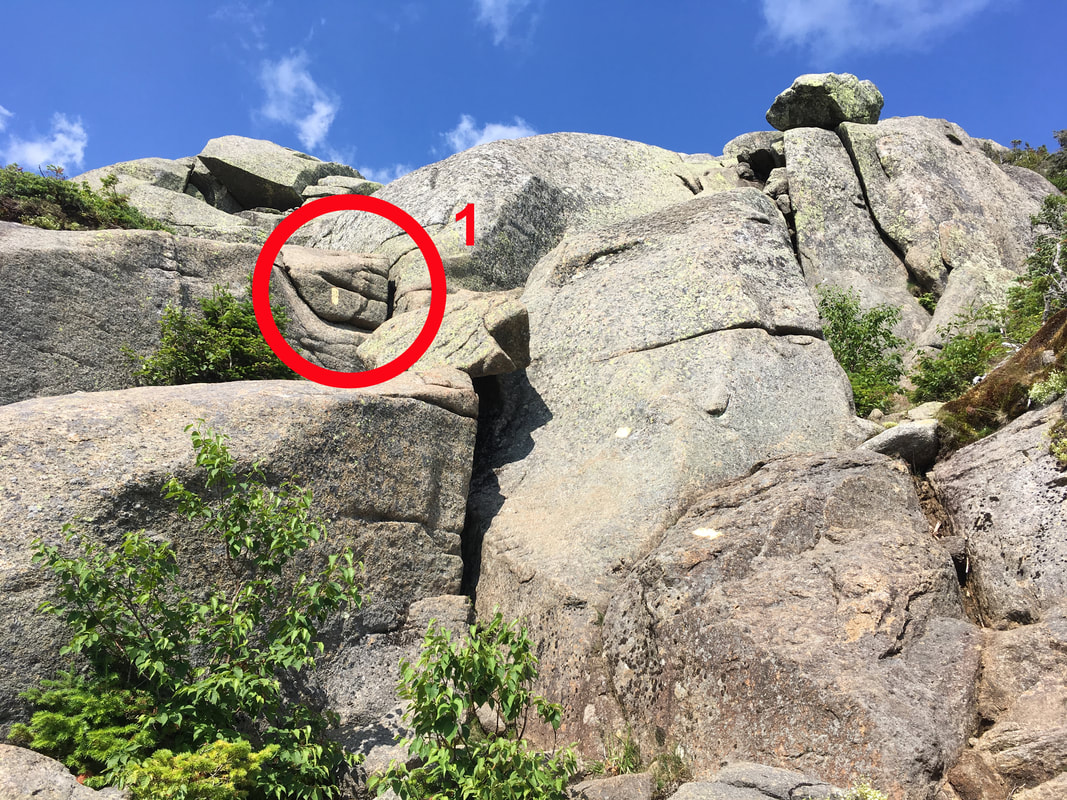
Section 1: There is just a big rock that you have to 'get over' and it's rather difficult to scramble over it. I thought I would be fine, but here is a video of me attempting it. I had full confidence... and then we had to stop the filming because I needed a boost! I'm 5.5ft and it was tough to get over that rock! Once over it, I sat down to watch Niels do it by himself. Niels is 6 feet and he had to try three times to get over it. In the end, he basically had to belly flop onto the rock and wiggle up... This is one part where I will say that for us, it was more difficult than it looked (not scary, just difficult). Even now I feel like I could just scramble over it easily, but at the time it's actually quite a stretch. After this you get 'safe section' where you can sit comfortably and recover.
The photo to the right is taken from the very start of the Saddleback cliffs... you hit this first hard point right away. |
|
|
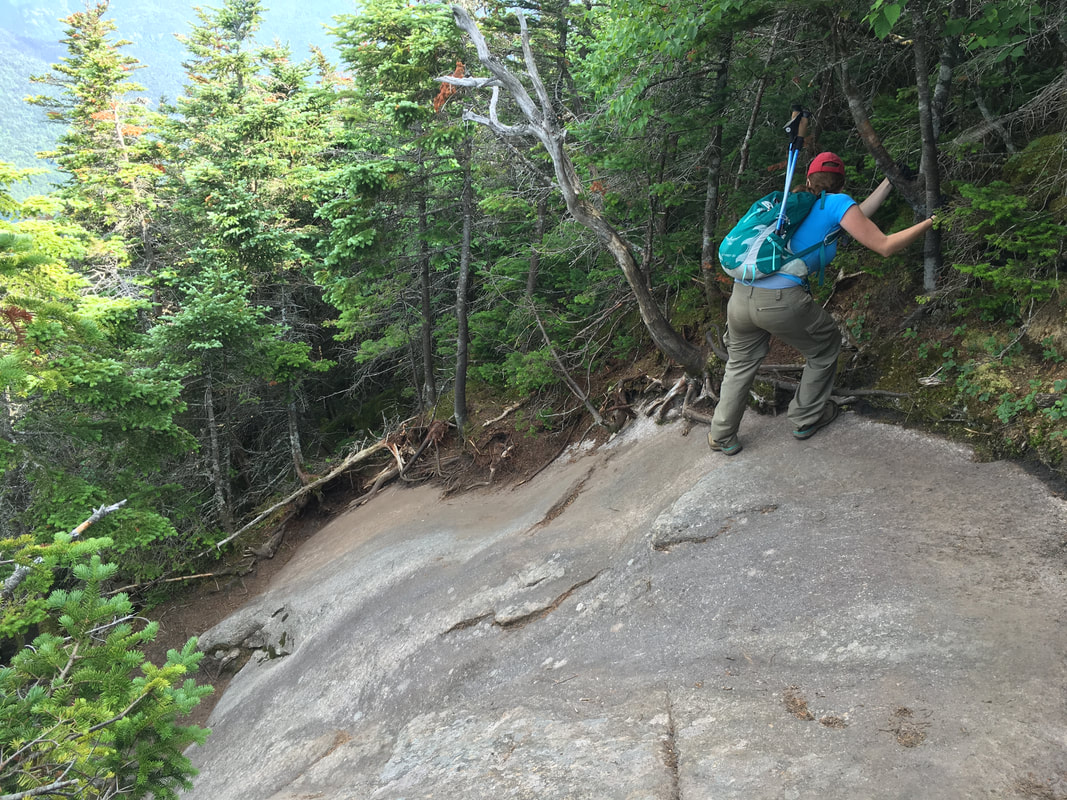
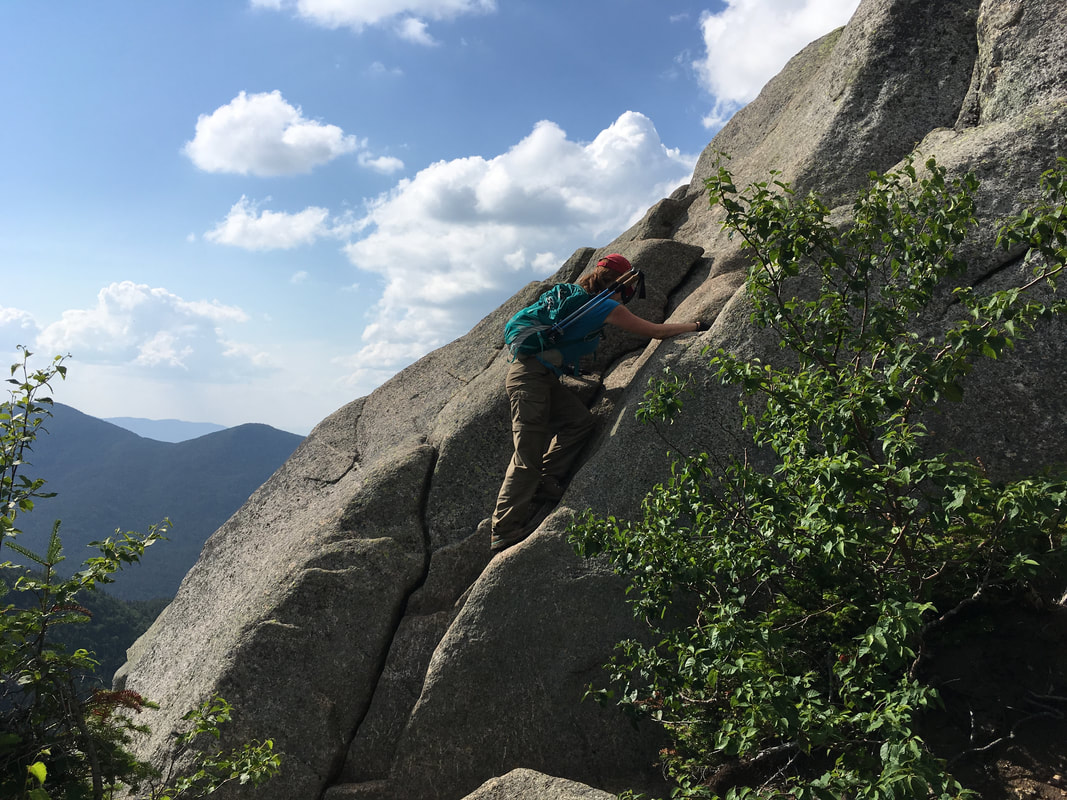
Section 2: there is a flat section that you need to 'get across' that only has a foothold (no handholds) far away. This part is pretty scary because you can't see much below you and you feel like if you misstep you would slide down a long way. I did it facing outward and basically hooked my foot on the foothold (which rendered me diagonal on the rock - not a fun feeling) and then swung over. Niels did it facing inward... he has a fear of heights so this part was not fun for him. It helps to just focus at the task at hand, and not think about anything else you have do to after. After this, there is another small safe section where you can take a moment to recover. |
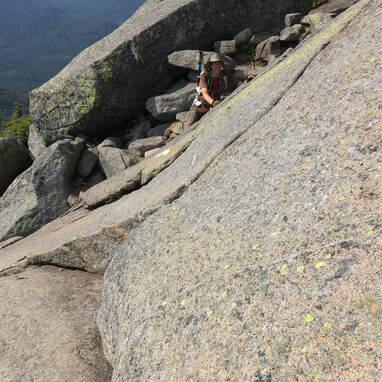
Niels before he attempts section two...
|
|
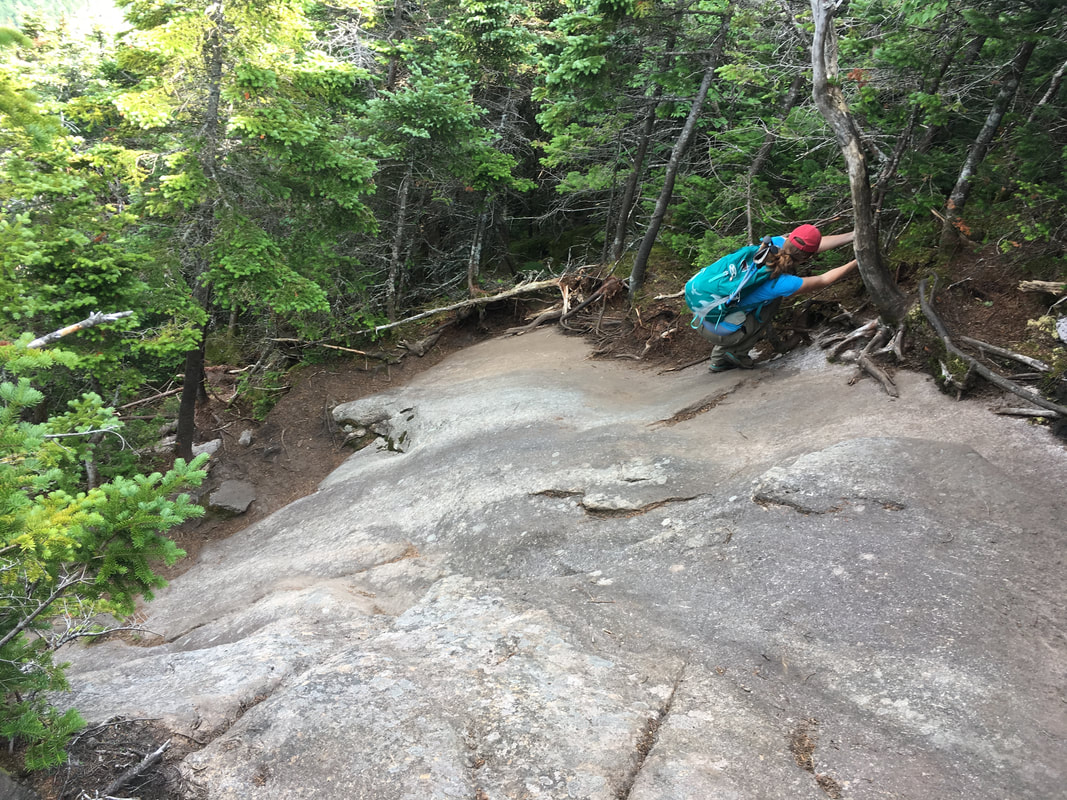
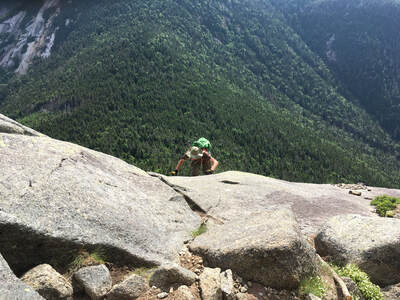
Section 3: The crack up the rock. This is pretty intimidating to look at. It's a big and steep section that you can see from the summit of Basin. I did it by jamming my boot inside the crack and hoisting myself up... but found that there were NOT as many handholds as others reported. And then my poles would get stuck next to the rock even though they were tucked in my bag (LEAVE YOUR POLES AT HOME FOR THIS HIKE!). Ugh. Then I couldn't get my boot out again, so I would patiently have to wiggle it out slowly as best I could without jerking myself. Niels took a different approach and 'spidermaned' it up (see a *crazy video* here)... this was quite a scary section because it felt like you were on the edge of the world. Again, after this section you get a nice big safe spot to recoup. |
|
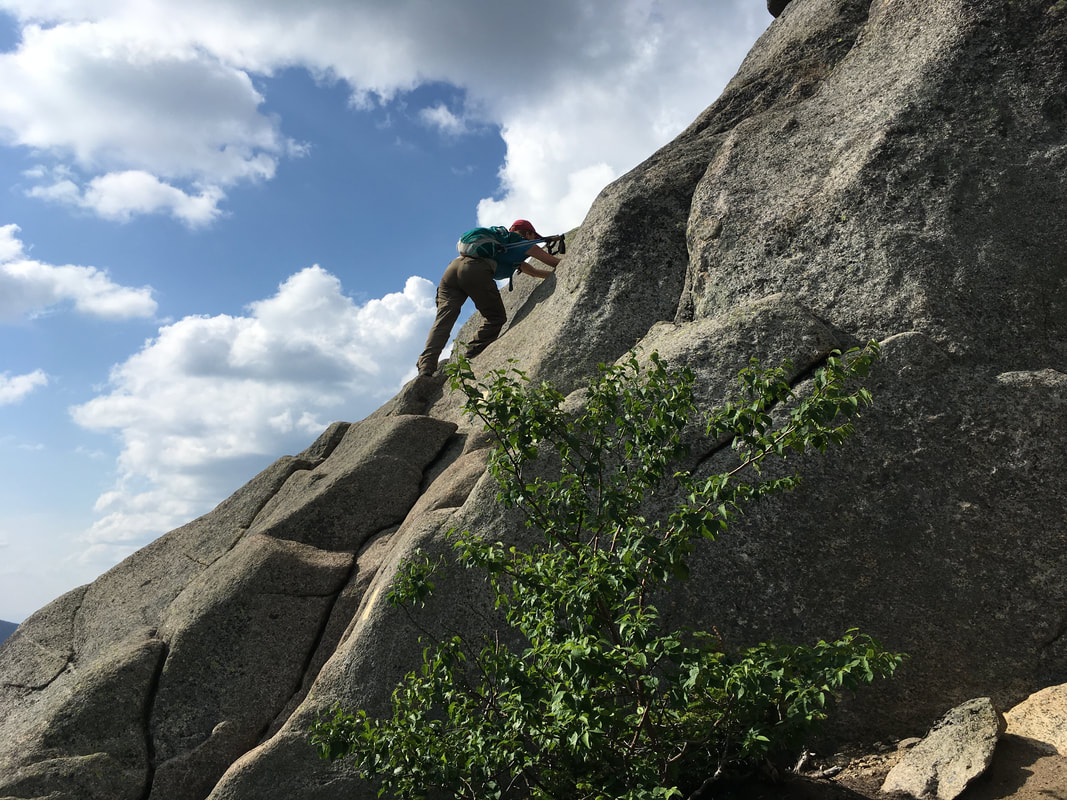
After these three places, it *looks* hard but we found it much easier. If you can make it over these sections, you are good to go. The rocks from here on have lots of handholds and it's not as scary!
We took a good break here (after the crack in the rock) to catch our breaths and recoup.
|
This next section looks harder than it is. Once here, you have already done the hard part.
|
|
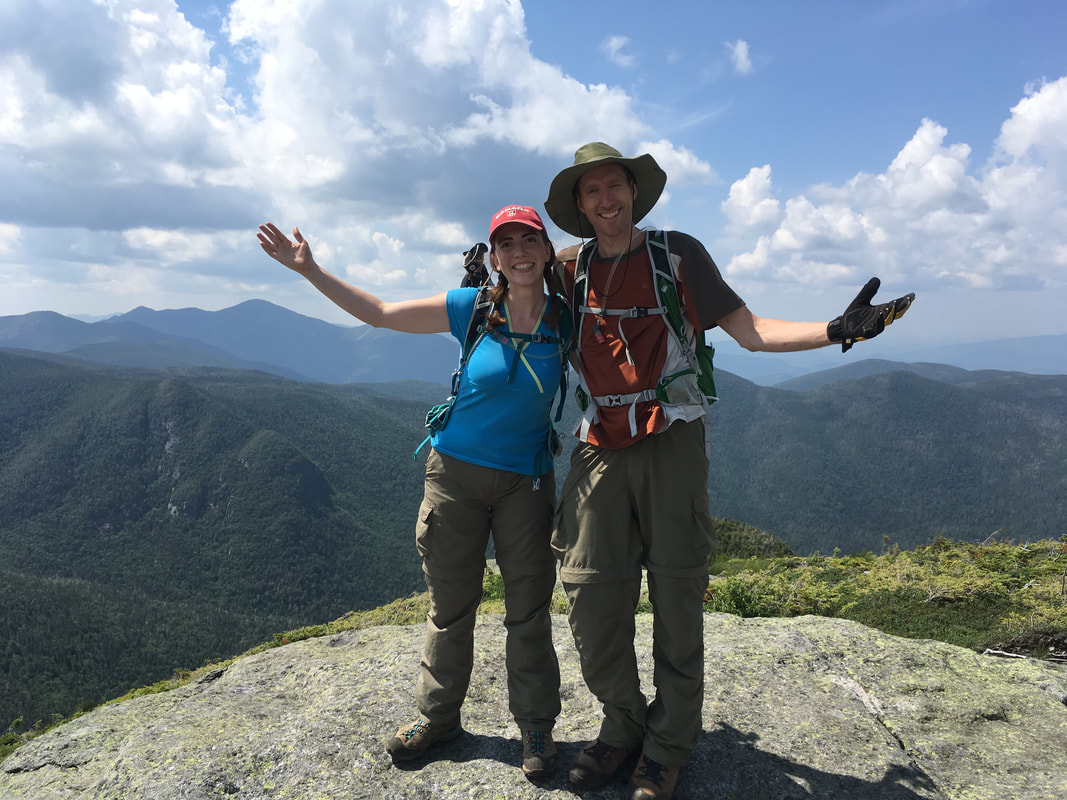
We made it! So in the end, were they hard? Yes. They were hard and more scary than any other ADK section we have climbed thus far, but they were doable. It helps to take it section by section and only think about the part you are currently on. It also helps to think that thousands of hikers traverse these cliffs each season safely. They did get our heart rates up, and on the way down from Saddleback we talked about how "crazy" these were and how we "can't believe we did that." As usual though, days pass and you gradually forget how tough they are... even as I write this I feel like I could climb up them so easily a second time around. I'd just scramble up them no problem, right?
|
Saddleback, 4515ft, #17 in height
|
|
Here are my personal lessons learned from the Saddleback Cliffs:
1) It was hard to find info on the cliffs before, or photos, but that's because you just need both hands and full concentration. Photos are not the priority in some sections!
2) Everyone asks if they are hard or not, but nobody asks the question about whether you are afraid of heights. If you are, these will be much more scary for you because you can't see below you and it feels like you could fall off a cliff. In reality, you wouldn't fall THAT far, but I'd hate to lose my balance and tumble backwards... then you could get injured.
2) Do NOT bring your hiking poles. They were a pain even shortened and tucked away in my pack.
4) I would not attempt these cliffs with an overnight pack on. It would be very hard to keep your balance in sections 2 and 3 with a huge pack offsetting your center of balance.
5) I personally would not bring children on these cliffs. Many do, but I would not.
6) It would be very scary to go down these cliffs (I'm thinking mainly of section 3 - the crack in the rock) because you would not know what is below and it would feel like you are slithering over a cliff with no bottom... I definitely would prefer going up.
At least you get a lovely path descending Saddleback! What a treat! This 0.5 miles section was lovely.
|
|
Down the Ore Bed Brook Trail
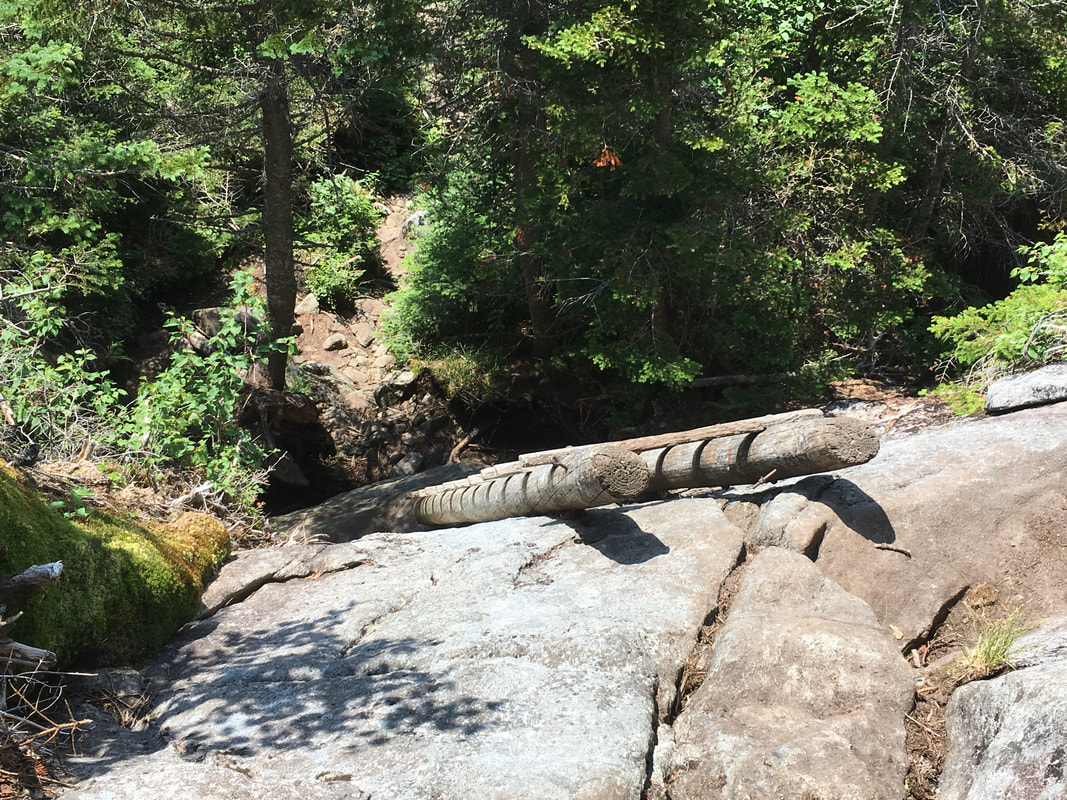
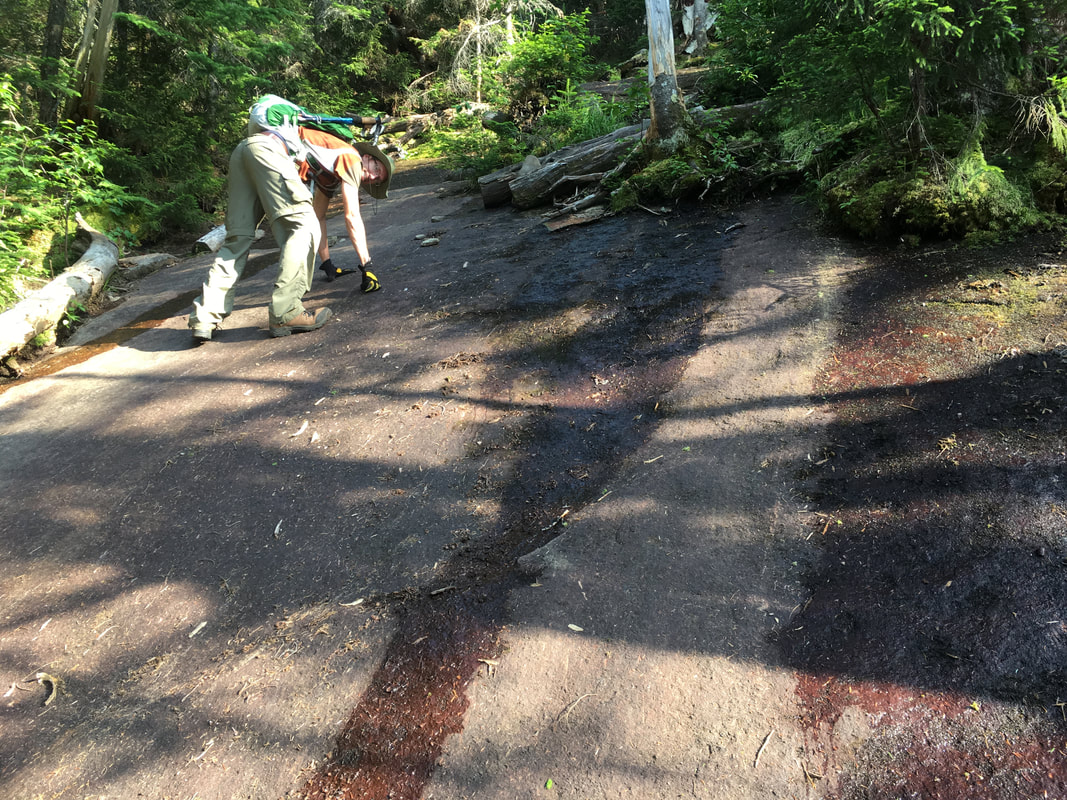
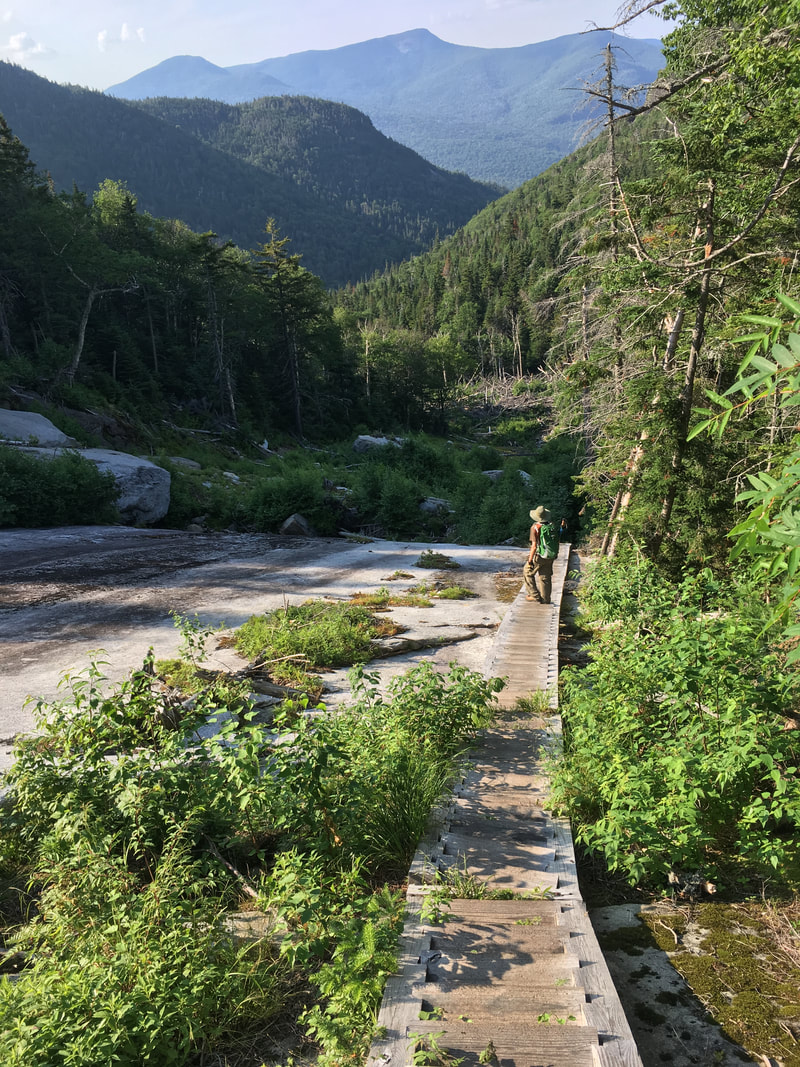
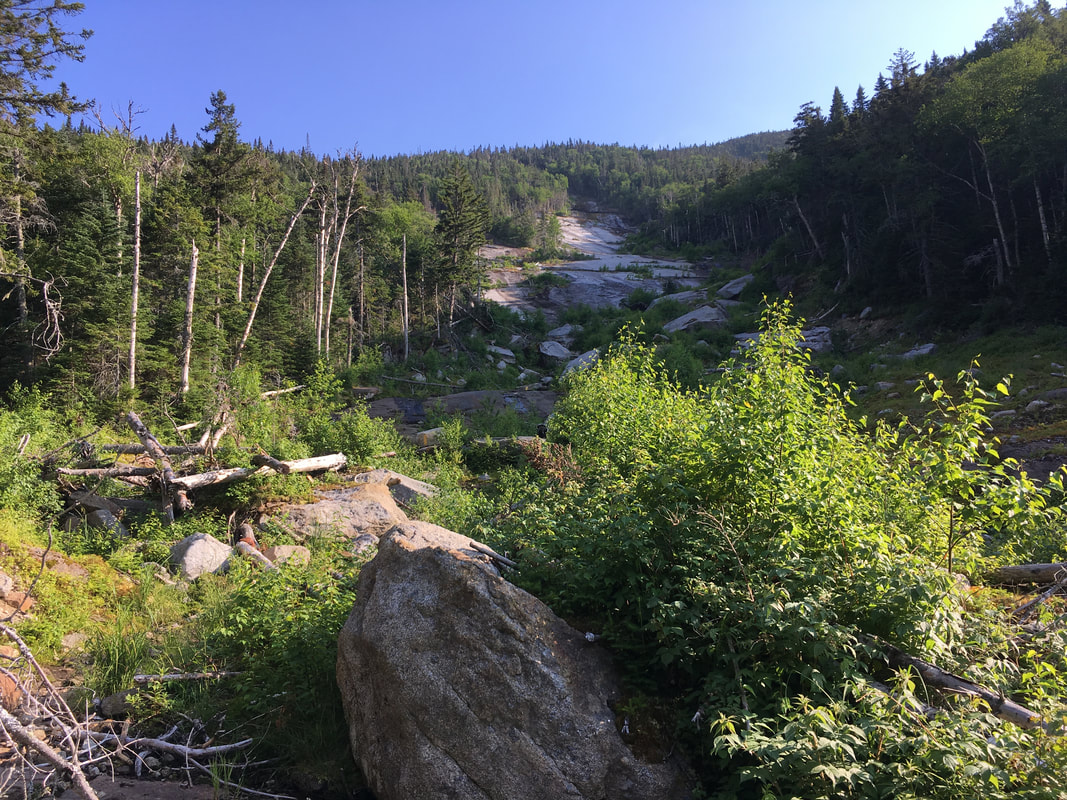
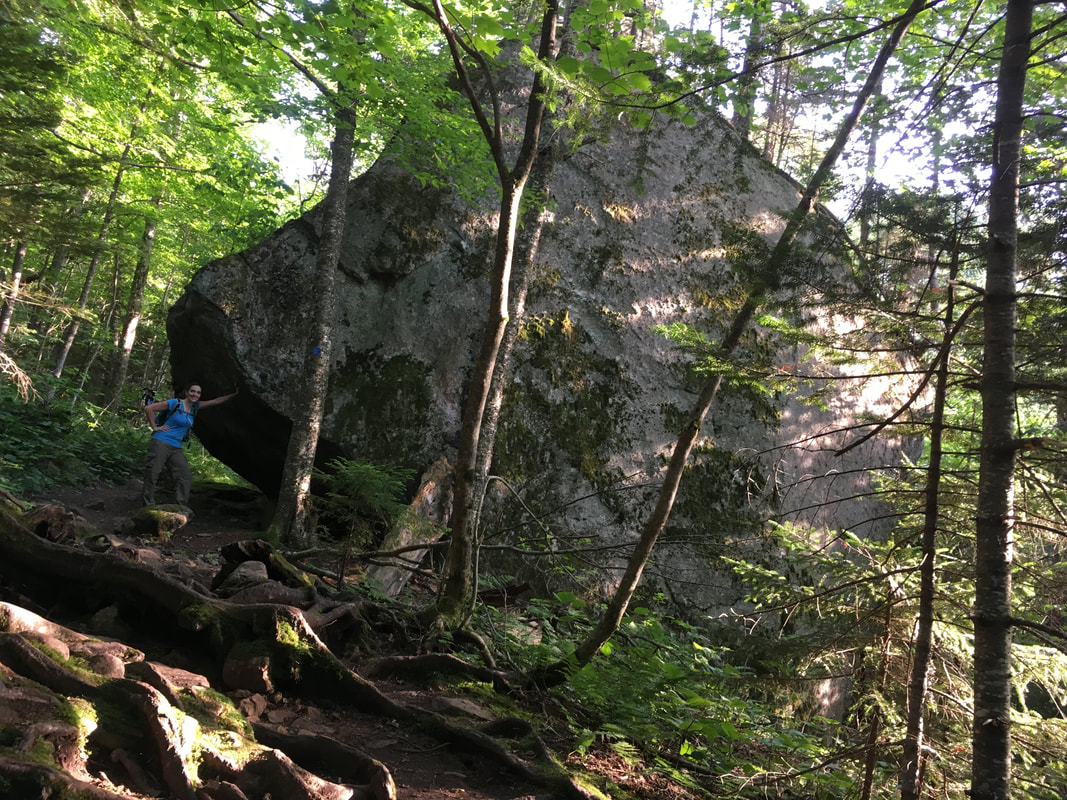
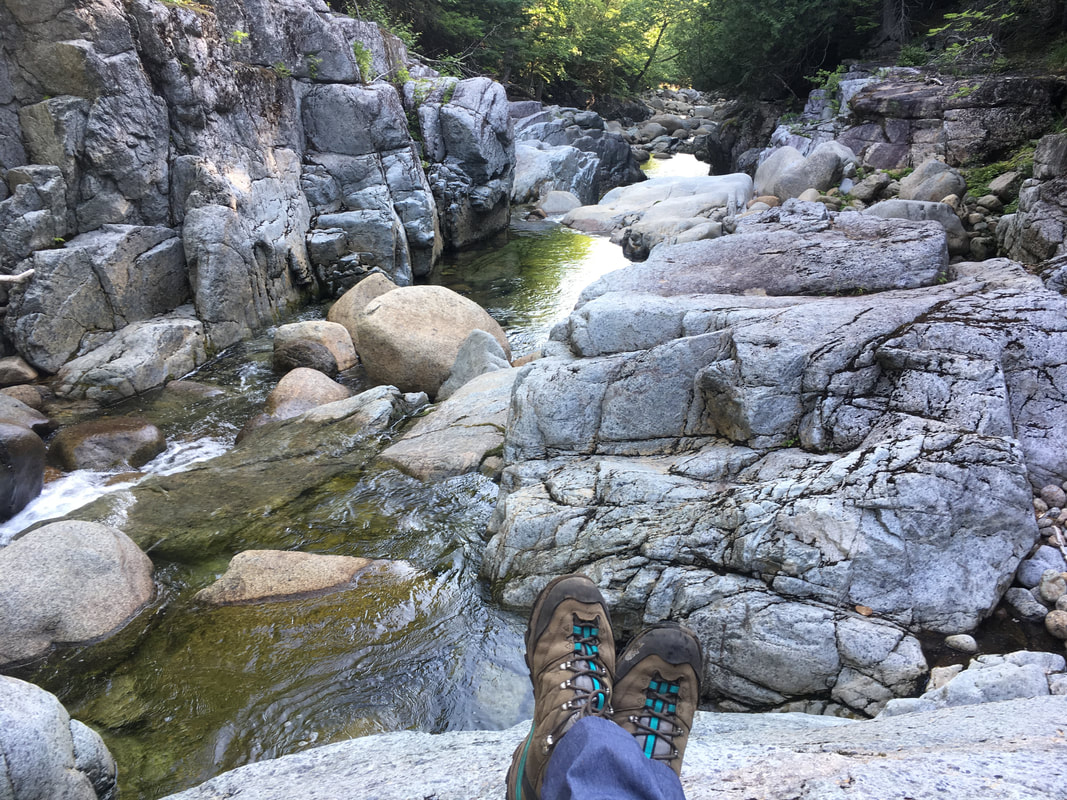
The Ore Bed Brook Trail leads 2.5 miles down to JBL. Its steep bedrock is a sight to see! The Adirondacks are full of gems like this trail.
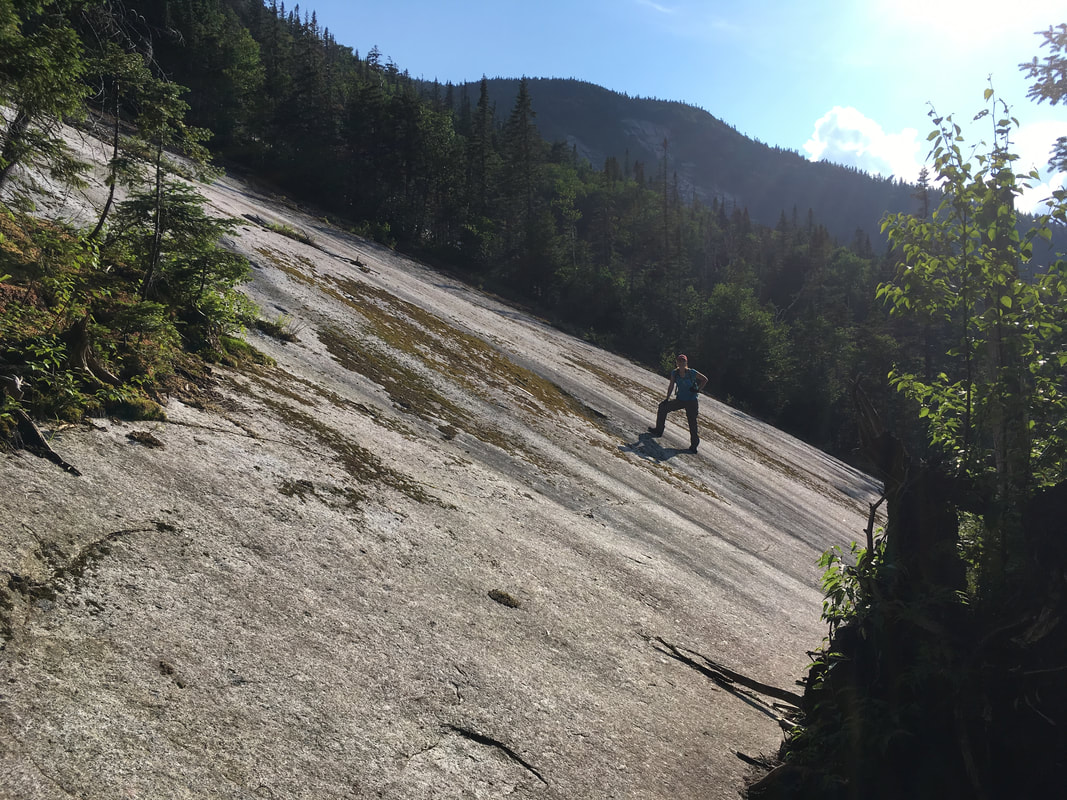
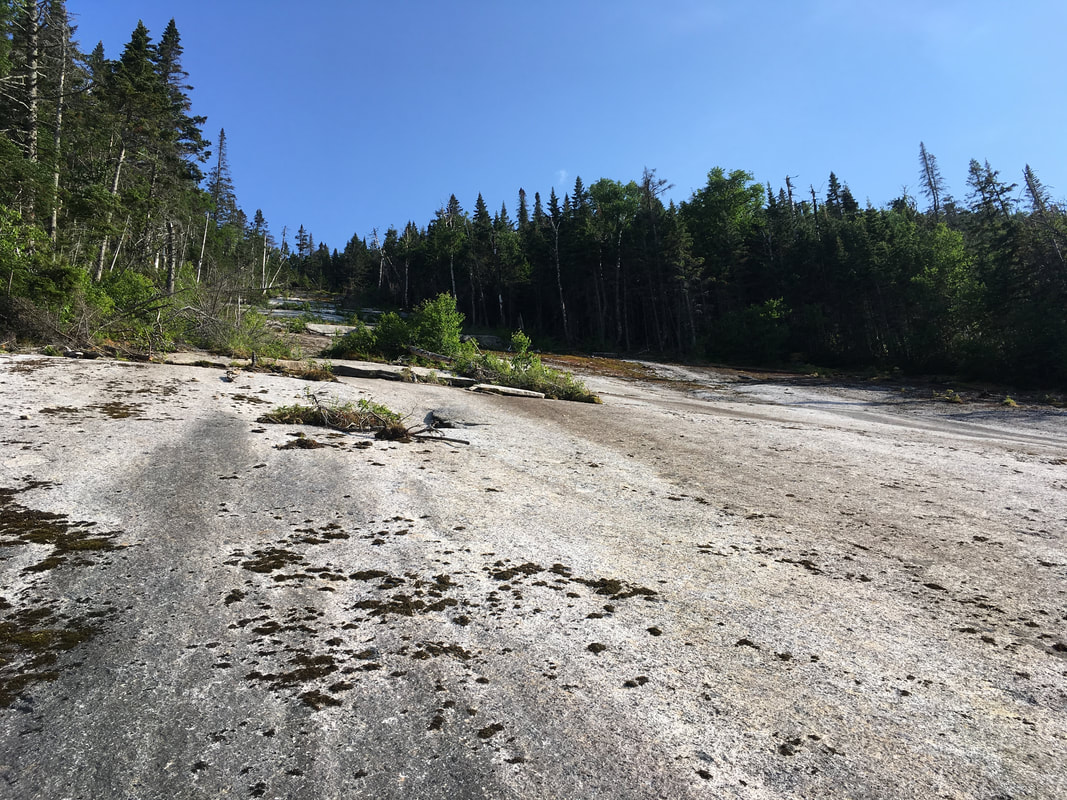
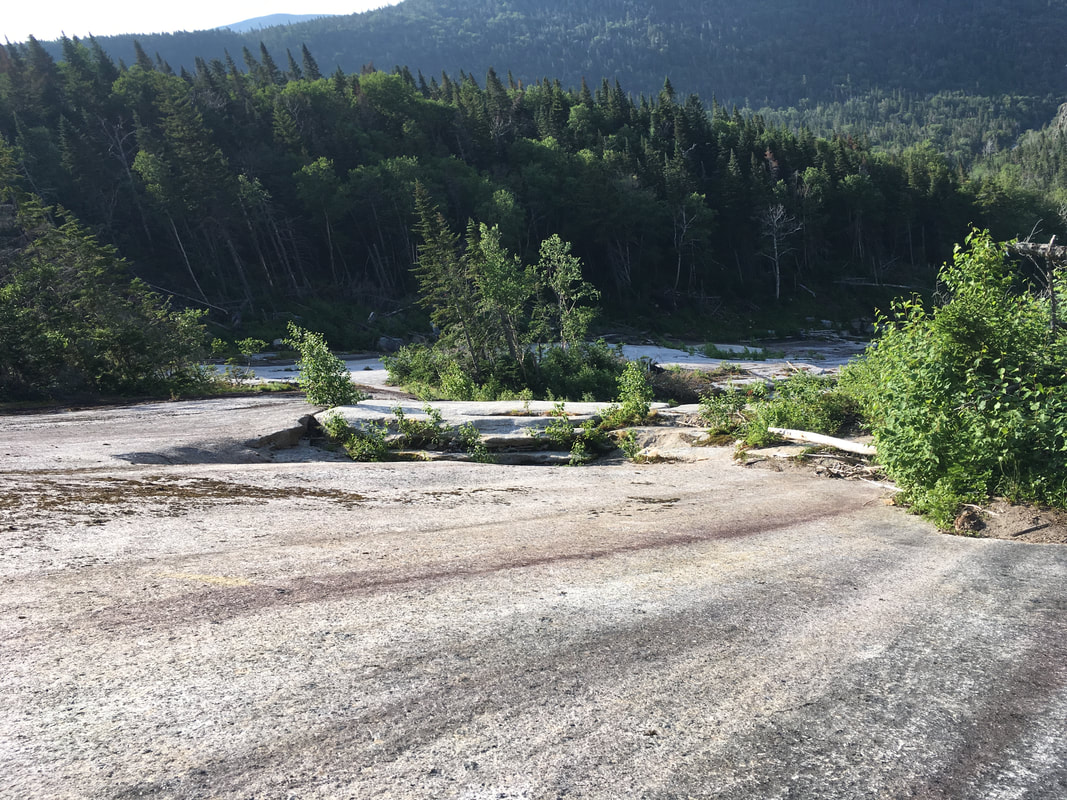
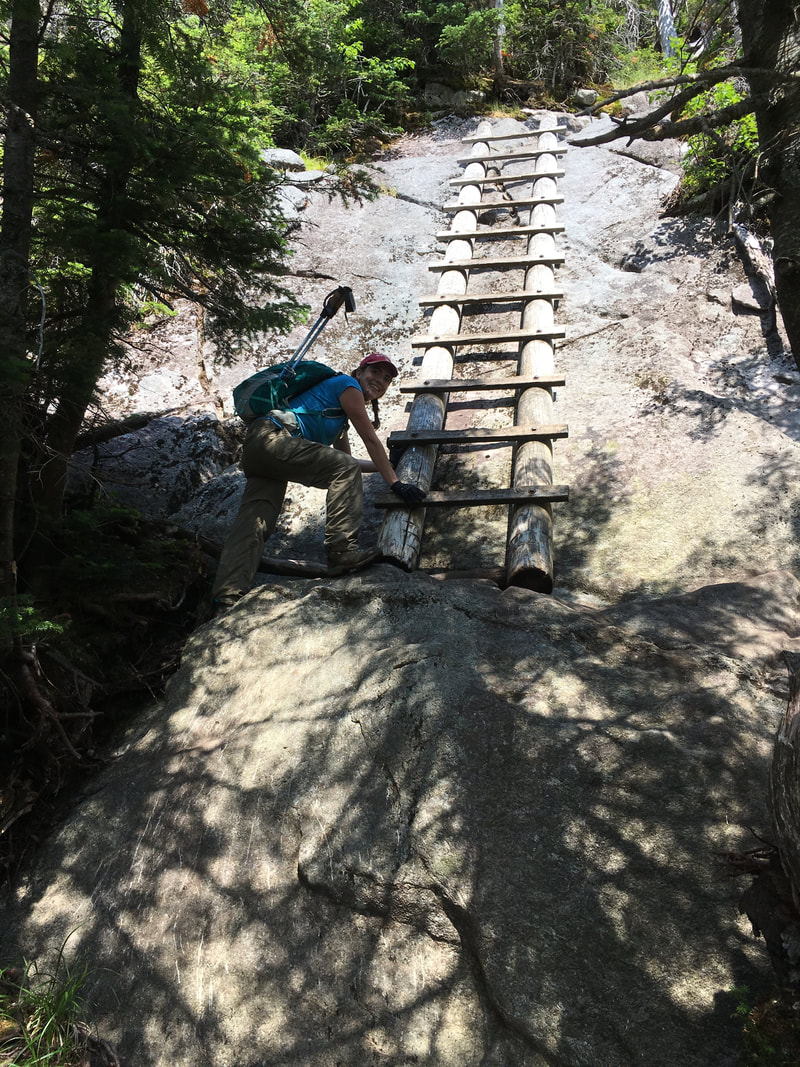
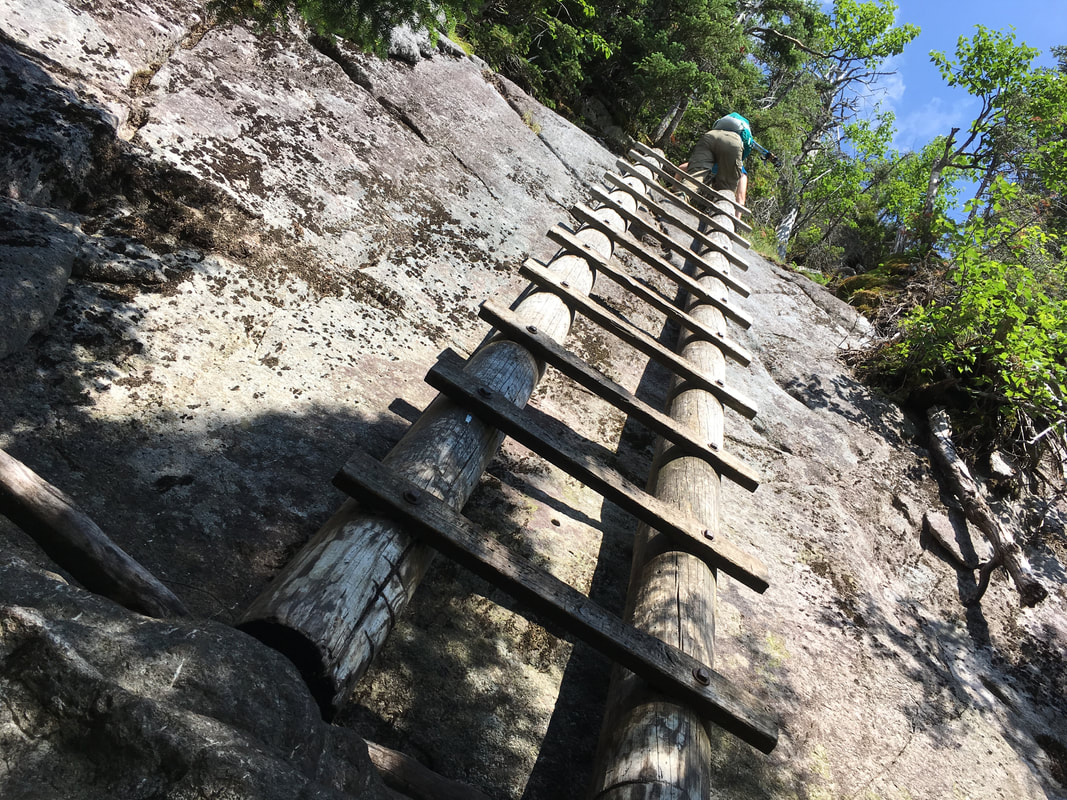
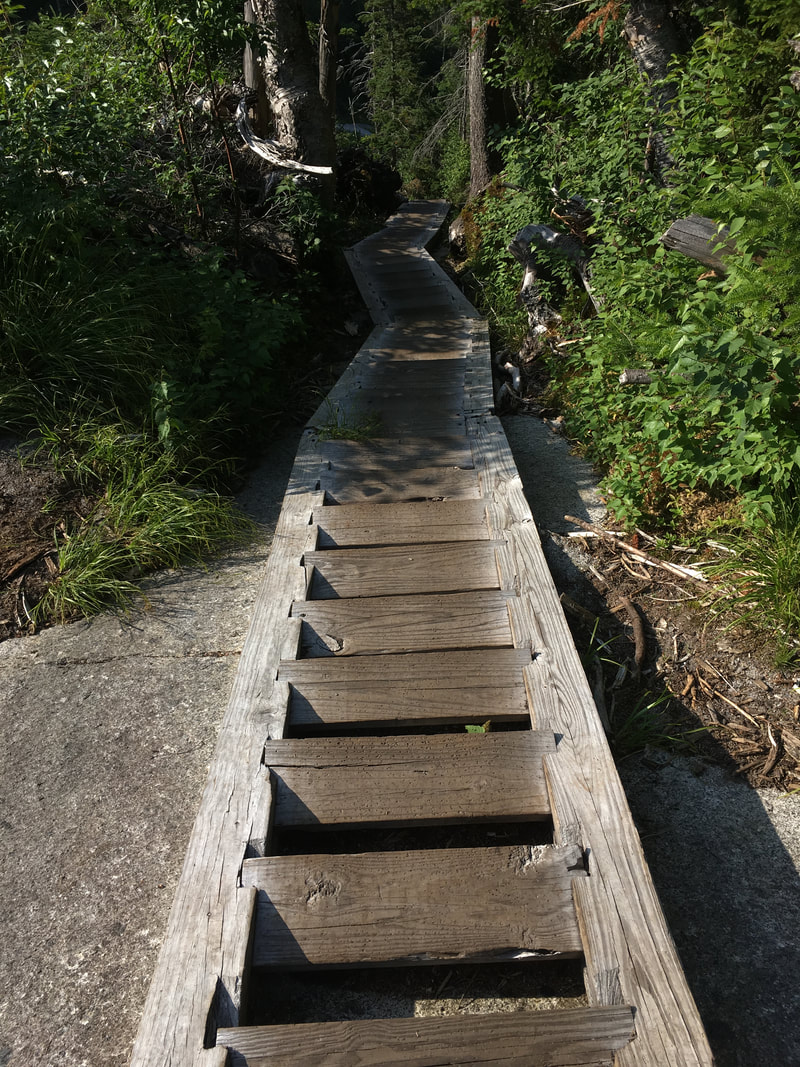
Don't worry - thanks to a huge building effort by the Adirondack Mountain Club, we now have beautiful ladders to help us up and down this path. After Tropical Storm Irene occurred in 2011, they added even more steps to help hikers traverse the newly exposed sections. My only advice: the ladders are very obvious to find going down this trail, but if you are ascending it, DON'T MISS THEM! The old yellow trail blazes on the rock can lead you right past the entrance to the stairs. You should not have to walk on the massive flat exposed sections - look for the ladders on the left that actually begin in the forest...
|
|
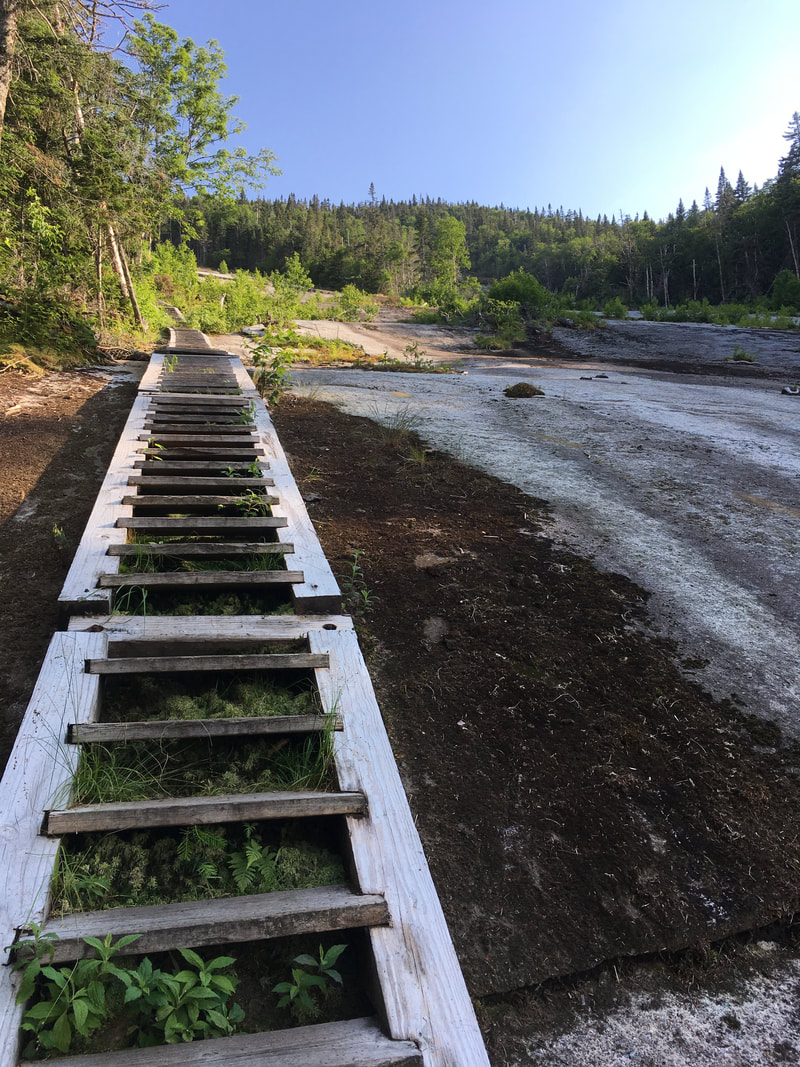
|
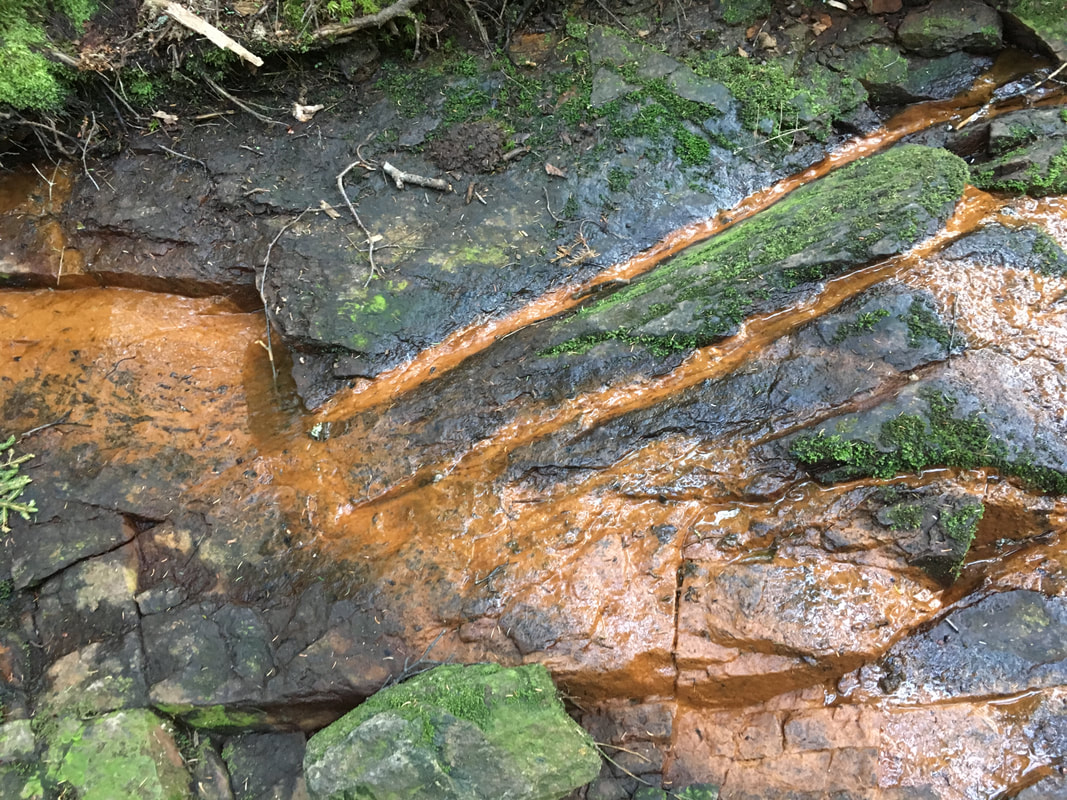
After the ladders, the trail evens out and follows the stream. I wouldn't want to filter water from here though - the high iron content made it orange! At one point we realized we were walking in the stream and not on the trail... a quick look around helped us get back on track! The rest of the way back to JBL was nice and flat!

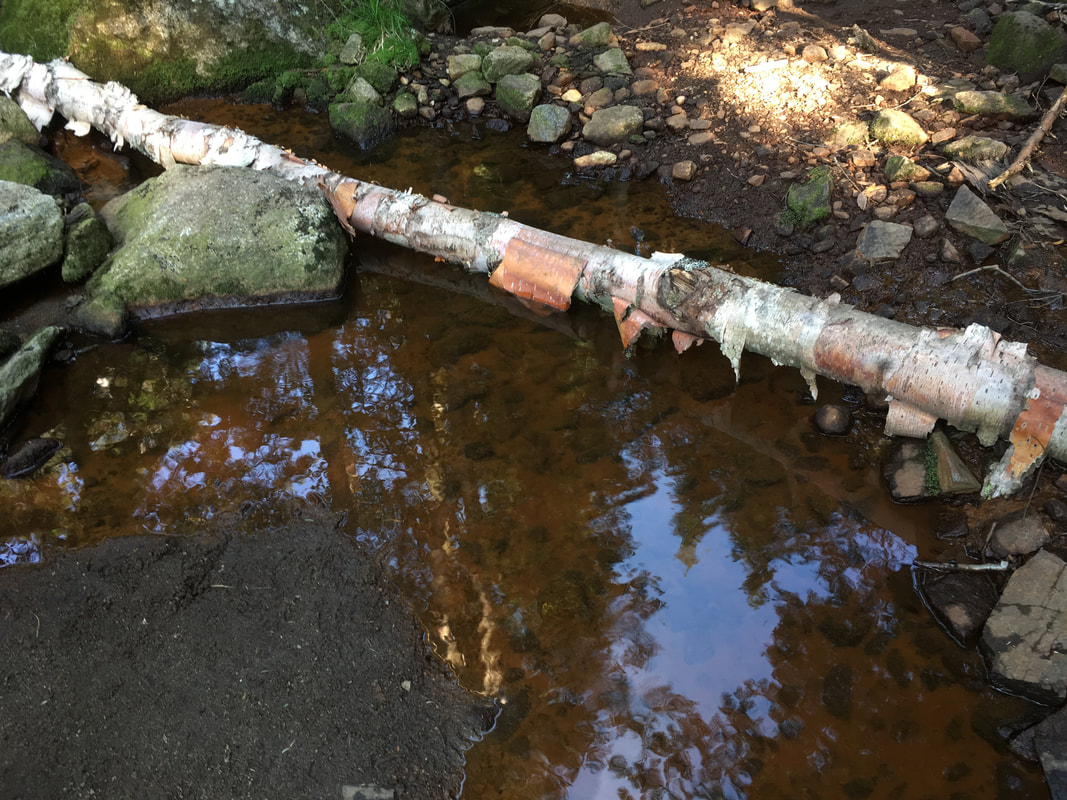

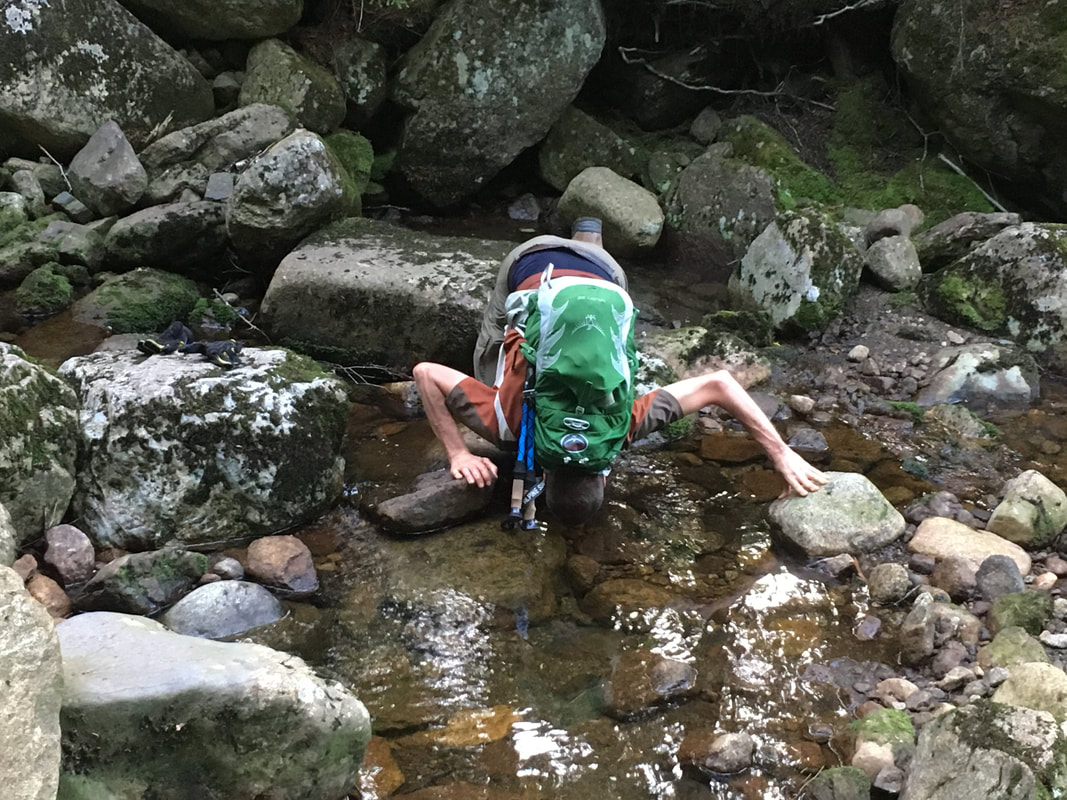
At one point, Niels found a nice looking section of stream and dunked his head under the water. We were still overheating from the day! Even though we were hiking this trail pretty fast, there were lots of neat rocks, campsites and a lean-to to look at. It was VERY nice to get back to JBL at 7:25pm and stock up on water. This was an 11.7 mile and 12 hour day in the hot sun.
Hike out on Monday
After a much better sleep than the previous night, we packed up and headed out the next morning. It was a bit sad saying goodbye to Johns Brook Lodge. We've finished all the hikes that leave from this section of the Adirondacks, so we're not sure if we will see it again.
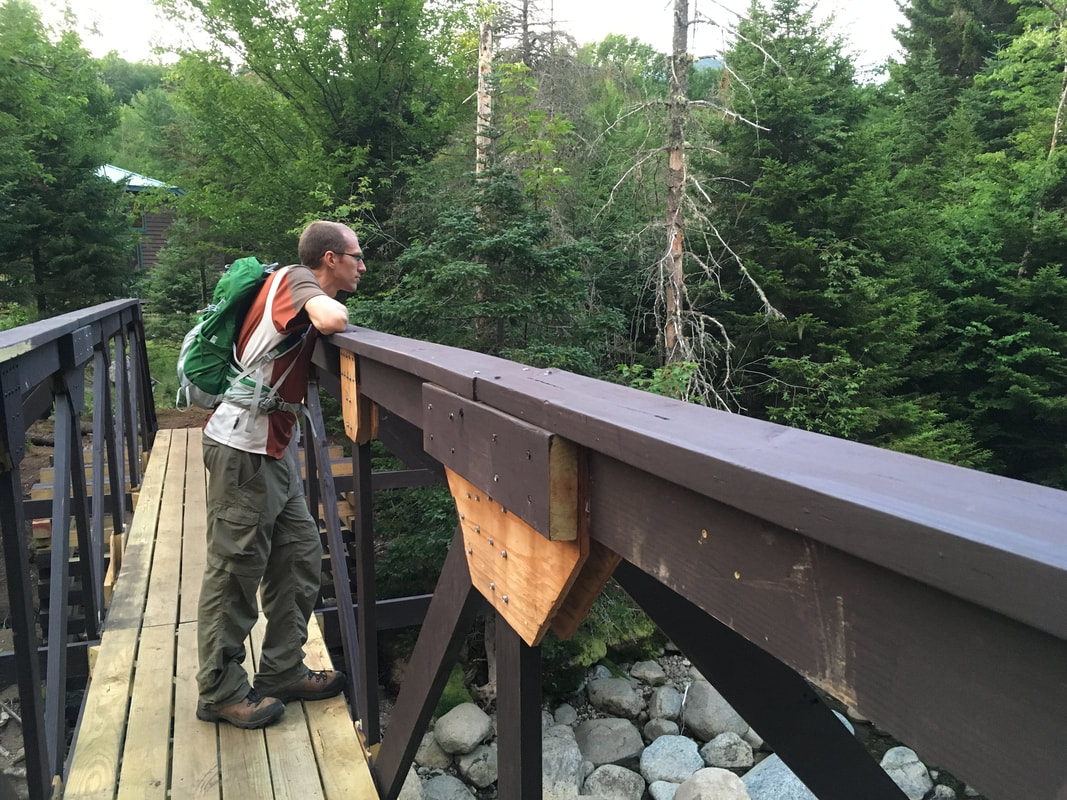
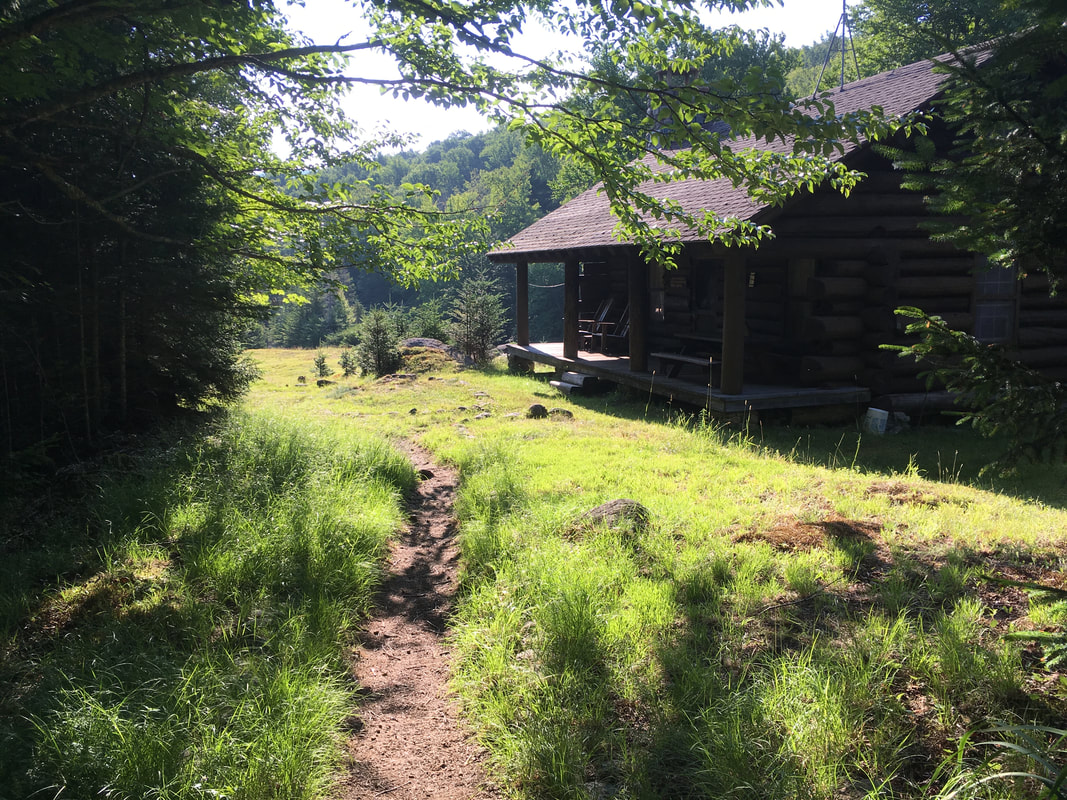
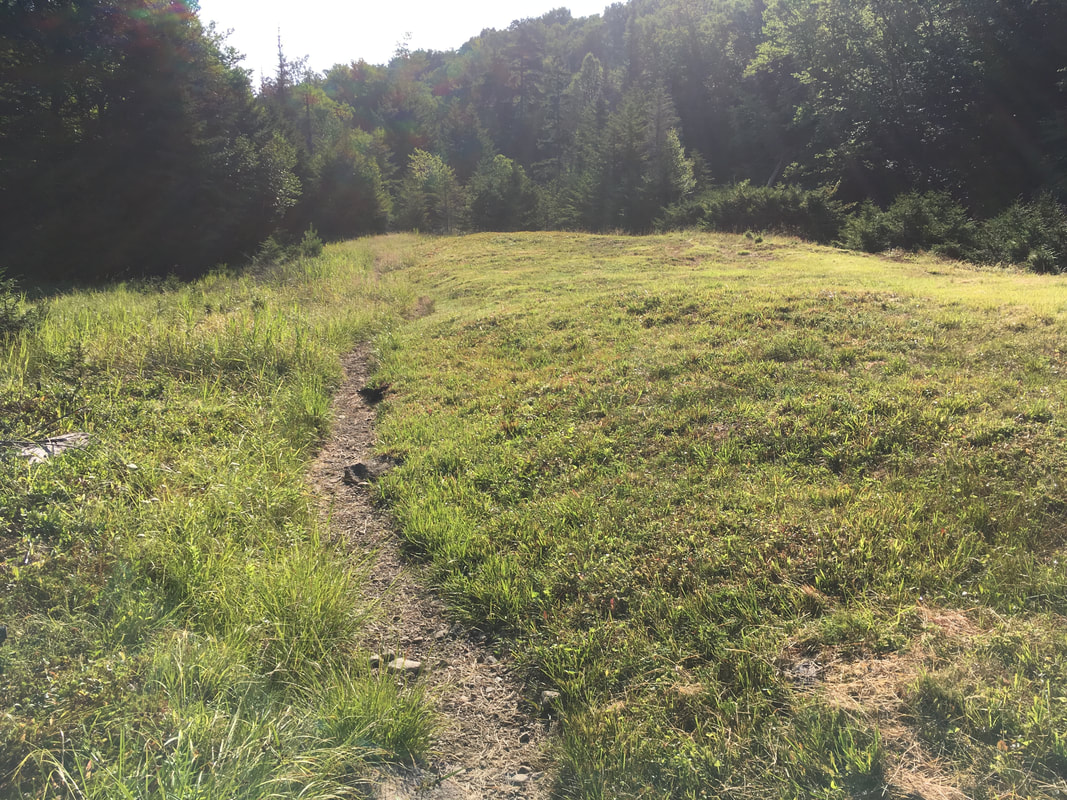
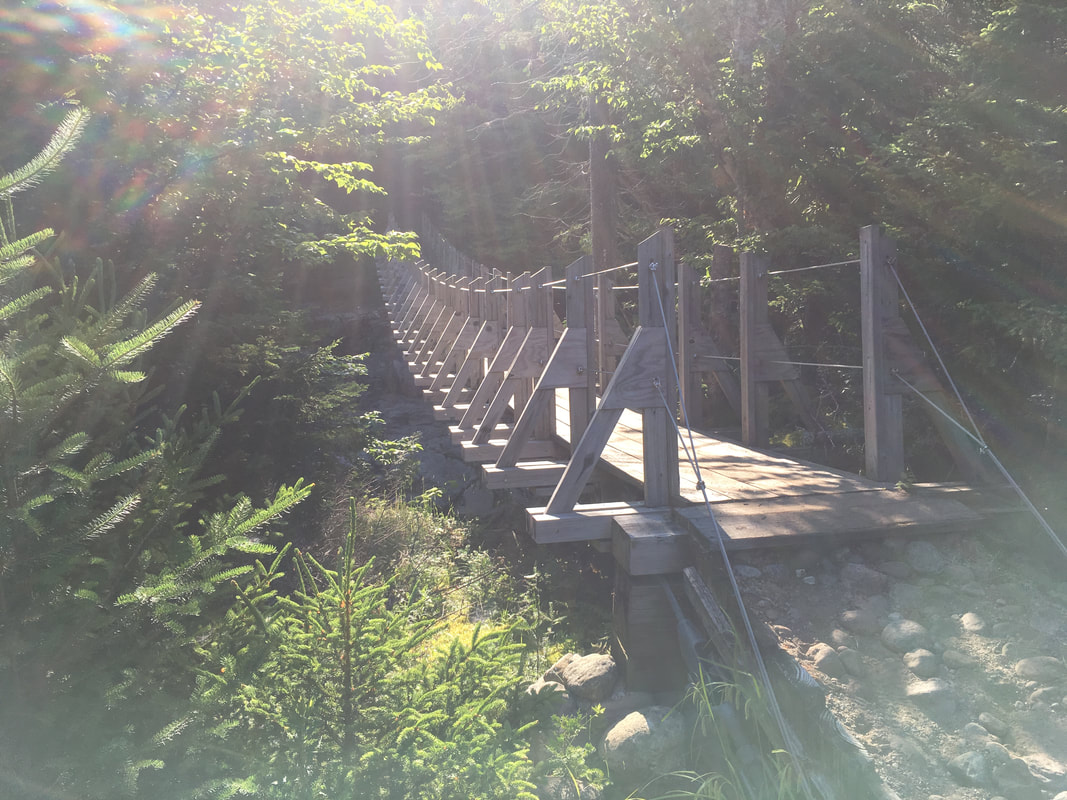
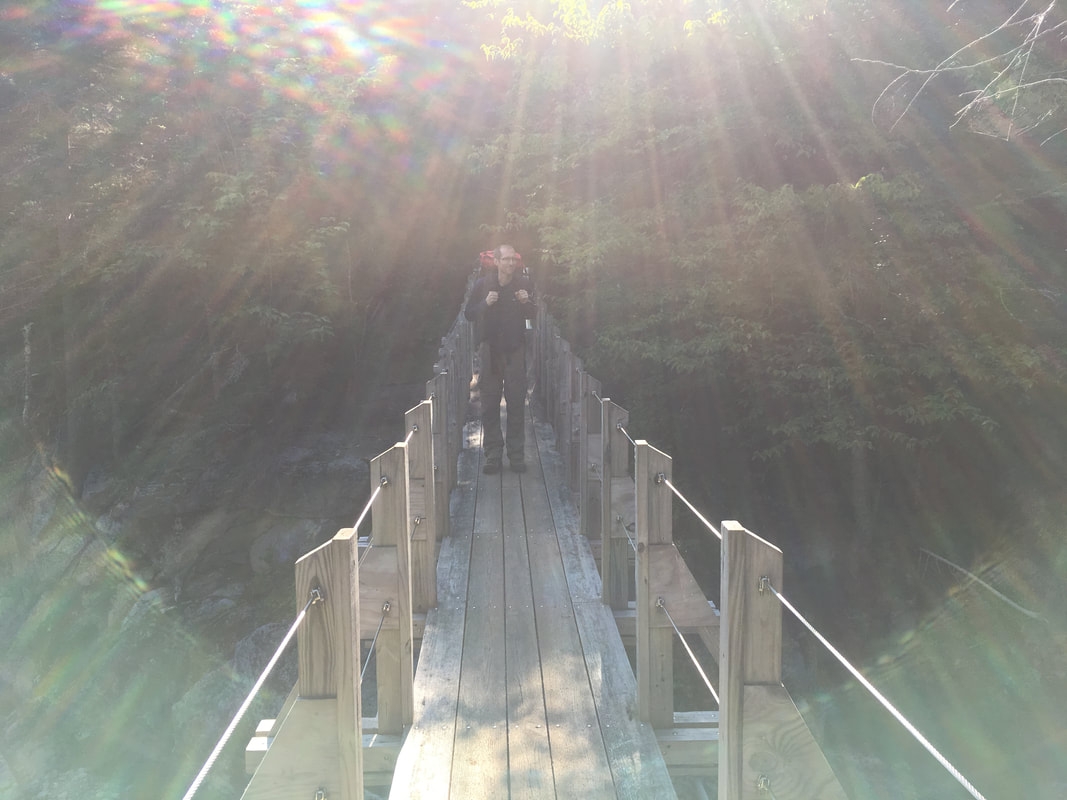
Hint: When you come to the junction between the Garden and JBL (pictured top left in the photos below), go LEFT. This detour quickly leads you to an Interior Outpost, and then if you follow the path through the meadow, you will arrive at an absolutely beautiful suspension bridge. What a gorgeous, secluded place! We ate our breakfast here and enjoyed the peaceful sound of the bubbling river for a good long while...
Hint: When you come to the junction between the Garden and JBL (pictured top left in the photos below), go LEFT. This detour quickly leads you to an Interior Outpost, and then if you follow the path through the meadow, you will arrive at an absolutely beautiful suspension bridge. What a gorgeous, secluded place! We ate our breakfast here and enjoyed the peaceful sound of the bubbling river for a good long while...
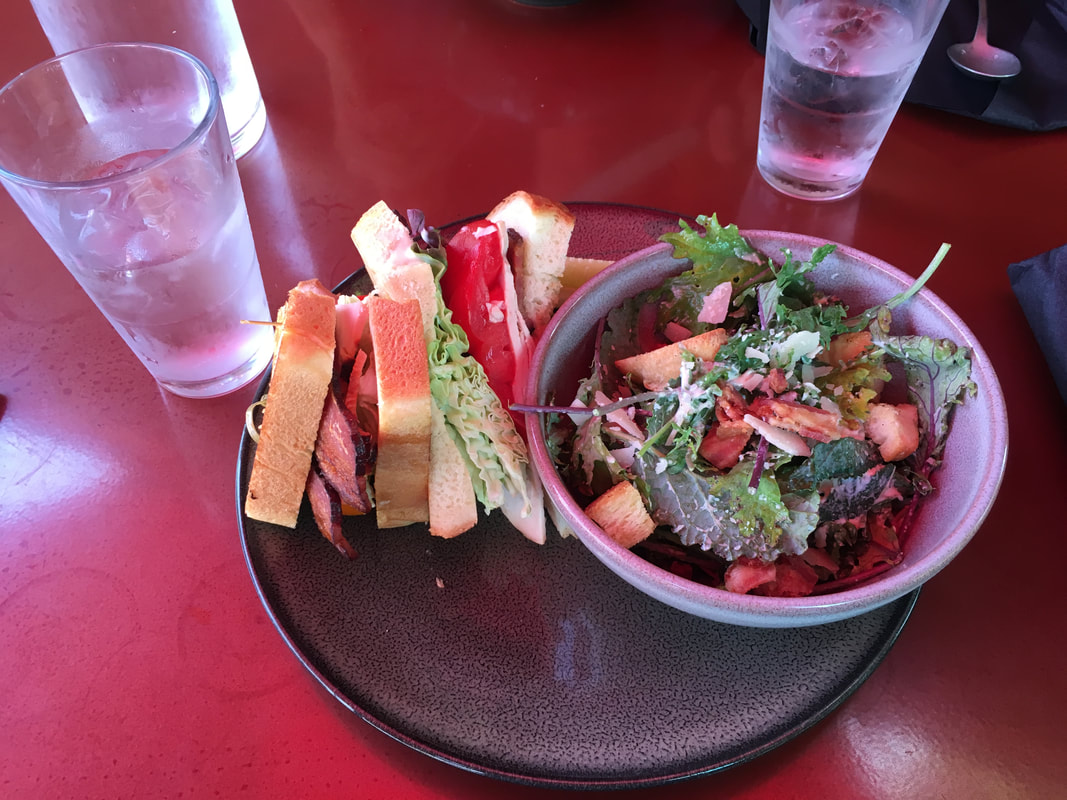
After hiking the 'Highway' back to the Garden, we signed out, found our car and headed to the new Forty Six restaurant in Keene for a really delicious (and well deserved!) lunch.
|
|
|
Total distance: 3.5 miles in, 11.7 miles on our main hiking day, 3.5 miles out = 18.7 miles (30 kilometers)
Total time: 12 hours on main hiking day, 2 hours for hiking in and 2 hours for hiking out
Total time: 12 hours on main hiking day, 2 hours for hiking in and 2 hours for hiking out
Comment Box is loading comments...
